Sourdough Cone-Shaped Rolls Recipe – Perfect for Appetizers!
These whimsical, sourdough cone-shaped rolls make a stunning addition to your Thanksgiving or holiday table. Imagine one at each place setting for a special touch!
Fill them with roasted vegetables, a creamy spinach dip, fresh salad, or even sliced turkey for a kid-friendly meal that everyone will love.
The deliciously soft sourdough cones hold up well and are sure to impress your guests.

Why You’ll Love This Recipe
Creating sourdough cone-shaped rolls brings an unexpected and festive twist to the traditional dinner roll.
With the fluffy texture of homemade sourdough and the unique presentation, these rolls make any meal feel extra special.
They are not only perfect as appetizers but also add a bit of fun when filled with savory or even sweet fillings.
Ingredients to make Sourdough Cone-Shaped Rolls
Makes 8 large cone-shaped rolls
- For the Starter
- 15 grams sourdough starter (1 tablespoon)
- 110 grams water (7½ tablespoons)
- 110 grams all-purpose flour (¾ cup)
- For the Dough
- 80 grams milk* (⅓ cup)
- 110 grams warm water, divided (7½ tablespoons)
- 200 grams starter (about 1 cup and 3 T.)
- 5 grams white cane sugar (1 teaspoon)
- 340 grams all-purpose flour (2¼ cups)
- 28 grams unsalted butter, at room temperature (2 tablespoons)
- 40 grams whole wheat flour (⅓ cup)
- 8 grams salt (1¼ teaspoons)
- For the Egg Wash
- 1 large egg
- ¼ teaspoon water
*Ingredient note: This is the measurement of how much milk to add to your pot for scalding since some will evaporate. Only 70 grams (1/4 cup) is called for in the recipe.
Tools to make Sourdough Cone-Shaped Rolls
- Large Glass Mixing Bowl
- Rounded plastic dough scraper
- optional: Bulk Fermentation Container
- Aluminum foil
- Parchment Paper
- Pastry brush
- Silicone Oven Mitts
- Baking Pans
- Cooling Rack
See the full list of my recommended essentials here: Amazon idea list of Tools All Bakers Need (see affiliate disclosure)
Time Planning Sourdough Cone-Shaped Rolls
You are most likely planning to make this for a holiday meal, so let me break down the timing information you need:
- 8-12 hours Starter Activation
- 20-40 minutes Dough Preparation
- 4-8 hours Bulk Fermentation Time
- 30-40 minutes Shaping (includes pan preparation and aluminum foil form making)
- 2-3 hour Proofing
- 20-25 minutes First Bake
- 10-15 minutes First Cooling (for removing aluminum foil cone forms)
- 5 minutes Second Bake
- 30-60 minutes Final Cooling
These time ranges are impacted by the temperature of ingredients when mixed together as well as the weather. In warmer months, the range of time will be on the shorter end.
See my full guide for holiday time planning for more help with your sourdough baking this holiday season!

Step-by-Step Instructions
You’ll love creating these unique rolls for your dinner table! Don’t let the shaping intimidate you, they are easier to make than you think!
Follow my steps for excellent results!

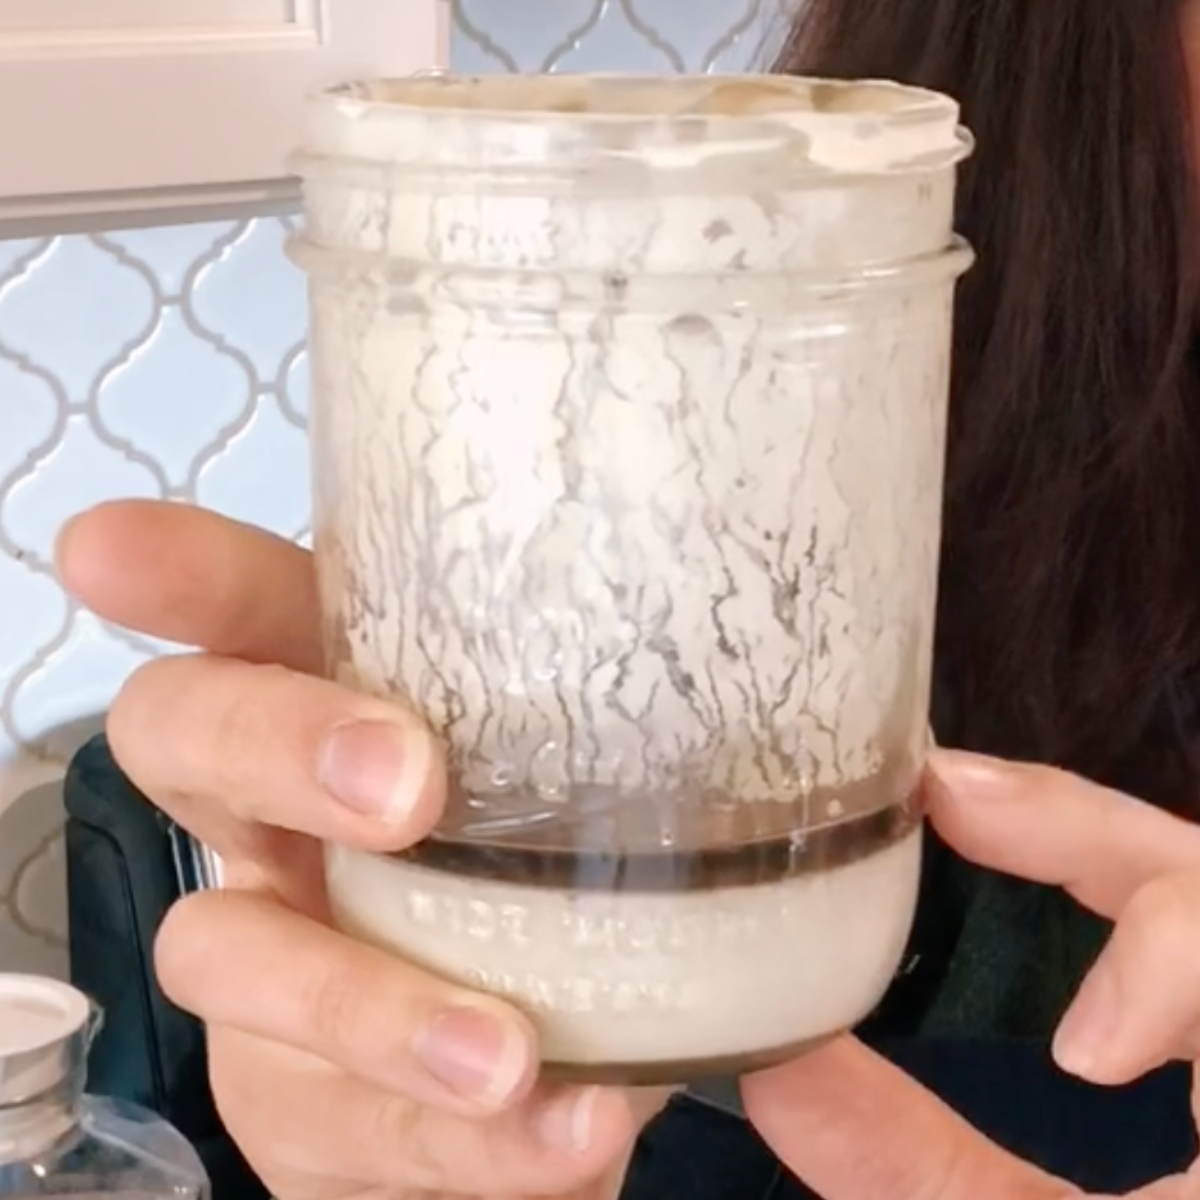
Make the Starter
*Approximately 8 to 12 hours before mixing your dough…*
In a medium bowl, mix together the sourdough starter, water, and all-purpose flour until well combined. Cover the bowl and leave it at room temperature in a warm place for 8 to 12 hours, or until the mixture becomes bubbly and doubles in volume.
Warm the Milk
Heat the milk until it reaches between 110°F and 120°F. It should begin to steam and some of the proteins should begin sticking to the bottom of the pot.
Scalding the milk neutralizes proteins which interfere with fermentation. Warm milk also helps to accelerate the fermentation.
Make sure to let it cool to 90°F or cooler before mixing it with the other ingredients.
Weigh the Ingredients
Accurate measurements ensure perfect rolls. I recommend a kitchen scale for best results, but I’ve included American cup measurements in the recipe as well as metric.
In a large mixing bowl or the bowl of a stand mixer, combine 70 grams (1/4 cup) of warm milk, 100 grams (7 T.) of water, 200 grams (about 1 cup and 3 T.) of active starter (prepared in step 1), and 5 grams (1 teaspoon) sugar.
Then add the all-purpose flour and whole wheat flour. Make sure to tare after each addition.
Mixing the dough
Stir the ingredients together until a shaggy dough forms. Then add the salt and remaining 10 grams (1/2 T.) of water, mixing until all ingredients are fully combined. Add the unsalted butter and knead into the dough.
Kneading the dough
Knead the dough for 10 to 15 minutes by hand or 3 to 7 minutes with a dough hook on low speed on a stand mixer. The dough should be smooth, elastic, and no longer sticky, releasing easily from the bowl or work surface.
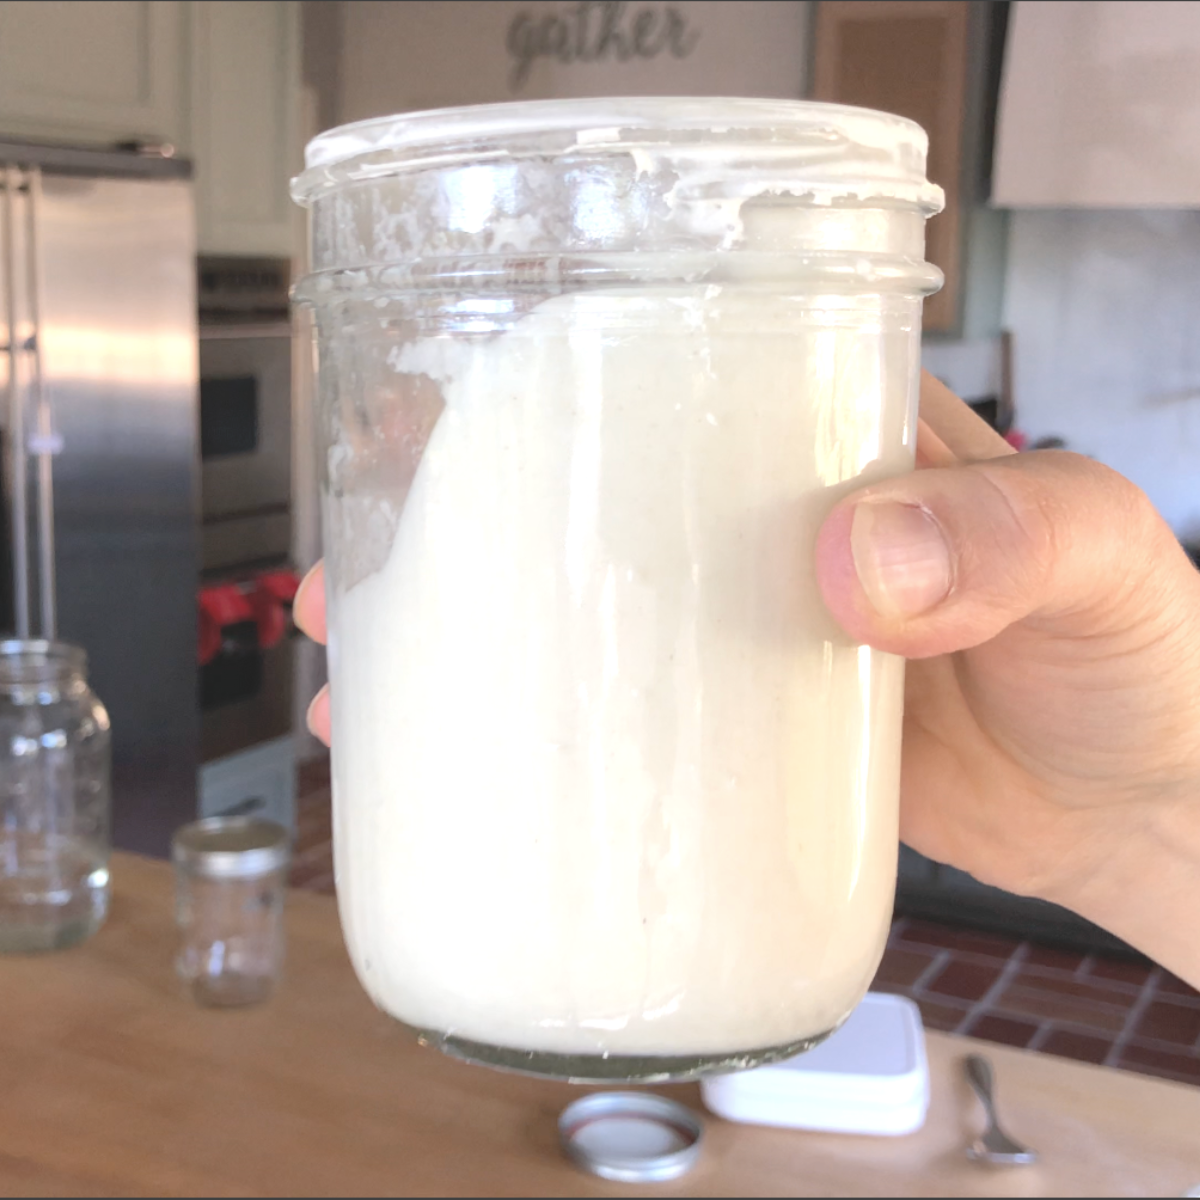
Bulk Fermentation
Cover the dough and leave it to ferment for 4 to 8 hours, or until it has doubled in volume. This is when the wild yeast begins converting the carbohydrates into a simpler form and creates the air (carbon dioxide) that rises the dough!
The starting dough temperature is warm after the addition of scalded milk and the kneading so it tends to rise quickly… or at least in respect to other sourdough recipes.
I like using a bulk fermentation container like this one to easily store my dough while it rises and to gauge how well it’s rising.

Prepare the Baking Sheets
Line two baking sheets with parchment paper. Set these aside while you shape the dough so you can place each shaped roll onto a prepared baking sheet.
Prepare the Foil Cones
To create the cone shape, cut 8 squares of aluminum foil and crumple each one into a cone about 4½ inches tall with a top that’s about 2 to 2½ inches across.
Don’t make the foil cone too tightly compressed so that it is easier to crush and remove later.
Or try this extra step:wrap the aluminum foil cone with a medium sized sheet of parchment before wrapping the dough rope around it. The layer of parchment paper between the foil and the dough will help the form slip right out after baking.
Divide the Dough
Use an unfloured work surface.*
Divide the dough into 8 equal portions, roughly 98 grams each. This ensures that all your rolls are the same size and bake evenly.
*If your dough is really sticky then it is not fermented properly.
Review these posts on fermentation to see what properly fermented dough should look like and feel like:
- How to tell when sourdough is done with bulk fermentation
- What does overproofed sourdough bread (or dough) look like?

Shape the Cones
On an unfloured surface*, roll each piece of dough into a 25-inch-long rope under your hands.
Starting at the top of the foil cone, wrap the dough around it in a coil, pinching the starting point to seal. Continue wrapping tightly down the cone, pinching the end to close the tip. If needed, gently press the coils downward to tighten them on the cone.
Place the shaped cones on the prepared baking sheets, spacing them at least 3 inches apart.
Troubleshooting Question*: What if my dough is sticking?
If your dough was fermented properly and its sticking to your work surface (this can vary depending on work surface material–stainless steel vs. wood, etc.), then very lightly flour your work surface.
You want to avoid using a lot of flour during shaping to help the dough retain its tacky texture so the coils will stick to one another easily when wrapping around the aluminum foil cone.
Proof
Cover the dough with plastic wrap and a kitchen towel while you let the dough rest and rise.
Allow the dough to proof in a warm place for 2 to 3 hours, or until the rolls look puffy and the layers are distinct.
Do a poke test to gauge the proof. See this post for more help on proofing: When is sourdough finished proofing? The signs and a test

Preheat the Oven
When the rolls are almost done proofing, preheat your oven to 375°F. If your oven doesn’t fit both trays, place one in the refrigerator while the other bakes.
Make the Egg Wash
In a small bowl, whisk together the egg and water until smooth. Brush this over the dough, ensuring you get between the layers but avoiding contact with the foil.
First Bake and Second Bake
Place one tray in the preheated oven and bake for 20 to 25 minutes, or until golden brown. Remove the tray to a cooling rack, and swap in the second tray if needed.
After baking, allow the rolls to cool for 10 to 15 minutes, then gently remove the foil cones. Use a set of metal tongs to carefully crush the aluminum foil for easier removal. (See tips section below for an extra step that makes this process easier.)
To make the cones more durable for fillings, return them to the oven (without the foil) and bake for an additional 5 minutes.
Cooling the Cone-Shaped Rolls
Transfer the warm rolls to a wire rack to allow them to cool down for 30 to 60 minutes before filling.
Unless you are using cheese or another filling where melting is beneficial!

Tips for Success
- Use fresh starter: A bubbly, active starter will yield the best flavor and texture. You can’t use sourdough discard in this recipe.
- Proper kneading: Ensures a smooth dough with an even crumb.
- Don’t overflour: Keep the dough tacky during shaping to hold the cone shape.
- Parchment with the foil: An extra step that is worth the effort is wrapping the aluminum foil cone with a medium sized sheet of parchment before wrapping the dough rope around it. The layer of parchment paper between the foil and the dough will help the form slip right out after baking.
- Egg Wash: Don’t skip the egg wash. It adds a beautiful color and shine to help these rolls stand out! But avoid getting egg on the foil cone form because that will make it stick to the roll and more difficult to remove.
- Fill with creativity: These cones are perfect for savory fillings like roasted vegetables, creamy dips, or even a hearty meat stew.

Serving Suggestions
These rolls shine as appetizer cones, perfect for parties, holiday gatherings, or unique lunches. Fill with your favorite savory fillings, or get creative with sweeter fillings for a dessert twist.
Here is a list of great uses for these sourdough cone-shaped rolls:
- Salad cones
- Charcuterie table decor
- Turkey and Cheese sandwich roll
- BBQ chicken with cilantro and cheddar cheese
- Spinach dip
- Greek gyro cone with gyro meat, tzatziki, and feta
- Pizza fillings: Pepperoni and mozzarella or Italian sausage and mozzarella
- S’mores: place chocolate chips and marshmallows in the cone after the first bake and then place in the oven for the second bake to toast the marshmallows.
- Fill with berries and add a dusting of powdered sugar for a beautiful piece of food art
- The ultimate Thanksgiving leftovers holder: mashed potatoes, turkey slices with gravy or cranberry sauce or both?
More Sourdough Recipes for Your Thanksgiving Table
If you’re looking for some great additions to your Thanksgiving brunch or dinner table, here are some more sourdough rolls and other recipes to check out:
- Soft Sourdough Dinner Rolls made with Pumpkin Spice (can be enjoyed savory or sweet!)
- The Easiest Super Soft Sourdough Crescent Rolls Recipe
- Sourdough Apple Fritter Bread Fall Sourdough Recipe
- Pumpkin Spice Scones made with Sourdough Discard
- Soft Cranberry Orange Holiday Cookies with Sourdough Discard
- How to Make Cute Pumpkin Shaped Sourdough Bread Boules

Fun Sourdough Recipes
If you like unique recipes like this one, here are some more sourdough bread and sourdough discard recipes you might enjoy:
- Sourdough Chai Spice Star Bread Recipe
- Easy Sourdough Cinnamon Rolls
- Sourdough Apple Cinnamon Spice Country Bread (Boule) Recipe
- Cornish Pasty with Sourdough Discard Shortcrust Pastry
- Sourdough Kanelbullar (Swedish Cinnamon Cardamom Knots)
- Easy Sourdough Pigs in a Blanket Recipe (Mini Hot Dog Bites)
- 30+ Easy Sourdough Recipes for Lunch that Kids Love!
Celebrate with Bread Baking for Seasonal Inspiration
A version of this recipe originally appeared in the fall section of my second book, Celebrate with Bread Baking.
The book is divided by season and features recipes for quick breads, conventional yeast breads, and sourdough for a variety of holidays and special occasions.
Savor and Share
Enjoy these unique sourdough cone-shaped rolls as a centerpiece for your next special occasion, and watch them disappear quickly!
Share this fun recipe with a friend who loves trying new sourdough recipes.
After you try it, send me a note, leave a review comment, or tag me on facebook or instagram @livingbreadbaker

Just getting started with sourdough?
A competent guide transforms sourdough baking from overwhelming to uncomplicated and fun!
Get My Free Quick Start Sourdough Guide: Learn the key terms and concepts in sourdough baking, including the differences between active sourdough starter and sourdough discard, and how to care for your starter.
Start Baking Sourdough Confidently—Take the Intro to Sourdough Course for Just $27!
Time Planning Help for Sourdough Baking
The #1 need for sourdough bakers is help with time planning, so I created a resource for you.
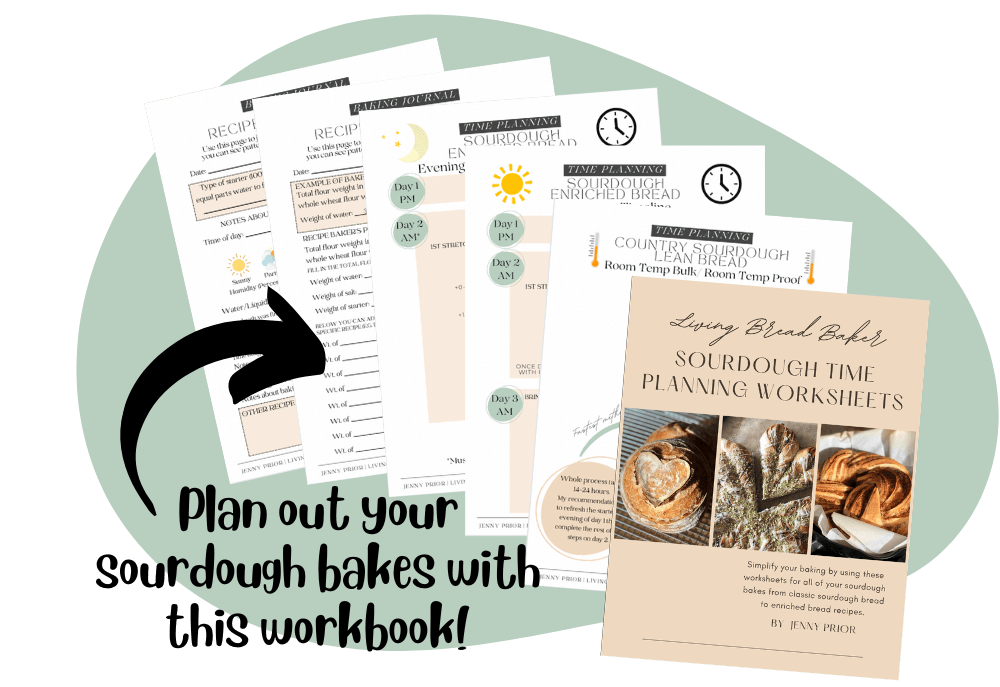
Sourdough Time Planning Workbook: Perfect for new or experienced bakers, this workbook includes 8 templates ready to fill in and a baking journal. The templates cover 4 different ways to make classic sourdough country breads, 3 time planning worksheets for enriched sourdough bread depending on serving time target, and a blank template. The baking journal goes over baker’s percentages and how to take notes on your sourdough bakes.
Get a free sample of the workbook: Use this sourdough time planning worksheet sample to simplify your baking.
Living Bread Baker posts mentioned
When is sourdough bulk fermentation finished?
When is sourdough finished proofing?
Soft Sourdough Dinner Rolls made with Pumpkin Spice (can be enjoyed savory or sweet!)
The Easiest Super Soft Sourdough Crescent Rolls Recipe
Sourdough Apple Fritter Bread Fall Sourdough Recipe
Pumpkin Spice Scones made with Sourdough Discard
Soft Cranberry Orange Holiday Cookies with Sourdough Discard
How to Make Cute Pumpkin Shaped Sourdough Bread Boules
Sourdough Chai Spice Star Bread Recipe
Sourdough Apple Cinnamon Spice Country Bread (Boule) Recipe
Cornish Pasty with Sourdough Discard Shortcrust Pastry
Sourdough Kanelbullar (Swedish Cinnamon Cardamom Knots)
Easy Sourdough Pigs in a Blanket Recipe (Mini Hot Dog Bites)
30+ Easy Sourdough Recipes for Lunch that Kids Love!
Shop this post
FREE Sourdough Quick Start Guide
Sourdough Time Planning Workbook & Baking Journal
My Intro. to Sourdough online course
This post contains affiliate links. Read my policy here.

Sourdough Cone-Shaped Rolls Recipe
Ingredients
FOR THE STARTER
- 15 grams sourdough starter 1 tablespoon
- 110 grams water 7½ tablespoons
- 110 grams all-purpose flour ¾ cup
FOR THE DOUGH
- 80 grams milk* ⅓ cup
- 110 grams warm water divided (7½ tablespoons)
- 200 grams starter about 1 cup
- 5 grams white cane sugar 1 teaspoon
- 340 grams all-purpose flour 2¼ cups
- 28 grams unsalted butter at room temperature (2 tablespoons)
- 40 grams whole-wheat flour ⅓ cup
- 8 grams salt 1¼ teaspoons
FOR THE EGG WASH
- 1 large egg
- ¼ teaspoon water
Instructions
- MAKE THE STARTER: About 8 to 12 hours before mixing your dough, combine the starter ingredients: starter, water, and flour in a bowl. Mix well, cover, and leave at room temperature in a warm place to allow the yeast to activate. It will become bubbly and double in volume.
- WARM THE MILK: Heat the milk until it reaches a temperature of 110°F to 120°F.
- WEIGH THE INGREDIENTS: Making sure to tare after each addition. combine 70 grams of warm milk, 100 grams of warm water, 200 grams of starter, and the sugar in a mixing bowl Add the all-purpose flour and whole-wheat flour.
- MIX: Mix the ingredients together until a shaggy dough forms, then add the salt and the remaining 10 grams of water. Mix to combine. Add the unsalted butter and knead into the dough.
- KNEAD: Turn the dough out onto a work surface and knead for 10 to 15 minutes by hand or 3 to 7 minutes with a dough hook in a stand mixer, until the dough is smooth, is no longer sticky, and releases easily from the bowl or work surface.
- BULK FERMENT: Cover the dough and leave it to ferment for 4 to 8 hours, until it has doubled in volume.
- PREPARE THE BAKING SHEETS: Line two flat baking sheets with parchment paper and set aside.
- PREPARE THE MOLDS: Cut 8 squares of aluminum foil. Crumple and fold each foil sheet into a cone shape about 4½ inches tall with a top that is about 2 to 2½ inches across.
- DIVIDE: Divide the dough into 8 equal pieces (about 98 grams each).
- SHAPE: Transfer the dough to a work surface. Roll a piece of dough under your hands until it becomes a 25-inch rope. Start at the top of the foil cone and wrap the dough around the outside. Pinch the first coil to seal the loop, then wrap the dough around the cone, keeping the coiled layers tight together. Once you get to the bottom, pinch the ends to close the tip of the cone shape. (If you run out of dough, you can gently push the coiled layers down the paper-lined baking sheets. Repeat with the remaining pieces of dough. There should be 4 shaped rolls on each baking sheet, spaced at least 3 inches apart.
- PROOF: Cover and proof in a warm place for 2 to 4 hours, until the layers of the rolls are puffy.
- PREHEAT: Preheat the oven to 375°F. If your oven can't fit both sheets, put one in the refrigerator while the other is baking.
- MAKE THE EGG WASH: In a small bowl, beat the egg and water together until combined. Brush over the dough, getting between the layers but avoiding getting any egg wash on the foil.
- BAKE: Place one of the baking sheets in the preheated oven. Bake for 20 to 25 minutes or until golden brown. Remove to a cooling rack and swap in the other sheet of rolls.
- COOL: Cool for 10 to 15 minutes, then carefully remove the foil cones.
- SECOND BAKE: Bake for 5 more minutes without the foil. This will increase the cones' durability when you're filling them.
- Final Cool: Transfer the warm rolls to a wire rack to allow them to cool down for 30 to 60 minutes before filling.