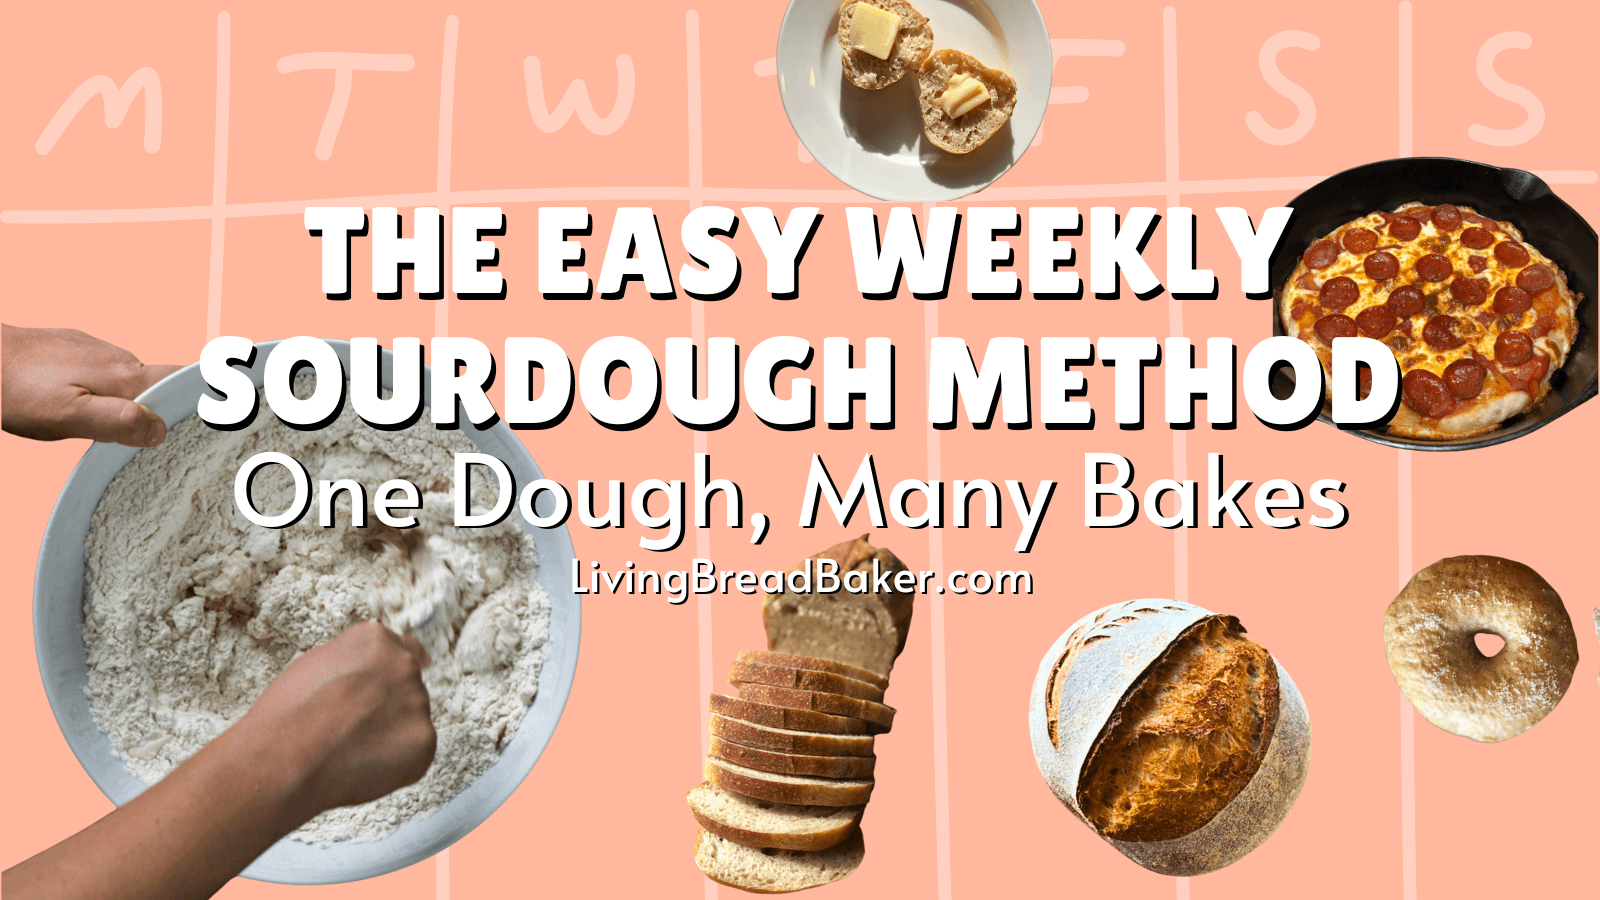
The Easy Weekly Sourdough Method: One Dough, Many Bakes
If you’re new to sourdough or short on time, I have a simple weekly method that lets you enjoy fresh sourdough bread, pizza, bagels, English muffins, and more—all from just one dough mix!
I believe in this process so much that, until now, I’ve only shared it in my in-person and online classes. But I want everyone to experience the ease and success of this method.
In this post, I’ll walk you through the exact steps I use every week to make delicious sourdough with minimal effort. Let’s get started!
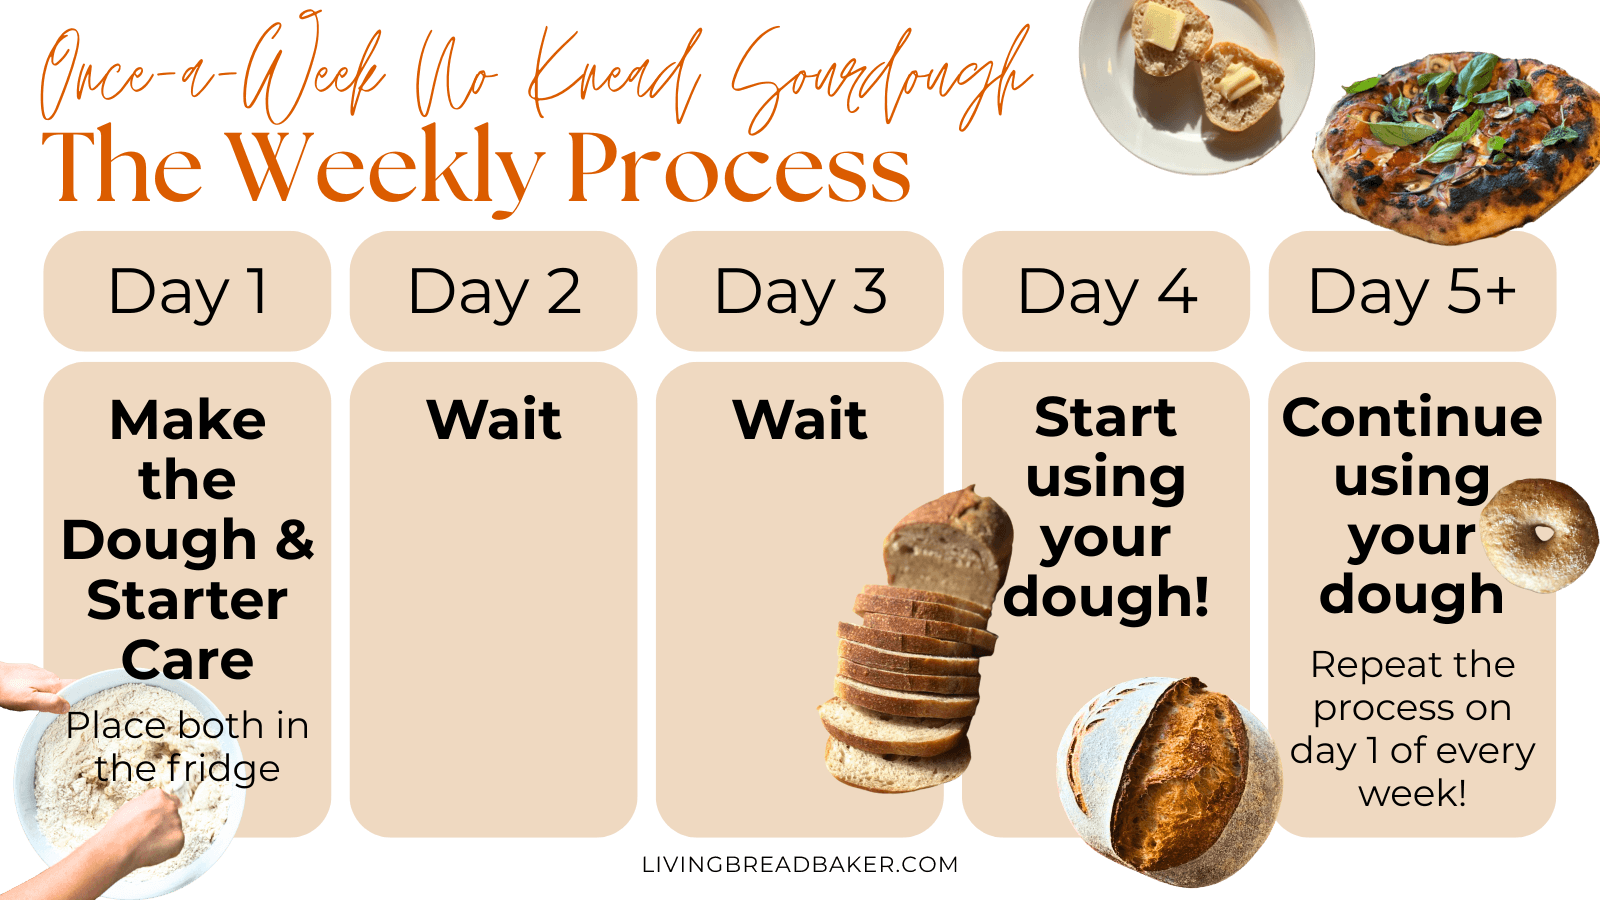
The One-Time Weekly Dough Method
I literally use this Once-a-Week No Knead Sourdough method every week, sometimes twice a week since I have a big family.
This saves us so much time in the kitchen and ensures that we have fresh bread and sourdough goods, even when life is busy and hectic.
The process also makes it nearly foolproof!
I essentially make a triple batch of dough and put it in the fridge. No sets of stretch and folds, no guesswork, just a straightforward process.
Then whenever I want to make bread, English muffins, pizza, etc. I pull out the dough and use a portion.
How does the Once-a-Week No Knead Sourdough method work?
I began making no knead sourdough and realized how easy it was to use sourdough discard and still create great bread. (My original no knead sourdough recipe)
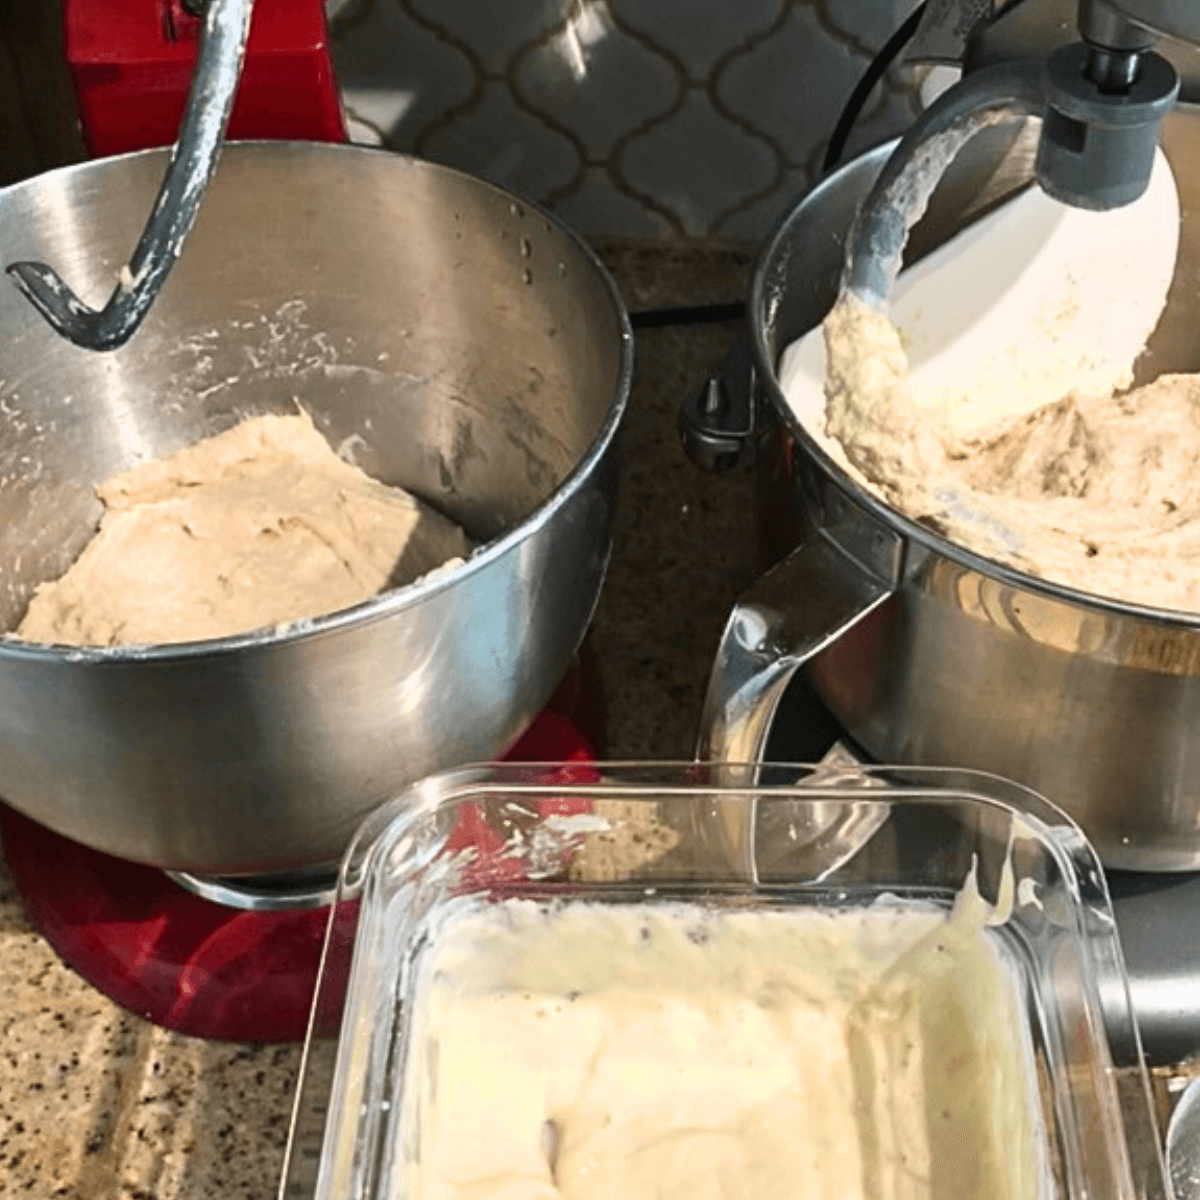
So I created this method with that process. The big batch of dough is mixed one time with sourdough starter and then placed in the fridge for a long cold ferment.
The weekly mix takes 15 minutes if mixing by hand. It’s shorter if you have a large capacity mixer like this electric 7-quart stand mixer.
Since you put the dough in the fridge, there is a timeline from mix until it is ready to use: 72 hours.
Once the dough has reached that 72 hour mark, it is ready to use! You’ll pull the container out, portion out some dough, shape, proof, and bake as usual!
After you portion out what you need, put the dough back into the fridge.
When the dough is stored in the fridge it is able to be used for up to 7 days after the initial mix! (I’ve even used it on day 10 in testing!)
What can I make with the Once-a-Week No Knead Sourdough?
There are so many uses for this dough! Here are all the ones our family has enjoyed:
- Sandwich Loaves
- English Muffins
- Bagels
- Rolls
- Pizza
- Focaccia
- Country Loaf (Boule)
![]()
Ingredients Needed
Here are the ingredients to make a big batch for a household of 4-6 people:
- 100 grams sourdough starter (use about ½ cup of discard or ¾ cup of active starter)
- 30 grams (4 ½ teaspoons) sea salt
- 1020 grams* (4 1/3 cups*) water
- 200 grams* (1 1/3 cup*) whole wheat flour
- 1300 grams (8 2/3 cups) bread flour
*Ingredient Notes: For the water, this is the amount needed for the flour mixture in this formula to create the best texture. If you are using a different combination of flour or variety of flour, this will impact the amount of water needed. Get my free formula guide to change up the recipe if you want to use only bread flour, all-purpose flour, or add more whole wheat flour.
I will talk about some tips for the sourdough starter in the section below. If you don’t have a starter, the first thing you need to do is make your own starter or get one from one of the resources listed in this post.
Sourdough Discard or Active Sourdough Starter?
Here is the part that makes this method so easy and flexible: you can use sourdough discard or active sourdough!
For best results, the sourdough discard should have been refreshed in the past week and kept in the fridge (a process included in my instructions).
The smaller portion of sourdough discard along with the longer no knead bulk fermentation is why this dough works well.
Active sourdough will give you the best dough, but I use sourdough discard most often because my life gets chaotic with five kids!
The key for this method is flexibility! If you want the perfect process, check out my step-by-step Basic Sourdough Bread recipe.
Essential Tools (For mixing and handling the dough)
You don’t need a lot of tools but here are the basic tools for the dough:
- Extra Large mixing bowl
- Spoon
- Dough scraper
- 6-quart Cambro container (or a large bowl with plastic wrap—see tips below)
- Optional: Kitchen scale (makes measuring more accurate and the process easier)
If you have the budget for it, a large capacity mixer can be a great investment to shorten your prep time every week.
Helpful Tools for Baking (For shaping and baking different recipes)
Some tools that would be helpful for making most of the recipes:
Step-by-Step Process
Day 1: Dough Mix and Starter Care
- Take out your sourdough starter.
- Measure the water and salt into an extra large mixing bowl.
- Add the sourdough starter in the amounts prescribed above (the amount of starter used depends on the stage, learn why in this post: How much does a cup of sourdough starter weigh?). Place the starter to the side to feed after mixing the bread dough.
- Add all the flour to the mixing bowl.
- Stir the ingredients together with a large spoon or by hand. Use a rounded plastic dough scraper to make sure there is no dry flour left in the bottom or side of the bowl. Mix just until there is no dry flour left. Don’t over mix.
- Transfer your dough to a dough bin (like this 6-quart Cambro container). If using a large bowl, clean any bits of dough of flour off the edges of the bowl to create a secure seal with plastic wrap. Place the dough into the fridge.
- Feed the starter with 50-60 g water (¼ cup water) and 50-60 g flour (heaping 1/3 cup or 7 T. white flour). Mix well until there’s no dry flour. Put a lid onto the jar (seal, but ajar very slightly to release any gas). Place the jar of starter in the fridge until you make your next batch in a week.
Days 1-3: Long Cold Bulk Ferment
From mixing until 72 hours later, let the dough rise in the fridge where it will properly ferment without any extra hands-on time. No need for stretch and folds. Just leave it until day 4!
If you’re wondering about room temp ferment to shorten up the timeline, see common questions section below!
Days 4-7: Use Your Dough!
Once the dough has fermented for 72 hours, you can take out a portion, shape, proof, and bake. In my full course I have instructions and video demonstrations for the different recipes.
Once-a-Week No Knead Sourdough Recipe Example: Sandwich Bread
1. Portion and Preshape the Dough
- Portion out 880-950 grams of fermented dough (about 1-quart in volume).
- Place on a clean counter or work surface.
- Using a bench scraper, turn and rotate the dough into a smooth ball-like shape.
- Let the dough rest for 20-40 minutes.
2. Prepare the Loaf Pan
- Line a loaf pan with a piece of parchment paper (see demo in this video post: How to Shape a Sourdough Sandwich Loaf and Bake with Steam) or grease with oil/butter.
3. Final Shaping
- Lightly dust the top smooth side of dough with flour and rub it in so it’s no longer sticky.
- Use the bench scraper to flip the dough over.
- Shape into a loaf with these steps:
- Gently pull and stretch to form a rough square (~7-8 inches wide).
- Fold top corners to the center to make a triangle.
- Bring the top of the triangle down to center.
- Fold both sides in to meet in the center.
- Roll the top of the dough over all folds and seal at the bottom.
- Turn it seam-side down and tighten the shape with a scraper.
4. Proofing (3-4 Hours)
- Place the shaped dough into the prepared loaf pan.
- Cover with plastic wrap or a kitchen towel.
- Let the bread rise for final proof for 3-4 hours at room temperature. (See proofing tips below.)
5. Preheat the Oven (500°F / 260°C)
- Place a metal pan with 1 inch of water on the lowest oven rack.
- Ensure 5-6 inches of space above the center rack for the rising loaf.
6. Score and Bake
- When the oven is preheated, score the top of the dough with a ¼-½ inch deep cut along its length.
- Place the loaf pan in the steamy oven, quickly shutting the door.
- Optional: Spray the oven sides with water for extra steam.
- Bake at 450°F for 20 minutes, then remove the steam pan.
- Bake for 15 more minutes.
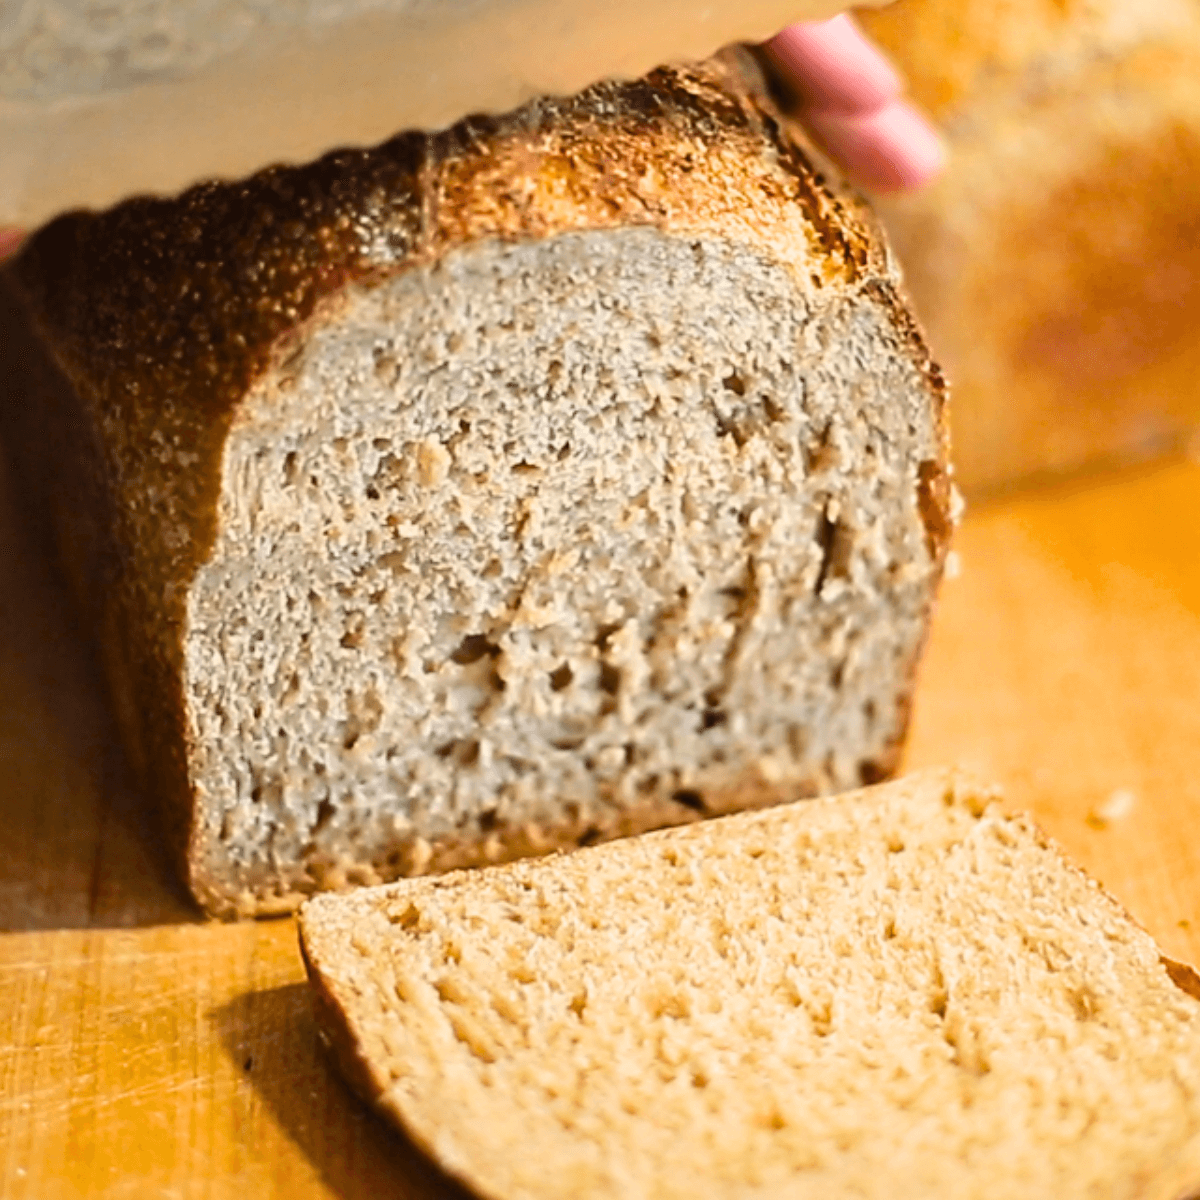
7. Cooling
- Remove the baked loaf from the pan and cool on a wire rack for 1 hour.
More Sourdough Recipe Demos
If you’re looking for more free help (the full demo videos and instructions can be accessed in the course) with how to use the dough in different recipes when it’s ready, check out the shaping and baking techniques used in these recipes:
- No Knead Sourdough Bread
- Easy No Knead Sourdough Bagels
- Easy Sourdough Pizza Crust Recipe and Guide for Oven Baking
- How to Shape a Sourdough Sandwich Loaf and Bake with Steam
Customize the Dough
The formula in this post is my basic recipe that is extremely versatile, but you can customize the dough based on your preferences with different flours.
For more whole wheat flour, you’ll need to add more water. And if substituting bread flour with all-purpose flour, you’ll use less water.
So if you would like a version with more whole wheat flour for increased nutrition and fiber, only white flour for a more artisan type dough best for pizzas and focaccia, or only have access to all-purpose flour, I have you covered.
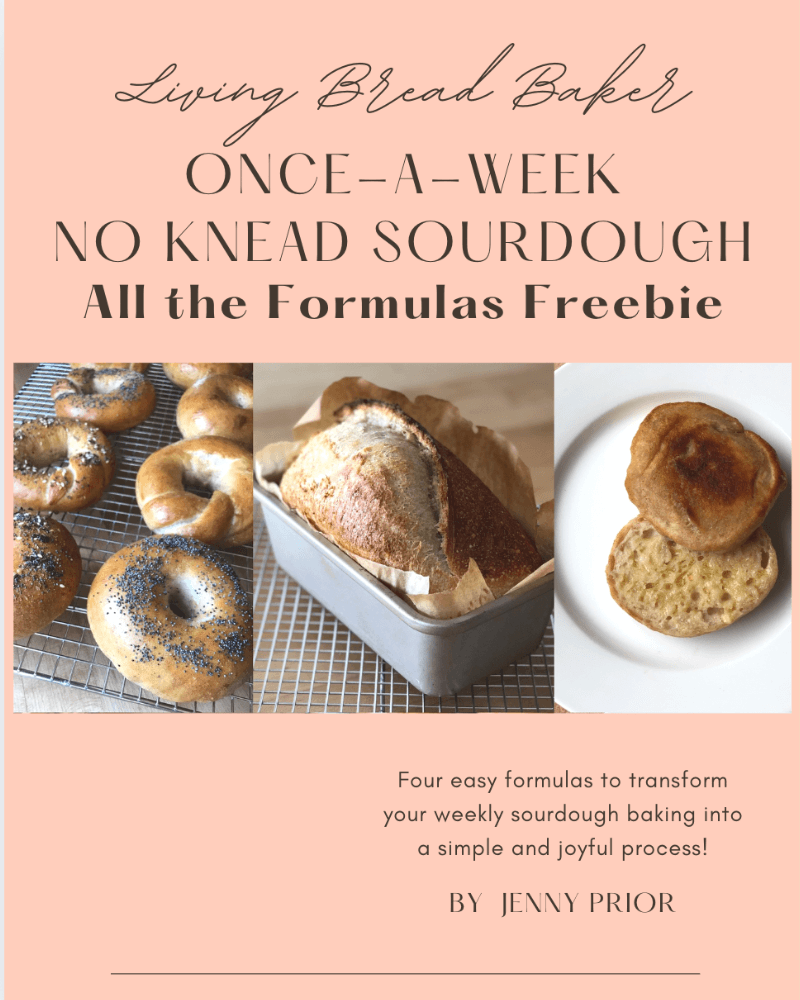
In this free formula guide for Once-a-Week No Knead Sourdough, you can get the measurement needed to create the version that’s best for your family: All The Formulas Freebie
Tips for Best Results
- Bread flour creates better texture than all-purpose flour and the gluten content allows it to last longer in the fridge. Learn more about flour differences in my flour guide.
- Using a dough bin with a sealing lid makes the fridge bulk fermentation much easier and also allows you better organized shelves.
- Whether you use a dough bin or a large bowl to store the dough during the cold bulk ferment, make sure it stays well sealed or it could develop dry spots.
- For best proofing for rolls, sandwich loaves, and boules (essentially any bread that is scored) proof at room temp for 1-2 hours then place the dough in the fridge for 2-8 hours. The cold improves the scoring process and creates better oven spring.
Common Questions
Can I do a room temperature bulk ferment instead of a long fridge ferment?
Yes! Let the dough ferment at room temp for 6-10 hours.
👉 Tip: Room temp fermentation is tricky because the temperature of your kitchen and humidity vary. Watch for dough doubling, a smooth, airy texture, and a slight sheen.
⚠️ Caution: If it’s warm or your home is heated with a woodstove, place the dough in the coolest spot. More whole wheat = faster fermentation.
Why is this method easier?
It’s perfect for busy bakers! The dough takes less than 15 minutes to mix, then ferments in the fridge for the first rise—no need for stretch and folds.
Is this sourdough bread healthier?
Yes! Long cold fermentation is the best way to improve digestibility and nutrient absorption.
Can I use all-purpose flour instead of bread flour?
Yes, but bread flour creates better texture and lasts longer in the fridge. With AP flour, use the dough within 6 days instead of 7-10 days.
Can I make cinnamon rolls with this dough?
Not quite—it’s a lean dough (no butter, eggs, or milk). For true cinnamon rolls, use an enriched dough recipe: Easy Sourdough Cinnamon Rolls Recipe.
Can I add mix-ins like raisins, cheese, or herbs?
Yes! After portioning the dough:
-
Sprinkle mix-ins (raisins, herbs, cheese, etc.).
-
Fold the dough over itself 2-3 times.
-
Continue with preshaping as usual.
Troubleshooting
What if my dough overproofs?
Don’t toss it! See how to fix it: How to Turn Overproofed Sourdough into Focaccia.
How long does the dough last in the fridge?
-
With bread flour: Up to 7 days (10 days for English muffins).
-
With AP flour: Best within 6 days.

My Personal Process for Once-a-Week No Knead Sourdough
Now that we have 7 people eating bread in our household, in addition to using a seasonal meal plan, I make this big batch one to two times each week.
In my ideal scenario, I would mix the dough on Friday morning and put it in the fridge until the next morning, but most often I use my shortcut.
I mix the dough around 10 or 11pm on Sunday evening, let it sit out at room temperature overnight on the counter.
Between 6-8am the next day (Monday morning), I preheat my oven and remove all the dough from the bin onto the counter.
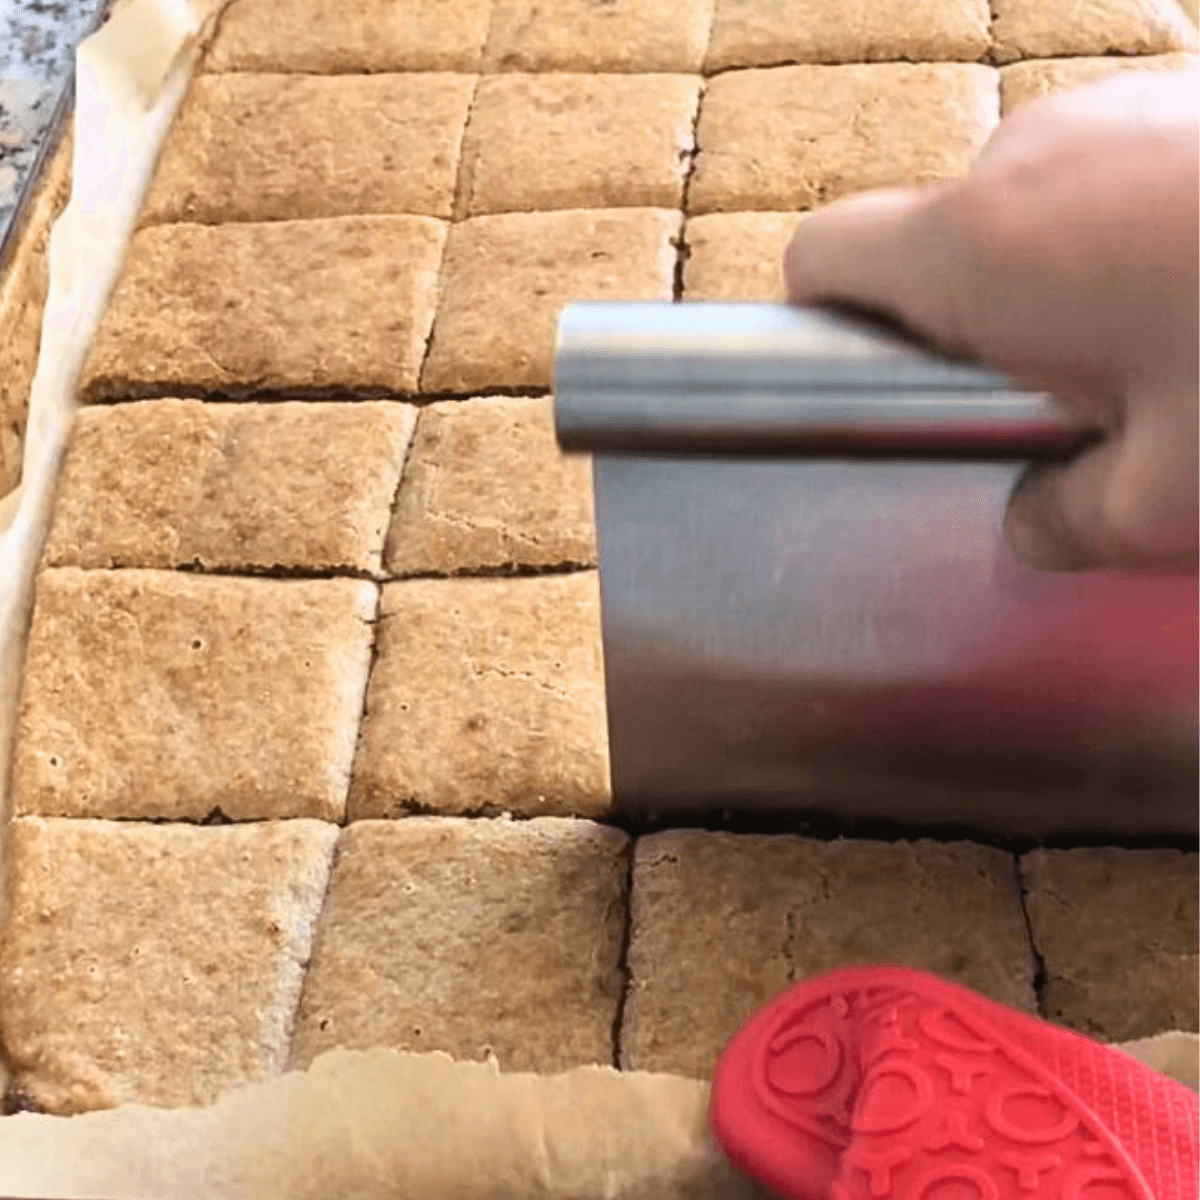
I use a scale to measure three portions of about 880 grams each. Two of the thirds are preshaped into balls to be shaped into sandwich loaves after a bench rest. The other third is divided into 12 equally sized portions.
I preshape each small twelfth of dough into a ball. Once my oven is preheated, I heat my skillet and prepare a sheet pan for baking English muffins!
After I do the frying step for the English muffins and have them in the oven, I do the final shaping for my two sandwich loaves which I bake later in the day.
So Monday we have our bread box refilled with delicious sourdough!
Would you be willing to share this post with a friend?
I want to help as many overwhelmed or short-on-time sourdough bakers as possible with this method since it has been such a help to our family!
Get Started with This Easy Weekly Sourdough Method Today!
I hope you enjoy using this simple sourdough bread method for busy weeks when you don’t have extra time for multiple steps. Whether it’s your first loaf of sourdough bread or you’re looking for a streamlined system, this once-a-week sourdough process makes it easy to bake golden brown loaves, pizza, English muffins, and more with simple ingredients and minimal effort.
👉 If you’d like a free download of all the sourdough formulas and variations, grab it here: All The Formulas Freebie
📖 Want step-by-step video tutorials, printable guides, and a full workbook with charts, visuals, and sourdough recipes? Learn how to create this easy dough, plus key techniques like using a proofing basket, poaching bagels, frying English muffins, baking stone, and more. Access the Once-a-Week No Knead Sourdough Course here!
Just getting started with sourdough?
A competent guide transforms sourdough baking from overwhelming to uncomplicated and fun!
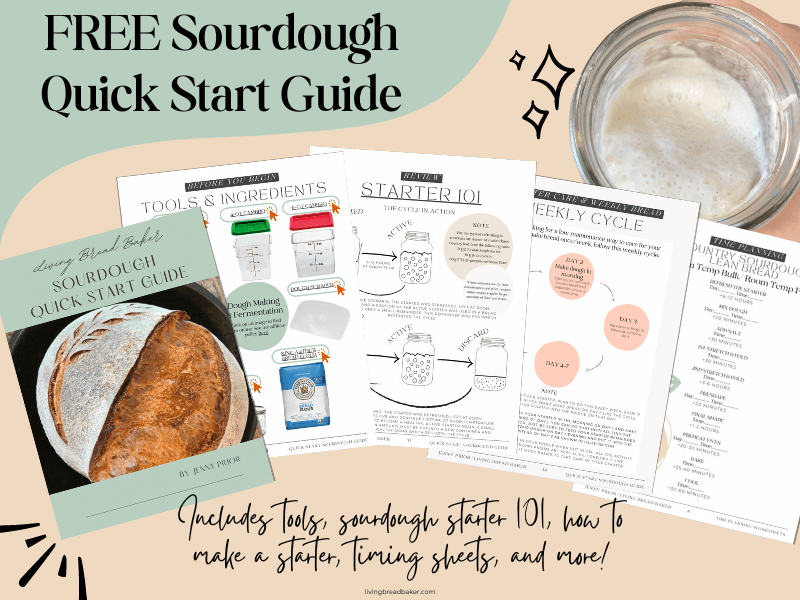
If you’re still at square one just trying to understand what sourdough is, Get My Free Quick Start Sourdough Guide!
You’ll learn the key terms and concepts in sourdough baking, including the differences between active sourdough starter and sourdough discard, and how to care for your starter.
Start Baking Sourdough Confidently—Take the Intro to Sourdough Course for Just $27!
Living Bread Baker posts mentioned
Sourdough Guide to Flour: Types, Storage, & Tips
When is sourdough bulk fermentation finished?
When is sourdough finished proofing?
How to Shape a Sourdough Sandwich Loaf and Bake with Steam
Easy No Knead Sourdough Bagels
Easy Sourdough Pizza Crust Recipe and Guide for Oven Baking
How much does a cup of sourdough starter weigh?
How to Turn Overproofed Sourdough into Focaccia
Shop this post
FREE Sourdough Quick Start Guide
Sourdough Time Planning Workbook & Baking Journal
My Intro. to Sourdough online course
This post contains affiliate links. Read my policy here.