How to make Sourdough Bread step by step
This post has all the key information to help you learn how to make sourdough bread at home step by step from scratch.
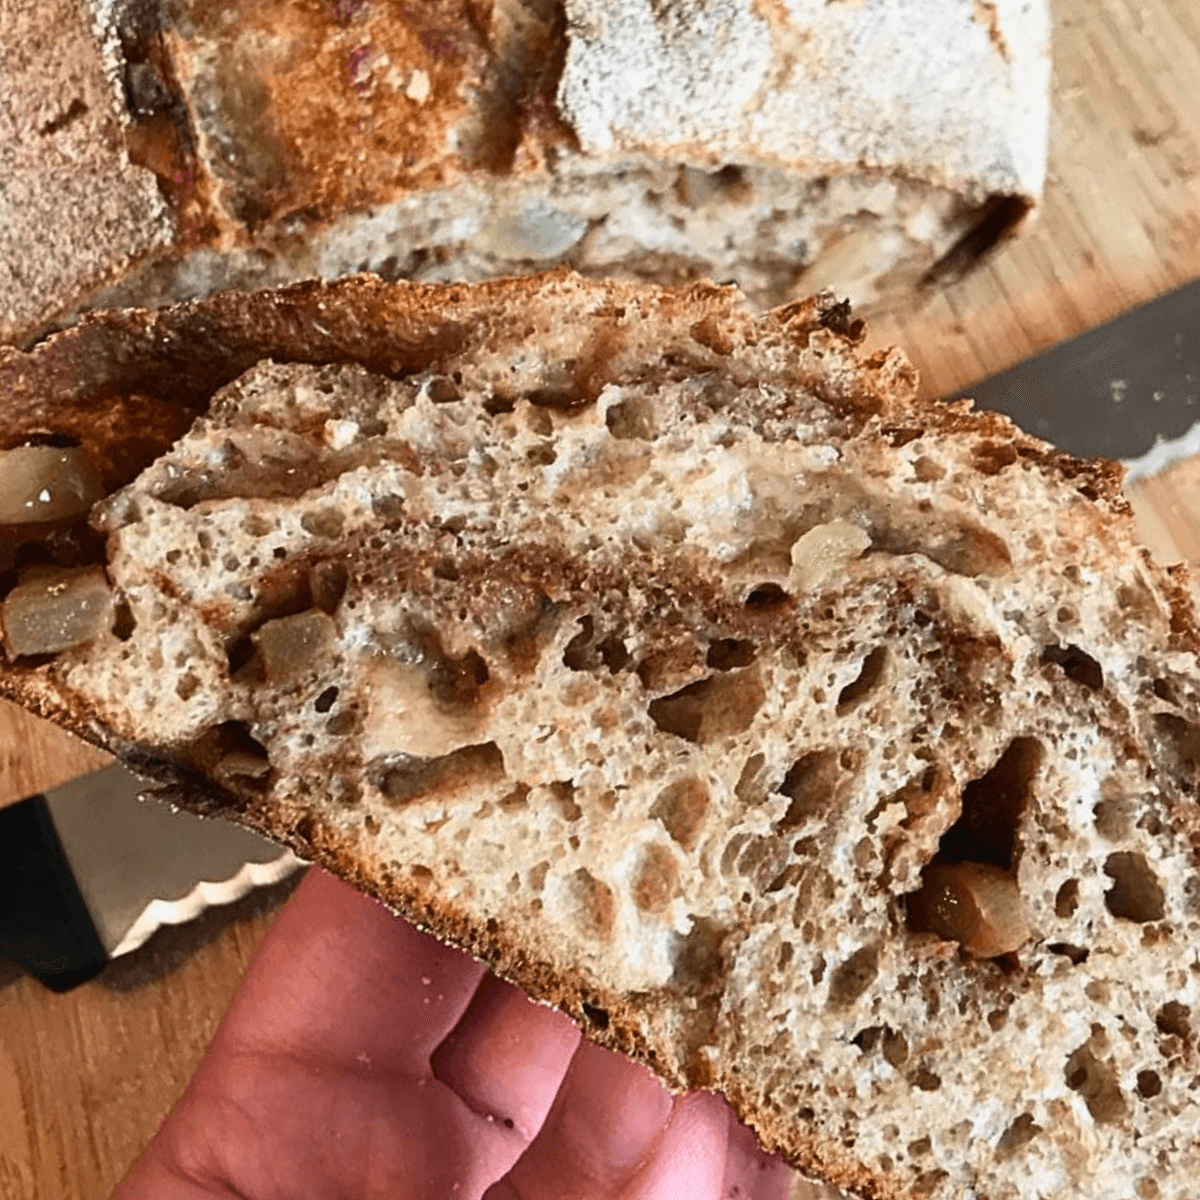
This simple formula transforms three basic elements—flour, water, and salt—into an incredible bread for everyday occasions. No matter how many times I make it, I am always amazed at how such a sticky mixture transforms over the course of fermentation, shaping, and baking into a classic bread that is soft and chewy inside with a crunchy bronze crust on the outside.

If you are looking for No Knead Sourdough Bread, see this post.
The simple bread that goes perfect with everything
It can go with any meal and makes a great contribution to gatherings.
It has become a house staple for breakfasts, sandwiches, and other meals.
Once you have a sourdough starter, you can make this bread with ingredients and tools you most likely already have in your kitchen.
This post explains the steps to make a delicious sourdough boule or round country loaf. If you want to understand the basic sourdough baking process, see this post: Beginner’s Guide to the Sourdough Bread Baking Process
Begin with sourdough starter
Sourdough starter is a natural yeast (or leaven) used to ferment and rise bread in place of commercial yeast.
It is cultivated in a mixture of water and flour.
Once established, the mature starter contains colonies of microbes like wild yeast and good bacteria (lactic acid bacteria and acetic acid bacteria).
The natural yeast and bacteria consume and break down the flour to create a stronger leavening agent.
They do this by creating lots of carbon dioxide bubbles which are trapped in the webs of gluten proteins that have been created during the fermentation process.
There are three stages the sourdough starter goes through: just fed or refreshed, active, and discard.
Read more about sourdough starters in this post: What is a sourdough starter?

Or get my FREE Quick Start Sourdough Guide that explains starter stages, care, a weekly care cycle, tools, and steps to make a great loaf of bread!
Ingredients
Here is the basic formula to make this delicious bread:
For the sourdough starter (levain):
- 15 grams sourdough starter (1 tablespoon)
- 60 grams water (¼ cup)
- 60 grams All-Purpose Flour (7 tablespoons)
For the dough:
- 370 grams water, divided (1½ cups plus 1 T.)
- 100-125 g (approx. ⅔ c.) active starter (If measuring by volume, see this post on tips for measuring starter by cups)
- 400g (approx. 2 ⅔ c.) bread flour
- 100 g (approx. heaping ¾ c. or scant c.) whole wheat flour
- 10 g (1 1/2 t.) sea salt
*Ingredient Notes: You can use all white flour in place of the whole wheat flour, however the dough will be more sticky. If using all white flour, I highly recommend choosing bread flour rather than all-purpose for better dough development and less stickiness.
Tools needed to make Sourdough Country Bread (Boule)
Some recommended equipment to make the process easier:
- Large Bowl or stand mixer
- Rounded plastic dough scraper
- Bench Knife also known as a Bench Scraper
- 4-qt Cambro container for bulk fermentation
- Banneton or Proofing Bowl/Basket
- Flour duster shaker: very optional but easy to use for shaping to get just right coverage and not too much flour
- Bread Lame or bread knife for scoring the dough before baking
- Dutch Oven or see my post on baking with manual steam
- Parchment Paper
- Silicone Oven Mitts
- Cooling Rack
- Bread Knife for safe and efficient slicing. My favorites are Wusthof bread knife and the Shun bread knife
See the full list of my recommended essentials here: Amazon idea list of Sourdough Essentials (see affiliate disclosure)
Have a limited budget? This post outlines the absolute essentials so you don’t have to break the bank to get started plus some hacks to get along without all the “right tools”: Beginners’ Guide to Sourdough Bread Baking Tools on a Budget
Prepare your starter
The most important part of making sourdough bread is getting your starter ready properly and recognizing when it is ready to use.
To feed or refresh your starter, you need to take a tablespoon or about 15-20 grams of an established starter and place it in a clean container or glass jar.
Then add 60 grams of water (1/4 cup water) and 60 grams of all-purpose flour (7 tablespoons of all-purpose flour).
This type of starter is known as a 100% hydration starter which means it is made with equal weights of water and flour.
More posts about sourdough starters:
Recognize When your Sourdough Starter is Ready to Use
It is important to start this recipe with an active sourdough starter.
An active starter has strong yeast activity and a healthy balance of yeast and bacteria to encourage the best dough fermentation.
You can learn about how to recognize that stage in this post: How to Know When your Sourdough Starter is Ready (8 signs)
Here is a photo of the active sourdough starter added to a bowl of water to begin the recipe:

Scale or Volume Measurements
For the best accuracy, use a digital kitchen scale to measure each ingredient.
Use the tare or zero button to put your scale at zero after you place a mixing bowl on the scale.
Add the water first because if you add too much, you can take some out more easily.
Zero out the scale after each ingredient to properly and easily add your ingredients.
If measuring by volume or cup measurements, make sure to see this post for recommendations on volume measuring: How much does a cup of sourdough starter weigh? (Active vs. Discard)
Mix your dough and begin the bulk ferment
When you mix my sourdough bread dough, avoid overmixing.
You want to keep mixing minimal. Only enough to make sure all flour is absorbed by liquid, as well as the salt. And to make sure the salt is well incorporated throughout the dough.
You can mix by hand to avoid this. And that is also a good way to get a feel for your dough and assess how it feels.
If you use a stand mixer and dough hook, you’ll want to keep your speed low and stay nearby to watch and avoid letting it go too long. I prefer to add the salt by hand even when I use the stand mixer.
Why stretch and fold sourdough?
To incorporate more oxygen for better and more even fermentation, you’ll want to stretch and fold your dough during the bulk ferment.
It is also a wetter dough which is why kneading isn’t helpful for this wet type of dough.
Do this at least once, but up to 4 times at 30 minute intervals in the first part of your bulk fermentation.

Time planning for sourdough bread
Aside from learning how to care for a sourdough starter, time planning is the most challenging part of sourdough baking.
You want to plan your baking around your schedule and find a rhythm that works for you.
I created a full Sourdough Time Planning Workbook and Baking Journal that has 8 timing sheets and pages to learn to calculate baker’s percentages and record all your baking notes. You can get that here or by clicking the image below. Or you can get a free sample of the sourdough country bread timing sheets here.

When is the sourdough bulk ferment done?
Bulk ferment is the part of the bread baking process when the dough is not shaped yet and is sitting covered in a bowl or dough bin.
During this stage the dough volume should double. It can be done at room temperature or in the fridge.
Room temperature fermentation should be 4-7 hours. The time range depends on how warm your kitchen is.
Cold fermentation in the fridge will take 24-48 hours. And can be left in the fridge for up to 72 hours.
Learn more about fermentation in these posts:
- How to tell when sourdough is done with bulk fermentation
- Cold Fermentation vs Room Temperature: Which Is Better?
Shaping your sourdough boule
The shaping process has two parts: pre shape and the final shaping.
In between there is a bench rest. This is actually more important than you might assume.
It allows the dough to regain strength and elasticity after being removed from the bowl or bin in preparation to create the final shape.

Here’s a video that comes from my Intro. to Sourdough online course:
When is the proofing done?
While your sourdough bread proofs it is still fermenting to rise in volume, develop more flavor, and become more digestible.
I recommend proofing this bread 1-2 hours at room temperature or 8-12 hours in the fridge.
The dough will grow at least 1.5 to 2 times larger in volume. If you are using a 8-inch or 9-inch wide proofing bowl, it will grow to nearly the top of the bowl.
Testing the proof
You can also use a poke test. Dip a finger in water and poke the dough to test proofing readiness. See a video demonstration in this post.
Perfectly proofed dough will leave an indentation in the dough that slightly rises back but you can still see the indentation where you poked the dough. The dough should feel soft.

Underproofed dough will feel stiff and after the poke test, the indentation doesn’t remain.
Overproofed dough looks deflated and a poke test will sink in with no springback.
Baking
Steam is key for bread baking.
Without steam in the first half of the bake, the crust will form too quickly and early which won’t allow your bread to expand during the bake leading to a dense, small loaf.
Trap steam by using a Dutch oven or use a manual steam method like a pan filled with 1-2 inches of water that preheats in the oven and stays until the midway point of the bake.
See this video for learning about how to bake sourdough bread and the importance of steam!
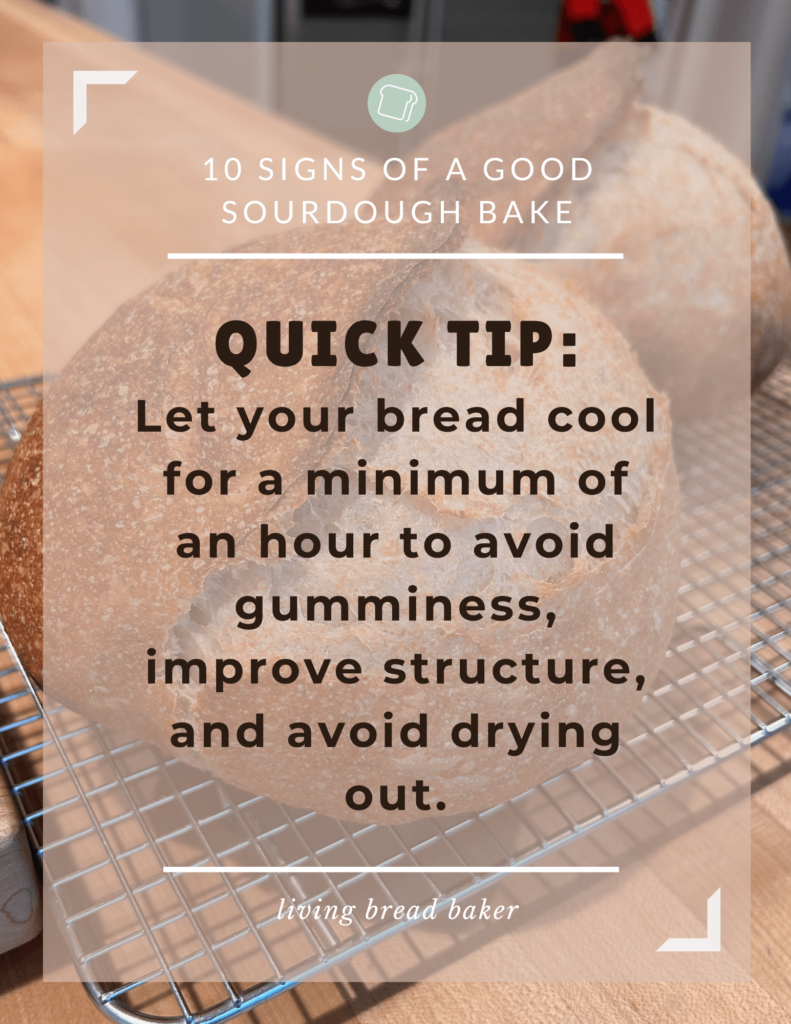
Don’t Forget to Cool your Sourdough Bread
Cooling is an often overlooked step in the sourdough bread making process.
Best practice is letting it cool for 60 minutes.
Review these posts on how to improve and how to evaluate your results:
- Cooling Sourdough Bread: Why and How Long You Should Cool
- Sourdough Bread: 10 Signs of a Good Bake (How-to Guide)
Enjoy the process
The recipe below has photos for nearly every step as well as a shaping video to guide you through the process.
Remember that at the end of the day it’s just bread! If you make a mistake, it’s part of the learning process. And even the most “perfect” loaf will eventually go stale.
If you are interested in making more than one loaf of sourdough bread, see this post to learn: How to Make a Big Batch of Sourdough Bread (Calculator)
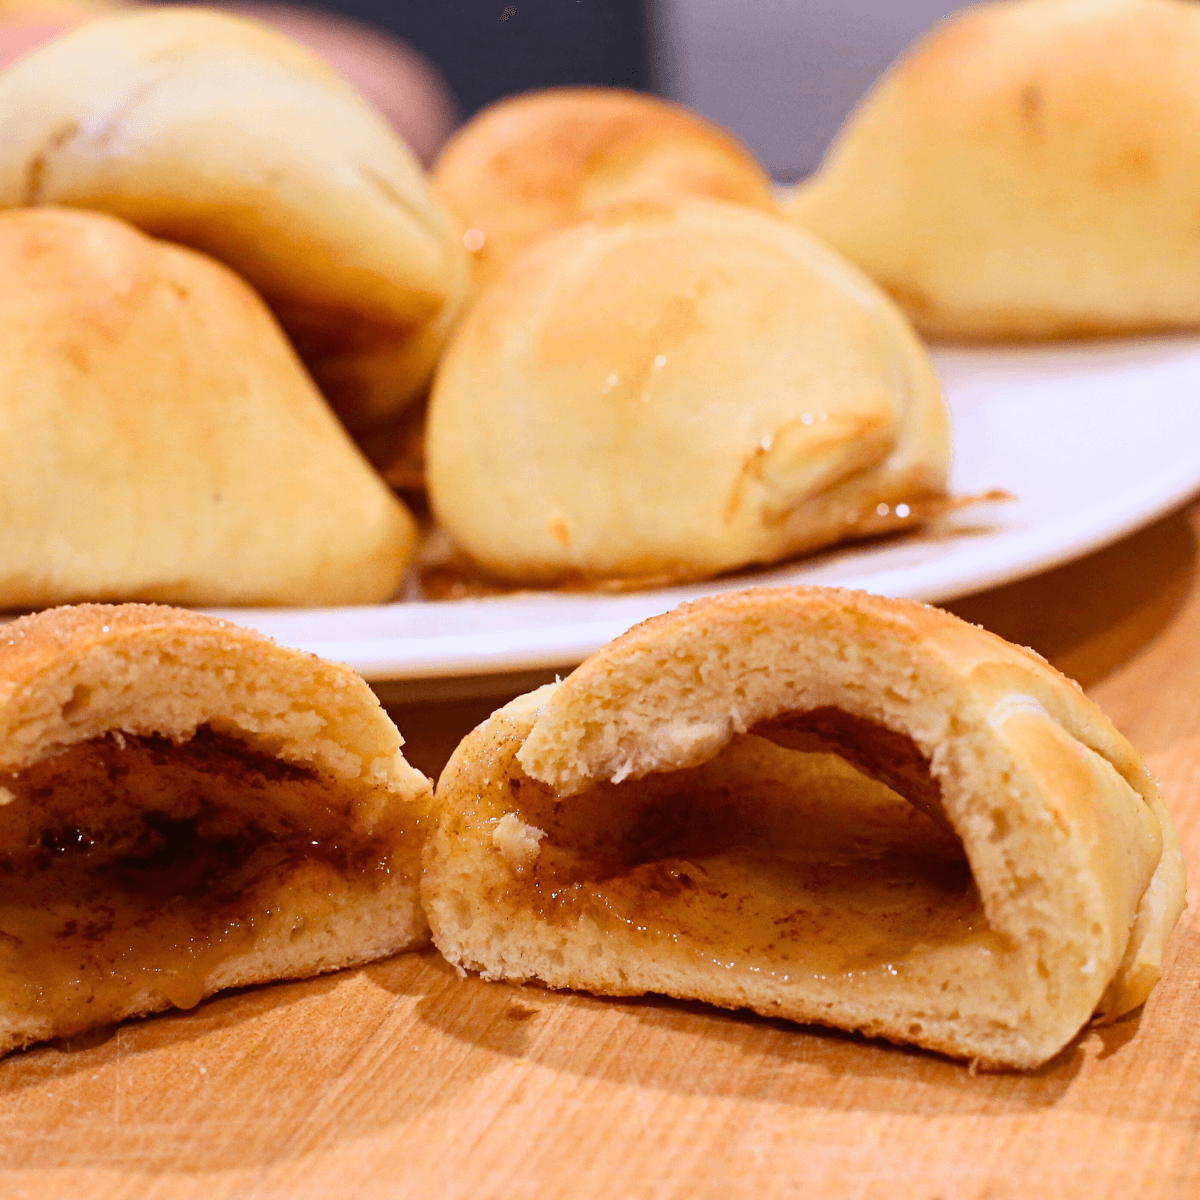
Or if you want to begin trying sweet sourdough recipes, this one is perfect for beginners: Easy Sourdough Cinnamon Rolls Recipe (Soft and Fluffy)
The Best Sourdough Recipes to Try Next


- Sourdough Apple Cinnamon Spice Country Bread (Boule) Recipe
- Sourdough Honey Oat Whole Wheat Sandwich Bread Recipe
- Pumpkin Shaped Sourdough Boules
- Easy Sourdough Pizza Crust Recipe and Guide for Oven Baking
- Sourdough Whole Wheat with Honey Millet Mix and Seeds
Ready to learn?
Learning to bake sourdough doesn’t have to be overwhelming. Whether you’re just getting started or looking for a little more clarity in the process, I’ve got something that will help!
👉 Join my free sourdough email course and learn step-by-step how to go from starter to fresh, homemade sourdough bread—with confidence.
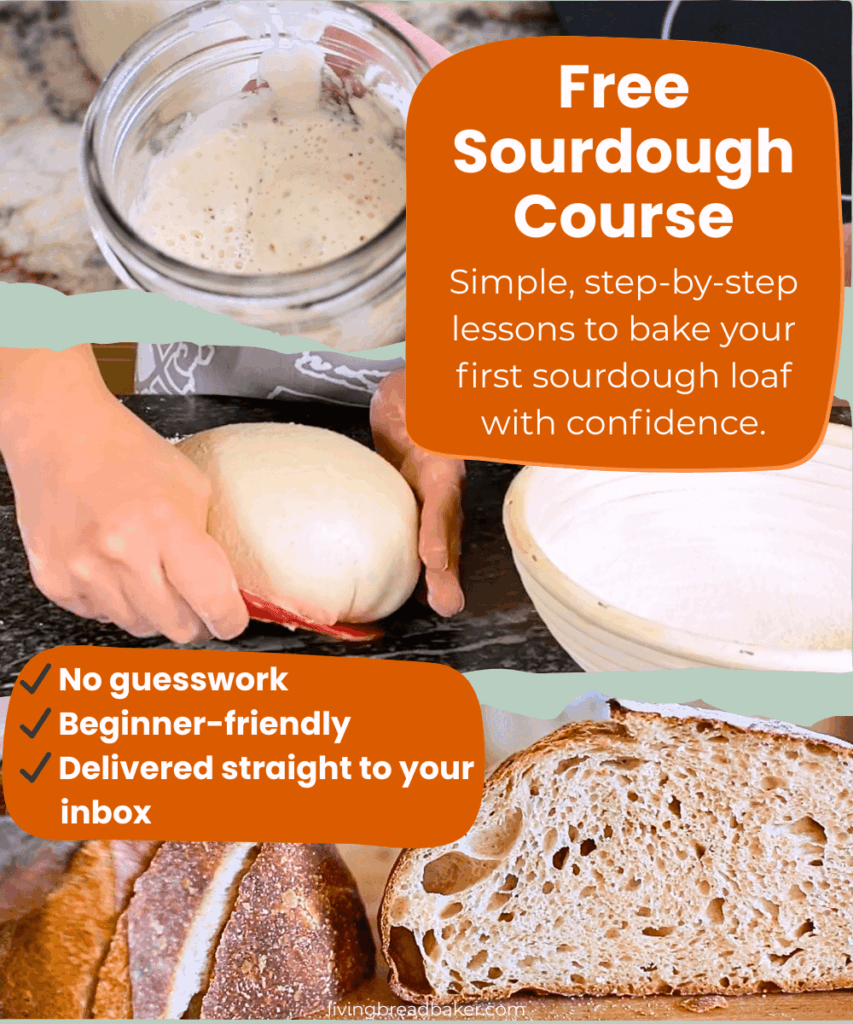
Each lesson is short, beginner-friendly, and designed to help you succeed one step at a time.
🎉 Sign up now and start your sourdough journey today!
Join the Free Sourdough Email Course → {click here to begin!}
Living Bread Baker posts mentioned
Beginner’s Guide to the Sourdough Bread Baking Process
How to make a sourdough starter
Cold Fermentation vs Room Temperature: Which Is Better?
When is my sourdough finished proofing? Signs and a test
How to bake sourdough without a Dutch oven: manual steam method
Sourdough Bread: 10 Signs of a Good Bake (How-to Guide)
How to make No Knead Sourdough Bread, the easy way
Easy Sourdough Cinnamon Rolls Recipe (Soft and Fluffy)
Shop this post
Intro. to Sourdough online course
This post contains affiliate links. Read my policy here.


Sourdough Rustic Bread Master Recipe
Equipment
- Food Scale
- Mixing Bowl
- Spoon
- Dough Scraper
- Parchment Paper
- Round Proofing Bowl (aka Banneton basket)
- Large Dutch Oven (see recipe for modifications)
- Bread Lame (or serrated bread knife)
- Cooling Rack
Ingredients
For the starter
- 15 grams starter (1 tablespoon)
- 60 grams all-purpose or bread flour (7 tablespoons )
- 60 grams water (¼ cup)
For the dough
- 370 grams water, divided (1 ½ cup plus 1 tablespoon)
- 100 grams active starter (about 1 cup)
- 100 grams whole-wheat flour (2/3 cup)
- 400 grams Bread flour (all-purpose is okay) (2 2/3 cups)
- 10 grams sea salt (1 ½ teaspoons)
For dusting the proofing bowl
- Rice flour or cornmeal
Instructions
- Refresh the starter: 6 to 10 hours before mixing your dough, take your sourdough starter out of the refrigerator and place 15 grams of the starter into a clean, empty jar. Discard any starter left in the original jar. Add the 60 grams of flour and 60 grams of water to the jar and stir well. Leave the refreshed starter out at room temperature for 6 to 8 hours until it doubles in volume and becomes bubbly. (After using what’s needed for the recipe, keep the remainder for your next refresh.)

- Scale: Place a mixing bowl on the scale, tare the weight of the scale, and pour in 360 grams of water. Add 100 grams of the active starter and the whole-wheat and all-purpose flour. (When using the scale to measure ingredients, use the tare function to remove the weight of the mixing bowl and other previous ingredients so you can weigh each individual ingredient easily as you add each one to the bowl.)

- Mix: Using a spoon, mix the ingredients together (if you have a stand mixer and a dough hook, mix until the dough starts to pull away from the sides of the bowl) and knead for about 5 minutes. There should be no dry spots of flour. After the initial mixing, it can be helpful to mix the dough with your hands or with a plastic dough scraper to make sure that all the water is incorporated into the flour. Be sure to scrape the sides of the bowl so no dry pieces of dough stick to it.
- Autolyse: Cover the bowl and rest the dough for at least 20 minutes and up to 60 minutes.
- Add salt: Tare the mixture and add the 10 grams of salt and the final 10 grams of water to dissolve the salt. Continue folding the dough, rotating and folding it to make sure it is fully mixed, at least 5 minutes.
- Rest: Cover the bowl and let rest at room temperature for 30 minutes.
- Stretch and fold: To further strengthen dough, pull up one quarter of the dough and fold it over the middle. Repeat this process with the other three quarters of the dough. Recover the dough. This step can be done up to 4 times for maximum development of dough strength during the bulk fermentation.

- Bulk fermentation: Let the dough ferment at room temperature for 4-7 hours until the dough is 2 times its original size and has a smooth texture. (Note: you can also do a long, cold ferment for 24-48 hours in the fridge instead)
- Preshape and bench rest: Transfer the dough from the bowl onto an unfloured clean work surface. Quickly push the dough scraper under one half of the dough fold the dough over itself. Push the scraper under one side of the dough and rotate it in a circle 3 to 5 times until it forms a rough ball. Leave the dough to rest for 20 minutes.

- Prepare the proofing bowl: Dust a proofing bowl or an 8-inch-wide colander lined with a kitchen towel generously with rice flour or cornmeal so that the sides and bottom have a thick, even coating.
- Final Shape: Lightly flour the work surface and the top of the preshaped dough round. Using the dough scraper, push under the entire piece of dough and, using your opposite hand to guide the dough, lift it off the work surface, and flip it onto its floured side. The sticky, unfloured side of the dough should be facing up. Take two opposite edges of dough and gently pull them up creating some length without tearing the dough (if the dough tears, stop stretching and continue with the steps). Fold the edges into the middle of the dough, one on top of the other, using the sticky edges to help them adhere to each other. The dough will look a bit like a burrito. Taking the end of the dough below the seam, gently lengthen with a slight stretching motion and roll the dough onto itself in a spiral until it seals at the opposite end. The floured side of the dough should be facing up and from the side the rolled dough should look like a baby’s bottom. The dough has structure but still needs tension. Using a bench scraper, pull the dough across the work surface or rotate it in a circle, without flipping the dough over, until it tightens into a taut ball. Quickly push the scraper under the dough, lift it off the work surface, guiding it with the opposite hand, and flip the dough upside down into the prepared proofing bowl. The floured side should be down.

- Proof: Cover the dough and proof for 1 to 2 hours at room temperature, until a finger lightly pressed into the dough slowly rises back.
- Preheat: 30 to 60 minutes before the proofing is done, preheat the oven to 500º Place a Dutch oven or cloche inside the oven on the center rack to preheat. If you don’t have a Dutch oven or cloche, place a metal pan of water on the lowest rack to steam during preheat and the first half of the bake.
- Bake: Cut a large piece of parchment paper that is approximately twice as wide as the dough. Center the parchment paper over the proofing bowl and flip the bowl upside down to release the dough onto the paper. Using a serrated bread knife or a bread lame, cut a slit all the way across the top of the dough, about ¼-inch deep. Carefully transfer the dough from the parchment paper into the preheated Dutch oven or cloche (or onto a cookie sheet, if using the manual steam method) and cover it with the lid. Place the bread in the oven. Reduce the oven temperature to 460º F and bake for 20 minutes. Carefully remove the bread from the Dutch oven and place it directly onto the oven rack (remove the steam tray if using manual steam). Reduce the heat to 450º F and bake for an additional 20 minutes to create a golden-brown crust.

- Cool: Transfer the bread to a cooling rack and allow it to cool for at least 60 minutes before slicing.
Video
Notes
Troubleshooting Tips
Q: Why did my loaf bake flat and not rise?A: The dough was most likely overproofed, either by proofing for too long or from proofing in an environment that was too warm. Next time shorten proofing time and be careful of the temperature.
Q: Why did my loaf come out with a dense crumb?A: The culprit for dense loaves is usually underproofing. The dough did not have enough time to rise or the environment was too cold. Add more time to the proof in the future and do a poke test where you slightly wet your finger with water and press the dough—if it leaves a dent rather than springing back too quickly, it is proofed and ready to bake!
Q: Why is the crumb of my bread irregular, tight, or gummy in spots?A: This is often caused by underworking the dough. It’s important to do enough folding during the initial mixing process. And even one stretch and fold during the bulk fermentation will make a big difference. The stretch and fold can be done up to four times during the bulk fermentation.


7 Comments