How to Make a Sourdough Starter
📥 Free How to Make a Starter Guide
👉 Get my How to Make a Starter from Scratch free guide delivered to your inbox!
Learn how to make a sourdough starter in 7 days
Your homemade sourdough starter will continue to grow in strength and health the more you use it.
Materials Needed
- Two pint-sized jars or other clean containers
- Wooden skewers to stir
- Paper coffee filter or cheesecloth
- Rubber bands
- Water
- Flour: Rye flour preferred, whole wheat as a second option, white flour if nothing else is available
Tip: Rye flour is best for growing a new sourdough starter. Whole wheat is the next best option. Bread flour or all-purpose flour can work, but they may take longer to show activity.
🗓️ Sourdough Starter Timeline
Keep your growing sourdough starter in a warm place at room temperature.
Day 1
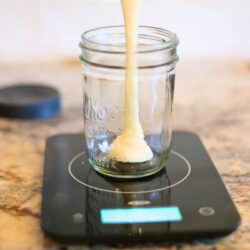
- AM: Add 75g (½ cup) flour and 118g (½ cup) water to a clean jar–adding flour and water to a sourdough starter is known as “feeding the starter”. Stir well with a wooden skewer until no dry flour remains. Cover loosely with a coffee filter or cheesecloth.
- PM: Feed with 20g (2 tbsp) flour and 30g (2 tbsp) water. Stir and recover.
Day 2
- AM: Feed with 20g (2 T.) flour and 30g (2 T.) water, mix well and re-cover.
- PM: Discard half of the starter. Feed the remainder with 40g (¼ cup) flour and 60g (¼ cup) water. Mix well and re-cover.
Day 3
- AM: Do nothing. Allow your sourdough starter to continue growing.
Around day 3 or 4, your starter might have a funky smell. This is usual and should change by the end of the 7 days.
- PM: Get a second jar, add 2 tablespoons of your growing sourdough starter then feed that portion in the new jar 40g (1/4 c.) flour and 40g (3 T.) water. Mix well and re-cover. The jar of remaining starter can be discarded.
Day 4
- AM: Do nothing. Allow your sourdough starter to continue growing.
At this point it is time to begin a rhythm of discarding a portion of sourdough starter and feeding the remainder. This will encourage strong healthy growth.
- PM: Discard half. Feed with 40g flour and 40g water.
Day 5
- AM: Discard 80% of the starter. Feed the remaining portion with 40g (1/4 c.) flour and 40g (3 T.) water. Mix well and re-cover.
- PM: Repeat the same discard and feed routine.
Day 6
- AM & PM: Continue discarding 80% and feeding with 40g (1/4 c.) flour and 40g (3 T.) water.
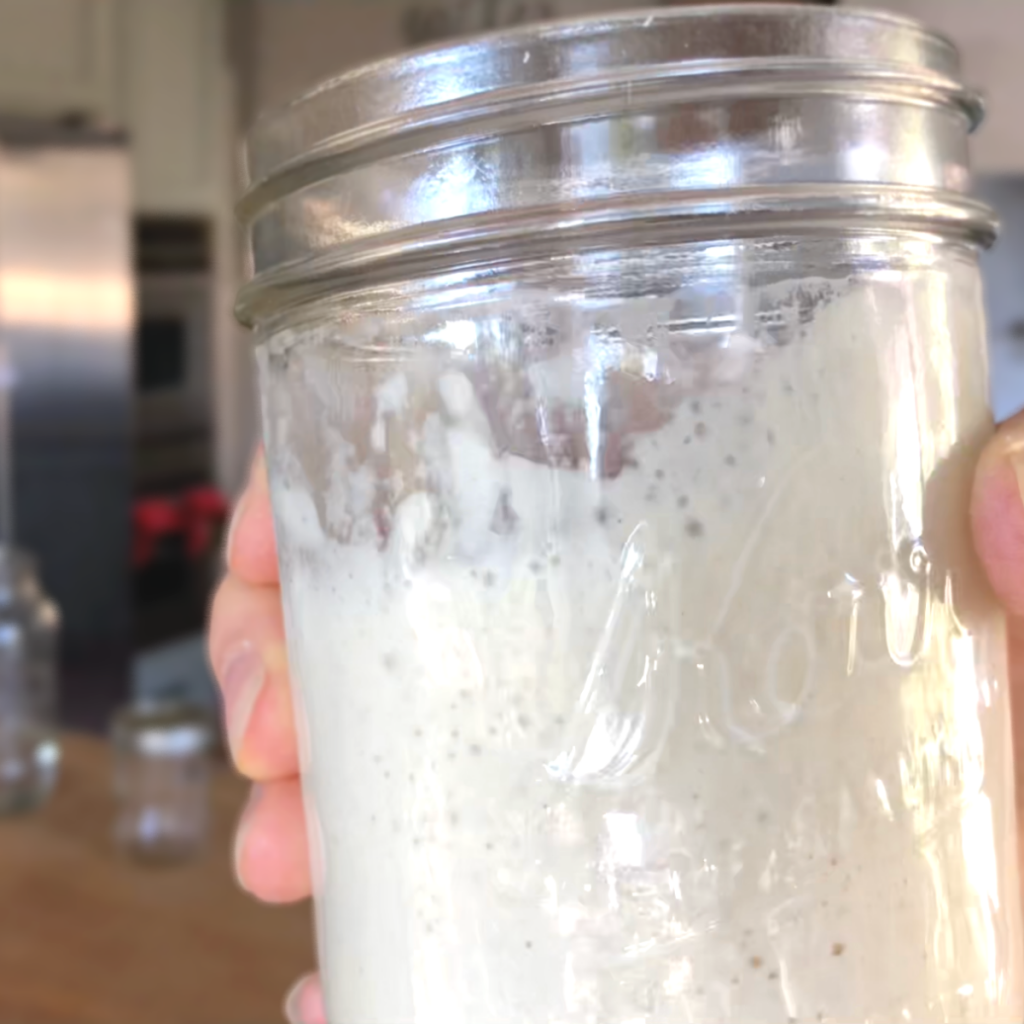
🌟 By now, your starter should be bubbly and active. When the starter doubles in volume within 6–10 hours and smells pleasantly yeasty and slightly sour, the sourdough starter is ready to use.
Day 7
- AM: Discard 90%, leaving just 1 tablespoon. Feed with 75g (½ cup) flour and 75g (⅓ cup) water.
- PM: Use your new starter in a bread recipe!

Make sure you have some starter left (never add all of your sourdough starter to a recipe). After you add the active sourdough starter to a batch of dough, feed the remainder left in the jar with ½ cup flour and ⅓ cup water to keep it going.
Leave the jar at room temperature to allow the starter to become active for a new batch of bread, or let it sit out for 6 hours at room temperature before putting it into the refrigerator for maintenance mode.
Notes & Tips
- If your starter isn’t doubling or still smells funky, repeat Day 6 until it’s active and smells right.
- Once your starter is established, you can transition the starter to white flour by using white flour to feed the tablespoon of the established starter in a new jar.
- Store in the fridge for maintenance mode. Refresh weekly: discard 90%, feed with 60g flour (heaping ⅓ cup) and 60g water (¼ cup).
- When ready to bake, remove from the fridge and feed 8–12 hours before baking.
- To scale up for multiple loaves, multiply your feedings:
- Example: For 3 loaves → 180g flour + 180g water.
👩🍳 Ready to Learn How to Bake with Your New Starter?
Now that you’ve made your starter, come learn how to bake with it!
My beginner-friendly online sourdough courses make it simple and doable.