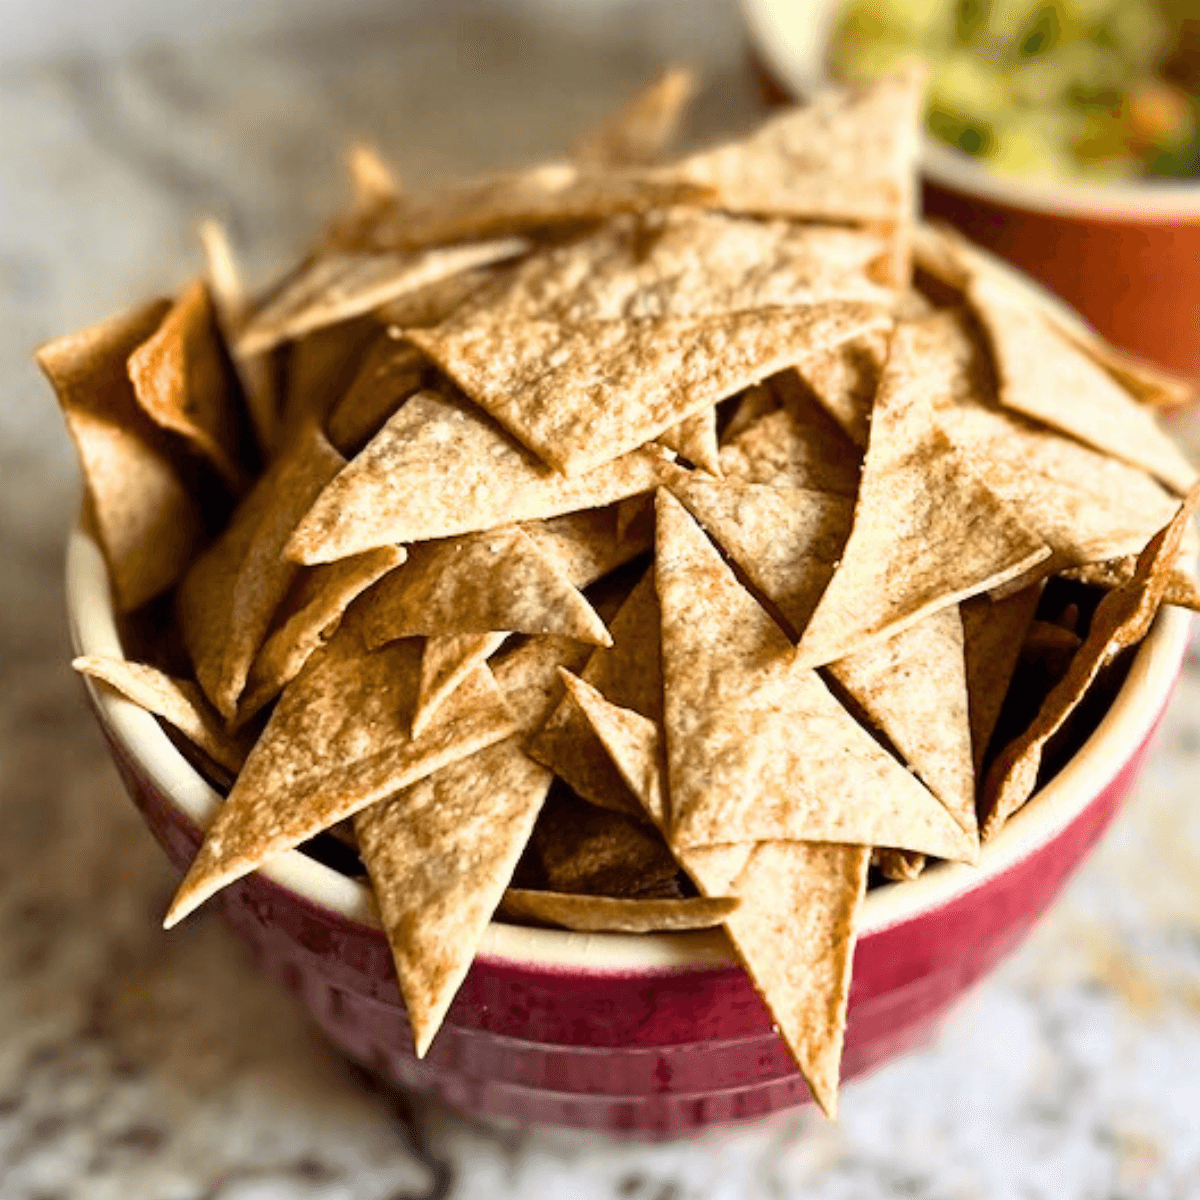
Seeded Raisin Gourmet Sourdough Crackers (Discard recipe)
Enjoy these Twice-Baked Seeded Raisin Gourmet Sourdough Crackers (Discard recipe) on your next charcuterie board!
They are a homemade, sourdough version of the gourmet fruit and seed crackers you’ll find in the cheese or wine section of grocery stores for $8-12 per box.
This sourdough version is of course less expensive, but it is also healthier and more delicious! You can even customize it.
In this post, you’ll learn how to make delicious homemade sourdough crackers, about sourdough discard, the recipe process, and tips to create an impressive platter for your friends or guests.

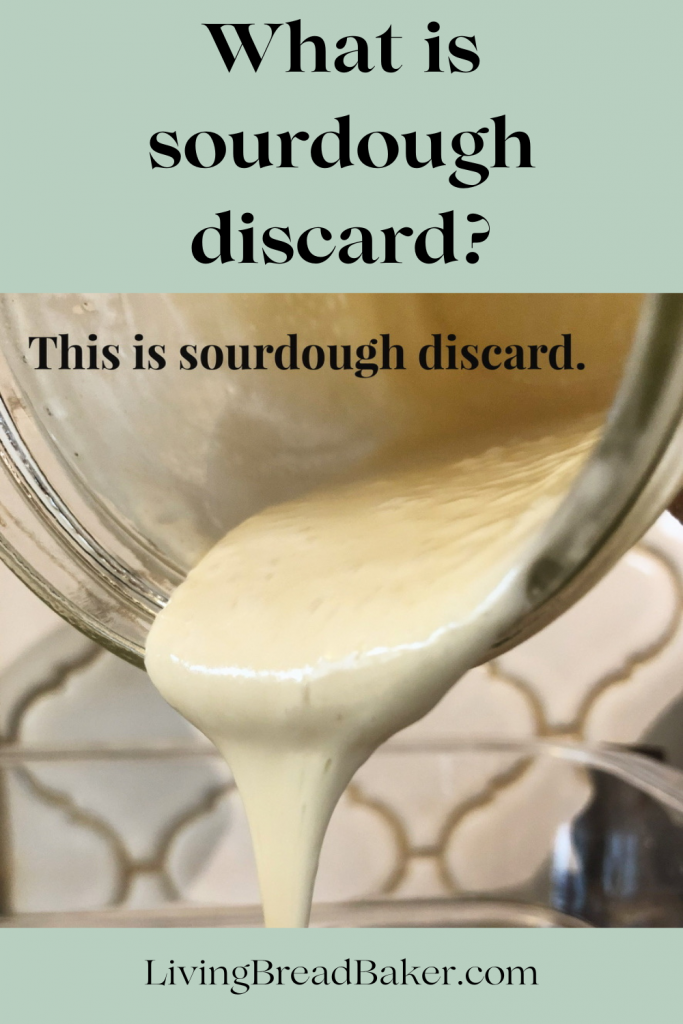
What is Sourdough Starter Discard?
Sourdough starter discard is the stage of sourdough starter after the starter has been refreshed (process of discarding and feeding) and was an active starter for several hours. Once the wild yeast and lactic acid bacteria have digested all the “food” in the starter: the simple carbohydrates from the flour, the gluten connections that hold in those lovely bubbles of carbon dioxide grow weak so the starter collapses lower and lower with every hour. And some microorganisms grow weaker and some die in this process as the food runs out.
This leaves a flat sourdough starter with little to no bubbles, a stronger sour smell, and microorganisms in desperate need of care.
At this stage, the yeast is not in a stage where it can do a good job rising bread unless a specialized bread recipe is used like my No Knead Sourdough recipe. So a small portion, about a tablespoon, is put into a fresh jar and fed to revitalize the starter to make it become active again. The rest of the sourdough starter is known as discard because it’s what can be tossed or set aside since the small portion we carried over will continue the life of our sourdough starter.
Note: Another way to get rid of the bulk of sourdough discard is to pour out about 90% of the old sourdough into a collection jar (I usually have one or two in my fridge) then feed the small portion left in the jar. There’s room in sourdough baking for a wide variety of methods as long as you have down the basic principles of refreshing your sourdough starter: discarding and feeding. To learn more about this, check out my post What is a Sourdough Starter?
Check out this other post and video on What is sourdough discard?
Why use Sourdough Starter Discard?
You can absolutely just discard the old sourdough starter, but you can also use it in a variety of sourdough recipes to create more flavor and texture. Another benefit of using sourdough starter discard in sourdough recipes is that when used properly, it can make the recipe more digestible.
Since sourdough starter discard doesn’t have the rising power of active sourdough starter, it is commonly used in crackers, cookies, scones, pancakes, and other versions of quick breads when other leavening agents like baking soda, baking powder, eggs, or a combination are used.
Check out these other posts with videos:
- Why use Sourdough Discard?
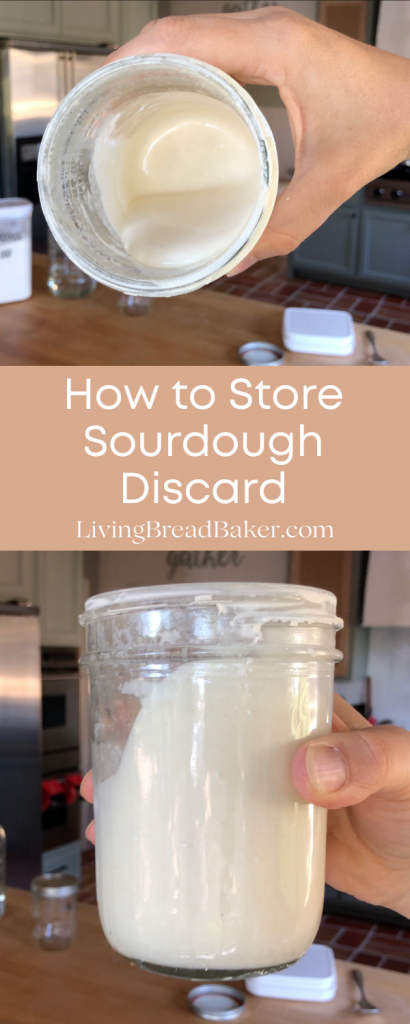
- How to Store Sourdough Discard for Starter Discard Recipes
- How to use Sourdough Discard
Timeline to make Sourdough Gourmet Crackers
Time planning is very important for a successful sourdough bake. Here’s how to plan for this one (hours are in bold):
- 10-30 minutes ingredient prep
- 20-30 minutes making dough and filling loaf pan
- 6-10 hours (or overnight) dough fermentation
- 40-42 minutes bake time
- 3-5 hours cooling + recommended fridge cooling for at least 30-60 minutes
- 20 minutes to cut the loaf into thin slices
- 25-33 minutes for the second bake
- 15-30 minutes for final cool
If you need help planning out this or other sourdough bakes, I have a resource for you to check out: Sourdough Time Planning Workbook and Baker’s Journal
Ingredients for Gourmet Sourdough Crackers
Here are the ingredients you’ll need to make these delicious sourdough discard pancakes:
- Dough ingredients
- 200 grams all-purpose flour (1 1/3 cup)
- 40 grams whole wheat flour (1/3 cup)
- 3 grams salt (½ teaspoon)
- 4 grams baking soda (1 teaspoon)
- 180 grams sourdough discard (about 1 ¾ cup)
- 150 grams whole milk (about 2/3 cup)
- 50 grams water (about 3 ½ T.)
- 30 grams brown sugar (2 tablespoons)
- 30 grams maple syrup (2 tablespoons)
- 115 grams raisins (1 cup)
- 20 grams flaxseeds (1 ½ tablespoon)
- 70 grams pumpkin seeds (2/3 cup)
- 20 grams pecans, roughly chopped (¼ cup)
- 2 grams fresh rosemary, minced (about 1 teaspoon)

How to make the Sourdough Gourmet Cracker Dough
To make the dough, first combine the dry ingredients (flour, salt, baking soda) in a large bowl. Set this mixture aside.
Mix the wet ingredients, like the sourdough discard, milk, and water in a separate bowl or the bowl of a stand mixer with a paddle attachment. Stir in brown sugar and maple syrup.
Slowly stir the dry ingredients into the wet mixture. Once combined, add raisins, seeds, nuts, and rosemary.
Stir until the all the ingredients are well combined. It will be a thick, wet batter.
Preparing a Loaf Pan for the Sourdough Cracker Dough
You can use a greased loaf pan, but I prefer to line my loaf pan with parchment paper so that I can remove the bread more easily and keep my pan cleaner.
To line your pan with parchment paper, cut a square piece of parchment, at least 12-by-12-inch. Turn the loaf pan over, center the parchment over the bottom of the loaf pan. Use scissors to make four cuts from the edge of the paper to each corner. Turn loaf pan over.
You will use the cut slits to fold edges in to fit parchment snugly into loaf pan by holding the center flap and folding the ones on each side behind the center flap until they fit the bottom and sides of the pan.
Finally, load your sticky dough into your prepared loaf pan by using a spatula or spoon.
Start at 0:12 to see how to cut your parchment paper to fit your loaf pan:
Ferment the Sourdough Gourmet Cracker Dough
You might wonder why we are fermenting cracker dough, but that’s the whole point of using sourdough.
If we were to bake this dough right away, it would rob us the benefit of digestible, healthier crackers. It also doesn’t allow the flavors in the dough to strengthen and become infused, and it would result in a denser, drier first bake.
So, this step isn’t one to skip! You’ll be glad you didn’t.
Cover your filled loaf pan with plastic wrap and leave at room temperature overnight or 6 to 10 hours to ferment and rise.

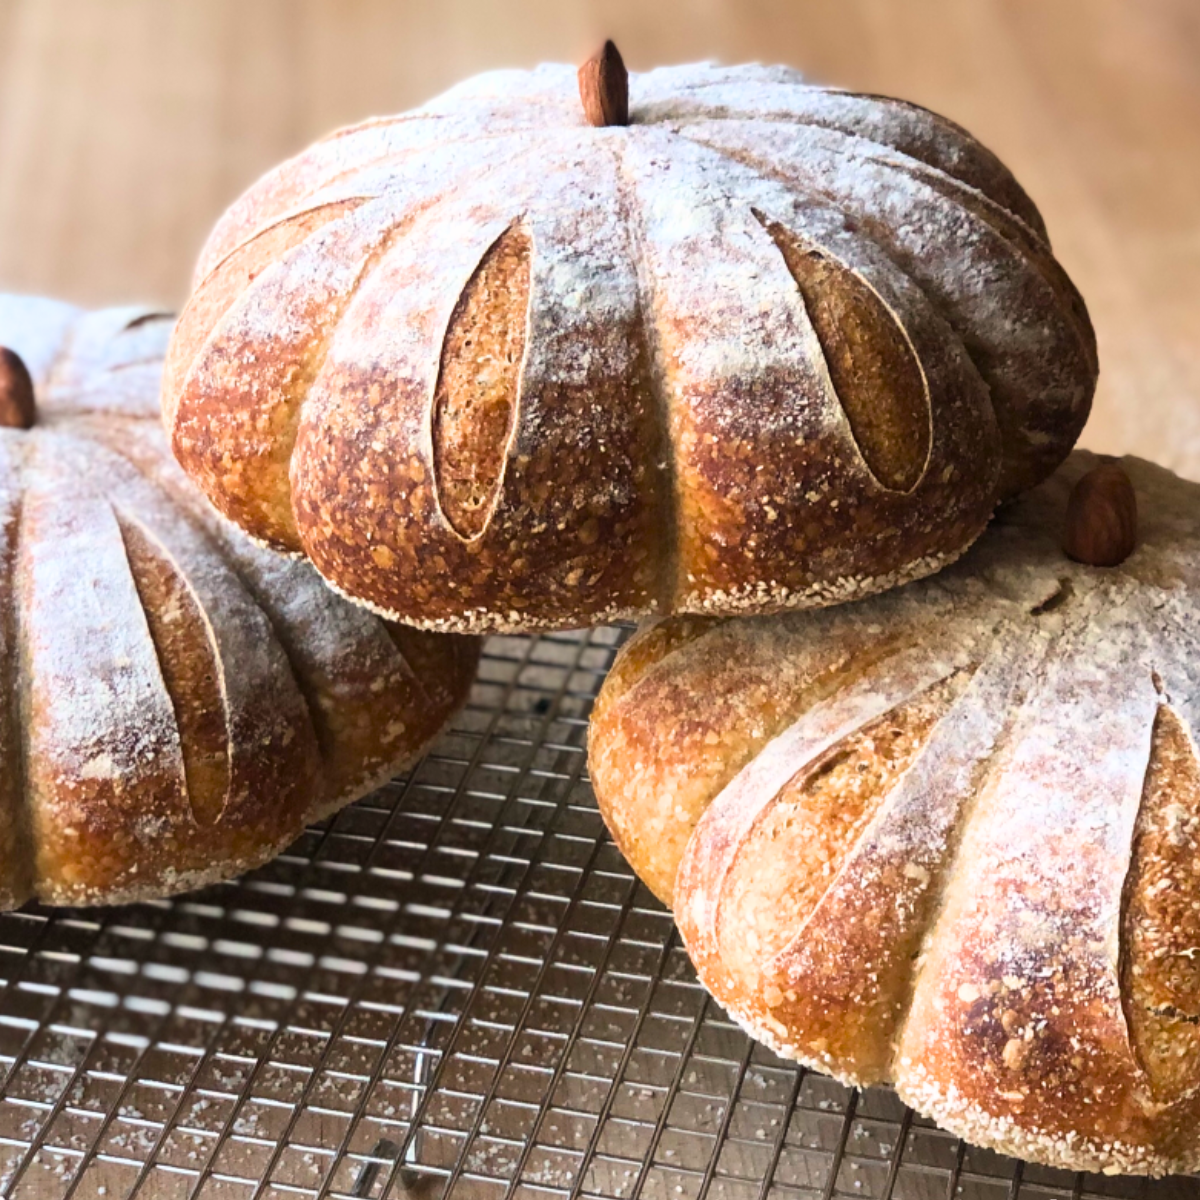
First Bake for the Twice-Baked Sourdough Gourmet Crackers
After your dough has fermented, it’s time to preheat your oven for the first bake! Preheat your oven to 400º F.
Place your loaf pan into oven and bake 40 to 42 minutes, until a toothpick or knife inserted into the center comes out clean.
Now, another important waiting period… after your loaf is cool enough to handle, carefully place it on a wire rack and let it cool completely for 3 to 5 hours.
Thorough cooling allows the structure of the bread to solidify and be set for easier slicing. Once cooled, place in the fridge for at least 30 to 60 minutes to make the loaf even firmer for slicing.
Second Bake for the Twice-Baked Sourdough Gourmet Crackers
Now it’s time for the second bake! This step makes your soft fruit and seed bread into crisp crackers.
Preheat your oven to 325º F. Then, get out two baking sheets and place a piece of parchment paper on each baking sheet.
Use a sharp bread knife to cut the bread into thin slices(1/8 to ¼-inch thick). If you’re having a hard time getting your bread to stay still for this step, use heavy weights like a bag of flour or pots as a makeshift vice to hold the loaf firmly in place at each end when you are slicing.
Lay the thin slices of bread onto the parchment lined baking sheets.
Toast slices in the oven for 15 minutes, then flip and toast 10 to 18 more minutes until they are golden brown.
Finally, remove your baking sheets from oven and let the crackers cool on the baking sheet.
Serving Your Twice-Baked Sourdough Gourmet Crackers
The texture and flavor of these delicious crackers goes well with many types of cheese plates.
Mild palates like kids or picky eaters will enjoy these seed crackers by themselves, dipped in honeycomb, almond butter, peanut butter, Greek yogurt, or topped with slices of cheddar cheese.
People who have more nuanced palates, will appreciate how the sweetness of the dried raisins and grounding flavor of the rosemary pair well with blue cheese, brie, or gouda.
These sourdough gourmet crackers also look beautiful on your cheese board.
If you have crackers left over (as unlikely as that is!), they’d also be great broken up in a salad as gourmet croutons!

More Sourdough Recipes for Appetizers and Charcuterie Boards
- Sourdough Discard Crackers
- The Best Sourdough Discard Graham Crackers Recipe
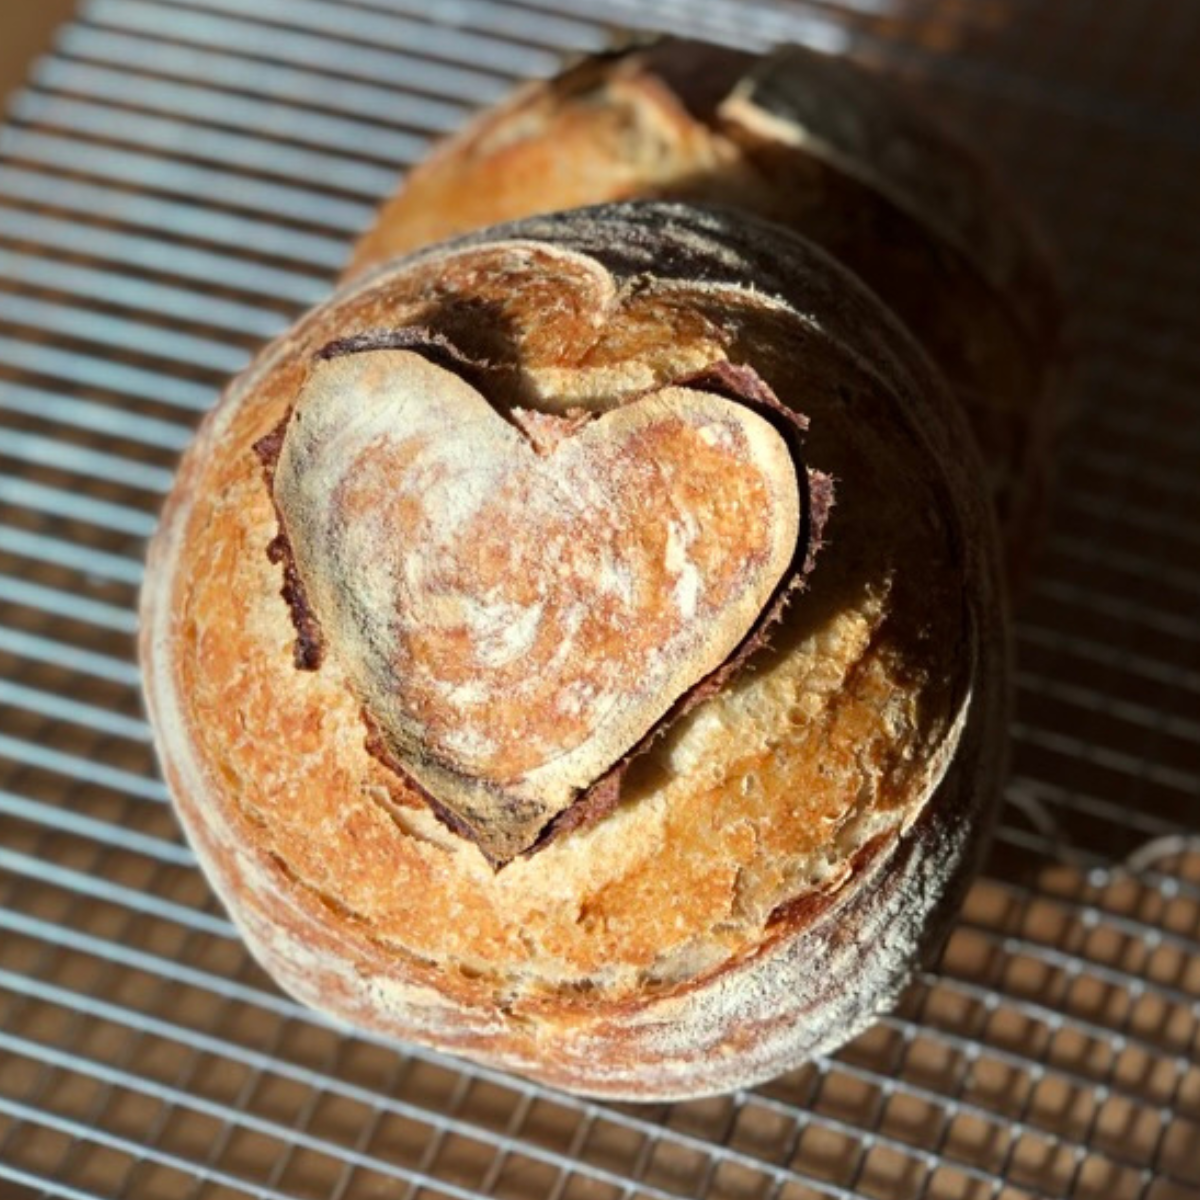
- Sourdough Country Bread Boule
- Sourdough Whole Wheat with Honey Millet Mix and Seeds
- How to Make No Knead Sourdough, The Easy Way
Don’t Forget these 5 Tips for Delicious Crackers
- Plan out your bake ahead of time so you can get the most out of the fermentation stage and cooling periods, which are the longest stages.
- Fermenting the dough makes your crackers more flavorful, creates better texture in the bake, and makes them more digestible.
- Cooling your bread after the first bake makes slicing so much easier! Once bread is fully cooled, put it into the fridge for at least 30-60 minutes so it’s even easier to cut.
- Check out some tools below that will make this great recipe and other sourdough recipes easier to make!
- If you make these crackers ahead of time, make sure they are fully cooled before storing. Store them in an airtight container in the fridge to preserve their crisp texture.
Helpful Tools for this Cracker Recipe & a Stunning Cheese Board
- Shun Bread Knife (my favorite for all my sourdough bread slicing, Wusthof is another excellent bread knife and less expensive)
- Bread Loaf Pan
- Cooling Rack
- Parchment Paper Sheets
- Set of Baking Sheets
- Acacia Wood Charcuterie Board
- Metal Cheese Slicing Set
- Reusable Cheese Label Set
- Wood Spreaders Set

Need more sourdough help?
Don’t let sourdough overwhelm you—get the guidance you need to bake with confidence! Whether you’re a complete beginner or looking to simplify your routine, I’ve got you covered.
- Just starting out? Download my free Quick Start Sourdough Guide to master the key terms and understand the basics of maintaining your starter and using sourdough discard.
- Ready to start making sourdough bread? My Intro. to Sourdough course will walk you through every stage with step-by-step video tutorials, perfect for anyone wanting to build a solid sourdough foundation and you can take it for just $27
- Short on time? The Once-a-Week No Knead Sourdough online course is designed for busy bakers and overwhelmed sourdough beginners! Make one batch of dough to create bread, pizza, bagels, and more throughout the week, without the hassle of daily baking.
- Need help planning your bakes? Check out my Sourdough Time Planning Workbook, perfect for new or experienced bakers! It includes 8 ready-to-use templates for classic sourdough breads and enriched doughs, plus a baking journal to help you track your bakes and work with baker’s percentages.
Thousands of bakers have already transformed their sourdough skills with my tutorials and resources. I’d love to help you make amazing sourdough (without the stress)!
Living Bread Baker posts mentioned
How to Store Sourdough Discard for Starter Discard Recipes
The Best Sourdough Discard Graham Crackers Recipe
Sourdough Whole Wheat with Honey Millet Mix and Seeds
How to Make No Knead Sourdough, The Easy Way
Shop this post
Shun Bread Knife (my favorite for all my sourdough bread slicing, Wusthof is another excellent bread knife and less expensive)
FREE Sourdough Quick Start Guide
Sourdough Time Planning Workbook
My Intro. to Sourdough online course
Celebrate with Bread Baking (the non-sourdough version of this recipe first appeared in my book)
Sourdough Time Planning Workbook & Baking Journal
This post contains affiliate links. Read my policy here.

Twice-baked Seeded Raisin Bread Crackers with Sourdough Discard
Equipment
- Food Scale
- 2 large mixing bowls
- Spoon
- Parchment Paper
- loaf pan
- serrated bread knife
- 2 Baking Sheets
- Cooling Rack
Ingredients
- 200 grams all-purpose flour 1 1/3 cup
- 40 grams whole wheat flour 1/3 cup
- 3 grams salt ½ teaspoon
- 4 grams baking soda 1 teaspoon
- 180 grams sourdough discard about 1 ¾ cup
- 150 grams whole milk about 2/3 cup
- 50 grams water about 3 ½ T.
- 30 grams brown sugar 2 tablespoons
- 30 grams maple syrup 2 tablespoons
- 115 grams raisins 1 cup
- 20 grams flaxseeds 1 ½ tablespoon
- 70 grams pumpkin seeds 2/3 cup
- 20 grams pecans, roughly chopped ¼ cup
- 2 grams fresh rosemary, minced about 1 teaspoon
Instructions
- Combine dry ingredients: In a mixing bowl, stir together the all-purpose flour, whole wheat flour, baking soda, and salt. Set aside.
- Combine wet ingredients: Add sourdough discard, milk and water into a separate mixing bowl and stir together. Stir in brown sugar and maple syrup.
- Mix: Add the dry mixture into the wet mixture. Stir together. Add the raisins, seeds, nuts, and rosemary. Stir batter until all the ingredients are well combined.
- Prepare loaf pan: Cut a square piece of parchment, at least 12-by-12-inch. Turn a loaf pan over, center the parchment over the bottom of the loaf pan. Use scissors to make four cuts from the edge of the paper to each corner. Turn loaf pan over. Use cut slits to fold edges in to fit parchment snugly into loaf pan.
- Fill loaf pan: Use a spatula or spoon to add the batter to the loaf pan.
- Ferment: Cover filled loaf pan with plastic wrap and leave at room temperature overnight or 6 to 10 hours to ferment and rise.
- Preheat: After the fermentation time, preheat oven to 400º F.
- Bake: Place pan into oven and bake 40 to 42 minutes, until a toothpick or knife inserted into the center comes out clean.
- Cool: Allow the loaf to cool completely for 3 to 5 hours. Do not rush this step. It is ideal if bread is completely cooled and set, once cooled place in the fridge to make the loaf firmer for slicing.
- Second preheat: Preheat oven to 325º F.
- Prepare baking sheets: Get out two baking sheets. Cut two large pieces of parchment. Place each piece on a baking sheet.
- Slice: Use a sharp serrated bread knife to cut 1/8 to ¼ inch thick slices of bread. For a tip—use heavy weights like a bag of flour or pots as a makeshift vice to hold the loaf firmly in place when you are slicing. Lay slices onto the parchment lined baking sheets.
- Second bake: Toast slices 15 minutes, then flip and toast 10 to 18 more minutes until they are golden brown.
- Cool: Remove baking sheets from oven and allow the slices to cool on the baking sheet.
- Serve: Serve the Twice-Baked Seeded Raisin Breads with cheese or package to gift to a friend.
Notes
- To get the slices especially thin. Chilling the loaf in the fridge is helpful. Even partially freezing the loaf for 30 to 60 minutes can help make it easier to thinly slice.
- Rather than lining the loaf pan with parchment, you can generously grease the loaf pan with oil or butter instead--this may affect cooking time so monitor as you bake.
- If not enjoyed right away, store in a glass or metal container then refresh in an oven at 325º F for 5 to 8 minutes to bring back their crispness.
- Place a set of the crisp bread slices into a plastic favor bag or a paper bag with a display window and fasten with a string or ribbon with a note for a special gift. Gift these with your favorite cheese and wine for a housewarming, anniversary, or engagement celebration.


One Comment