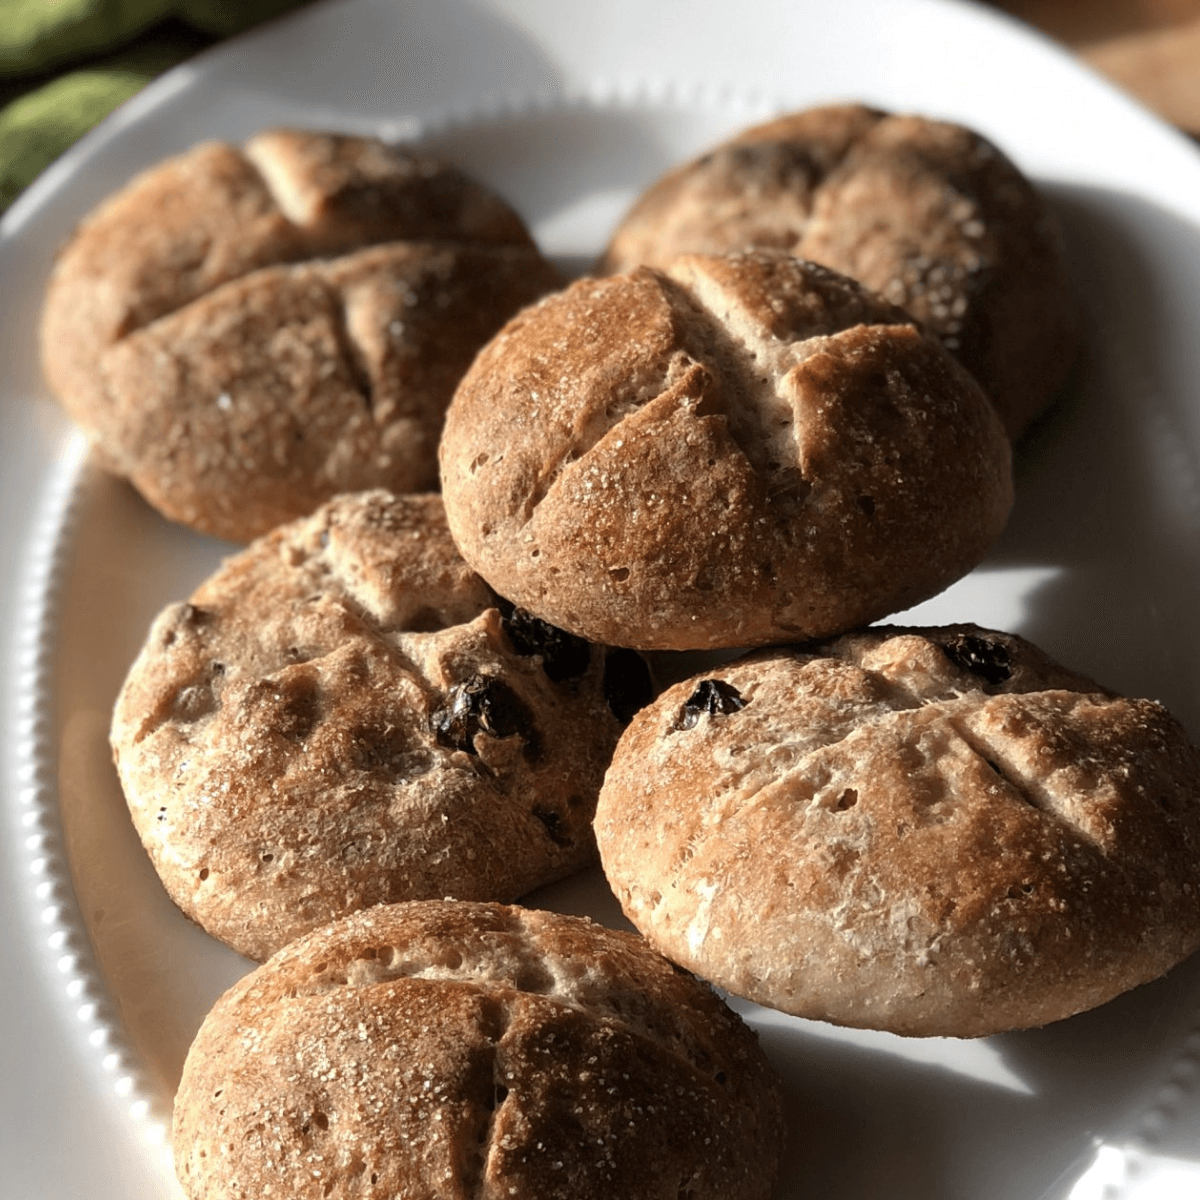
Sourdough Whole Wheat Bread with Honey & Seeds (Home-Milled)
If you like a full flavor, wholesome bread, you will love this sourdough whole wheat bread made with honey and seed mix.
I made this version with home-milled flour, but you can use store bought. Make sure to check my tips for great whole wheat bread results!

Why is whole wheat bread more difficult to make?
Gluten formation is a key part of the bread dough fermentation process.
High protein white bread flour has a lot of the starches needed to create a very elastic dough, but does not contain the bran that gives whole wheat flour its color, texture, and nutrition.
The bran in whole wheat flour interferes with gluten development by cutting and blocking strong gluten formation.
Whole wheat flour is also extremely varying. Whole wheat flours can have different flavors and different absorbency levels.
Bran is highly absorbent so it requires more water than all white or mostly white breads.
The amount of water used must be just right to fully hydrate the flour but if too much water is used, the poor strength of the gluten can’t support over hydration.
But there are techniques which can make your whole wheat bread more successful.
See this post for more information on flour types: All About Flour
7 Sourdough Whole Wheat Bread Tips
To make a sourdough whole wheat bread, look for a recipe that includes these factors or experiment with these recommendations:
- Complete the initial mixing of the liquid and flour without the sourdough starter for the autolyse. This helps jumpstart gluten development.
- For a softer and fluffier sourdough whole wheat bread, use white bread flour for half of the overall flour in the recipe.
- Whole wheat bread has optimal texture with 76-82% hydration. The amount of hydration needed can vary depending on the type of flour used.
- Add water slowly and feel the dough to get a sense for whether it feels too dry or too wet. Give the dough 5-10 minutes to absorb the liquid and check again.
- Enriching elements like scalded milk, olive oil, or butter can help make your whole wheat bread softer as well.
- For healthier whole wheat, a few things you can do are to buy whole wheat flour (or berries) from small family farms or mills.
- You can also mill wheat berries at home for the freshest flour, flavor, and greatest health benefits.
How does Sourdough improve Whole Wheat Bread?
The long fermentation required for sourdough bread is ideal for whole wheat bread.
The longer time that the dough sits allows for optimal hydration as the flour soaks in the liquids and softens more.
Sourdough also breaks down the gluten in flour during the long fermentation process making the dough more digestible.
Ingredients to make Sourdough Whole Wheat Bread with Honey and Seed Mix
Here is the basic formula to make this delicious bread:
- 500g Hard Red Wheat Flour (mine was fresh milled and purchased from Moon Family Farm)
- 375g water
- 100g active starter (I used a white 100% hydration starter)
- 12g sea salt
- 100g millet (coarse milled)
- optional: 30g honey
- 80g hot water
- 30g toasted pumpkin seeds
- 8g poppyseeds
Tools Recommended
Some recommended equipment to make the process easier:
- Large Bowl or stand mixer
- Rounded plastic dough scraper
- Bench Knife also known as a Bench Scraper
- 4-qt Cambro container for bulk fermentation
- Banneton or Proofing Bowl/Basket
- Flour duster shaker: very optional but easy to use for shaping to get just right coverage and not too much flour
- Bread Lame or bread knife for scoring the dough before baking
- Dutch Oven or see my post on baking with manual steam
- Silicone Oven Mitts
- Cooling Rack
- Bread Knife for safe and efficient slicing. My favorites are Wusthof bread knife and the Shun bread knife
See the full list of my recommended essentials here: Amazon idea list of Sourdough Essentials (see affiliate disclosure)
Have a limited budget? This post outlines the absolute essentials so you don’t have to break the bank to get started plus some hacks to get along without all the “right tools”: Beginners’ Guide to Sourdough Bread Baking Tools on a Budget
Steps to Making Your Sourdough Whole Wheat Bread with Honey and Seed Mix
Prepare the Sourdough Starter
In order to make this recipe, you’ll need 100-125 grams of active sourdough starter.
So 6-12 hours (at least 6-8 hours in warmer months, 10-12 in cooler months) before you make your dough, mix together 60 grams of all-purpose flour (7 T.) and 60 grams of water (1/4 cup) with 20 grams of sourdough starter (about 1 T.) in a glass jar or clean container.
Let this sit at room temperature to become active for 6-12 hours.
Once it is more than doubled in volume, bubbly, and has these signs of readiness, you can make your dough.
For more information on sourdough starters, see these posts:
Mixing the Dough for the Sourdough Country Bread
There are three parts of the dough mixing process: Scaling, Initial Mix, Autolyse, Final Mix
Scaling
Start by adding 375 grams of water to a large bowl or the bowl of a stand mixer. Follow the water with the flour. Hold off on the starter and other ingredients.
Initial Mix
Mix the water and flour together using a spoon or a dough hook attachment, if using a stand mixer. Do not overmix. Be sure to check under the dough and the sides of the dough for dry flour, mix the rest in by hand.
Autolyse
Cover the bowl of dough with plastic wrap or a cloth and let the dough rest for at least an hour ideally to.
The water and flour only long autolyse is very helpful when working with whole wheat flour.
*Create the honey millet mixture during autolyse
Final Mix
After autolyse, massage in the active sourdough starter. This is when the timeline for the bulk fermentation begins.
Adding the Honey Millet Mixture
During the autolyse, combine the millet, sea salt, hot water, and honey to create a millet porridge mixture.
Let sit for 40 mins. for millet to absorb the water and for the mixture to cool down.
Right after starter addition, add the honey millet mixture to the center of the dough.
Then, take the sides of the dough and pull it up and over the top of the dough. Keep stretching and folding the dough over itself until the ingredients are evenly incorporated.
Recover the dough or transfer to a dough bin.
Add the Seeds
30 minutes after millet mixture addition, fold in pumpkin seeds and poppyseeds.
Recover the dough
Bulk Fermentation
The time of the bulk fermentation (or first rise) begins as soon as the starter is added to the dough, which happened at the time of the final mix when the sourdough starter was added.
It will take 4 to 7 hours at room temperature to complete the bulk or cold fermented 24-48 hours.
Optimal flavor comes from 48-hour cold fermentation. Learn more about the impact of fermentation temperature in this post: Cold Fermentation vs Room Temperature: Which Is Better?
To evaluate when the bulk fermentation is complete, see this post: How to tell when sourdough is done with bulk fermentation
For easy fill-in-the-blank time planning, check out my free sourdough time planning worksheet.

Shaping
Once the dough has doubled in volume and has a smooth appearance, it’s time to shape it.
Similar to mixing, shaping has three parts: Pre-shape, Bench Rest, Final Shape
Pre-Shape
Transfer the dough to an unfloured surface. Use a dough scraper or bench knife to take one end of the dough and fold it over the top of the rest of the dough. Then, rotate the dough on the unfloured surface or tuck the ends of the dough under the whole to create a smoother, round shape.
Bench Rest
Let the rounded dough rest for 20 to 30 minutes. Prepare the proofing bowl (banneton) with a dusting of rice flour or all purpose flour, set aside.
Final Shape
After the bench rest lightly flour the rounded top of the dough and gently rub the flour over the top until there is no sticky dough exposed on top. Then complete the following series of folds:
- Take the bench knife or straight edge of a dough scraper and zig zag it under the dough to pick it up then flip it over with the flour side down.
- Gently pick up the edges and stretch the dough by jiggling until it’s about 7 to 8 inches wide.
- Take each side (right and left) of the dough and fold them into the center and press to seal.
- Then, take the narrow bottom end of the folded dough (nearest you) and roll the dough onto itself into a spiral. The seam should be inside the rolled up dough with the smooth floured side facing up.
- Use the bench knife or straight edge of the dough scraper to tighten the ball of dough by rotating the dough and tucking the edges of the dough under itself until the ball of dough is tight and smooth.
- Use the bench knife or straight edge of the dough scraper to pick up the ball of dough then flip it smooth floured side down into the prepared proofing bowl. Cover with plastic wrap.
Proofing
Let the shaped dough sit at room temperature for 1 to 2 hours or place in the fridge for a cold proof for 8 to 12 hours.
Monitor the proof (also known as second rise) until the dough is 1.5 to 2 times larger in volume and has risen to the top of the proofing bowl.
Near the end of the proof, preheat the oven with the Dutch oven to 500 degrees F.
See these posts for more information on proofing:
- When is sourdough finished proofing? The signs and a test
- What does overproofed sourdough bread (or dough) look like?
- Free Sample of Sourdough Timing Worksheet

Baking
Once the oven is preheated, take a long piece of parchment paper and place it over the top of the proofing bowl.
Hold the parchment over the edges of the bowl then quickly flip the bowl upside down so that the smooth top is facing up.
Use a bread lame or serrated bread knife to score the top of the dough so there’s a 1/8 to 1/4-inch deep cut across the top.
Pick up the edges of the parchment and lift the scored bread dough into the preheated Dutch oven.
Place the lid snugly on top to seal the dough inside then carefully place in hot oven.
Reduce oven temperature to 450 degrees F and bake for 20 minutes.
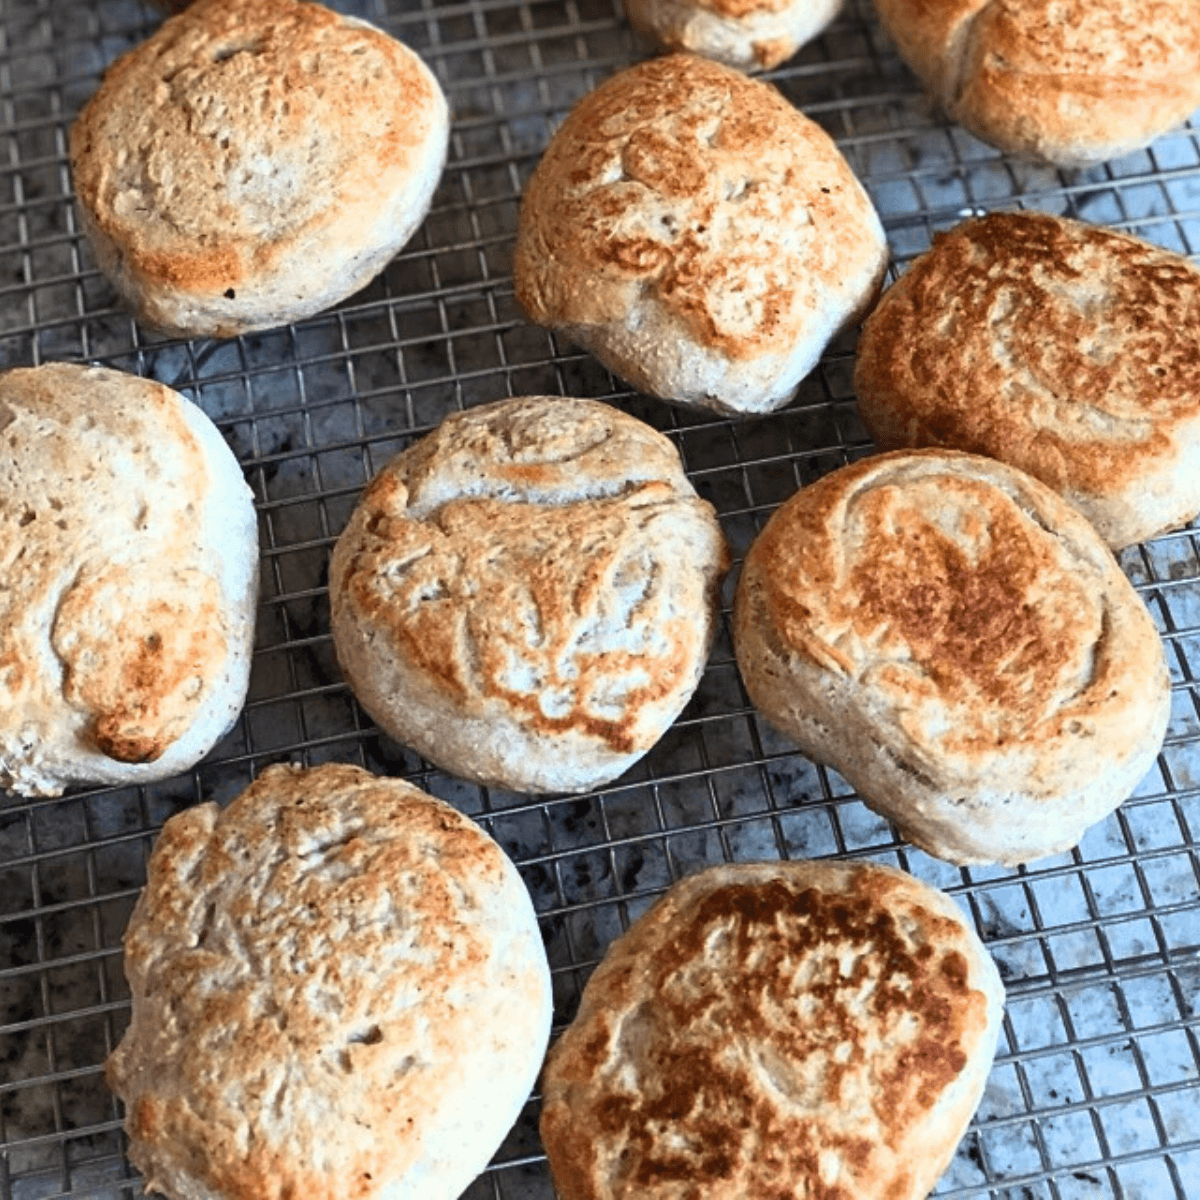
After 20 minutes, remove the bread from the Dutch oven (or remove manual steam element) and place directly on the oven rack to complete baking for 15-20 minutes until its a nice deep brown.
Cooling
Once your loaf is baked, place it on a cooling rack to cool down.
Let the bread cool for one hour.
Cooling helps the bread solidify its structure for easier slicing and helps the bread store better.
You can cut the bread earlier, but if it hasn’t cooled sufficiently it will lose moisture as the steam escapes and slices will not be even.
For best, results slice your bread after one hour of cooling. Learn about the impact of cooling on the final texture in this post: Sourdough Bread: 10 Signs of a Good Bake (How-to Guide) 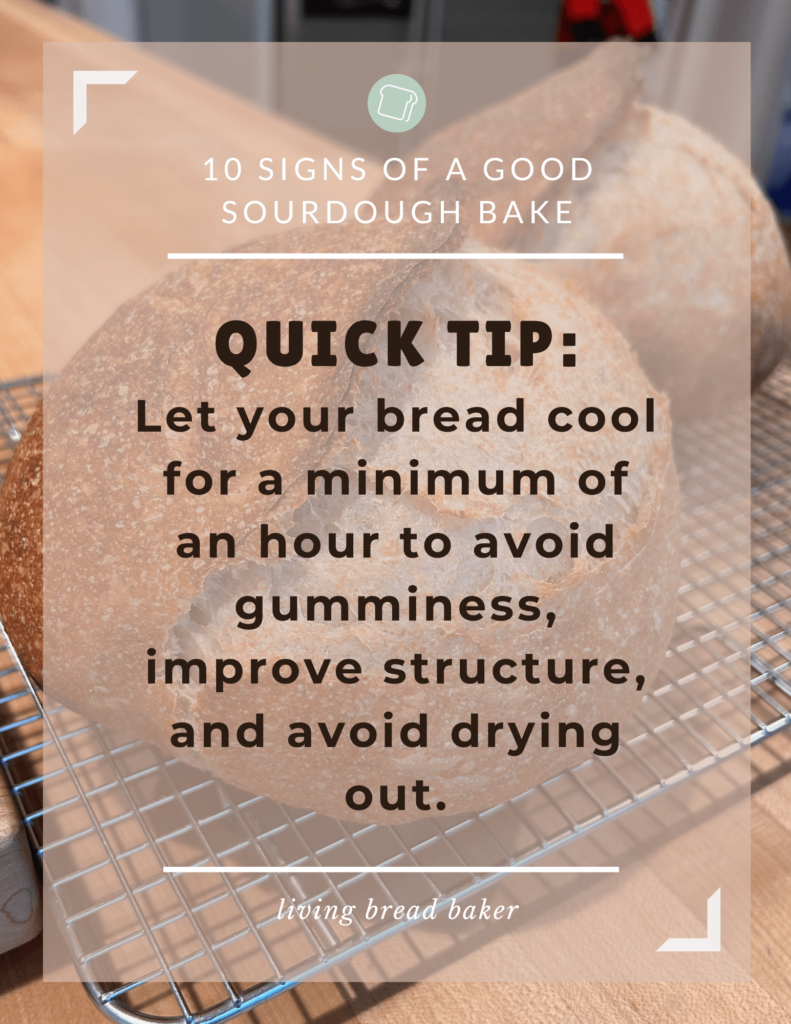
More Great Whole Wheat Sourdough Bread Recipes
- Sourdough Honey Oat Whole Wheat Sandwich Bread Recipe
- Sourdough Whole Wheat Challah Bread
- Whole Wheat Sourdough Hokkaido Milk Bread, Japanese inspired
- Sourdough Apple Cinnamon Spice Country Bread (Boule) Recipe
I can’t wait to hear how you enjoy this recipe!
Share the recipe with a friend who loves sourdough and whole wheat recipes.
After you try it, send me a note, leave a review comment, or tag me on facebook or instagram @livingbreadbaker
Just getting started with sourdough?
A competent guide transforms sourdough baking from overwhelming to uncomplicated and fun!
Get My Free Quick Start Sourdough Guide: Learn the key terms and concepts in sourdough baking, including the differences between active sourdough starter and sourdough discard, and how to care for your starter.
Start Baking Sourdough Confidently—Take the Intro to Sourdough Course for Just $27!
Time Planning Help for Sourdough Baking
The #1 need for sourdough bakers is help with time planning, so I created a resource for you.
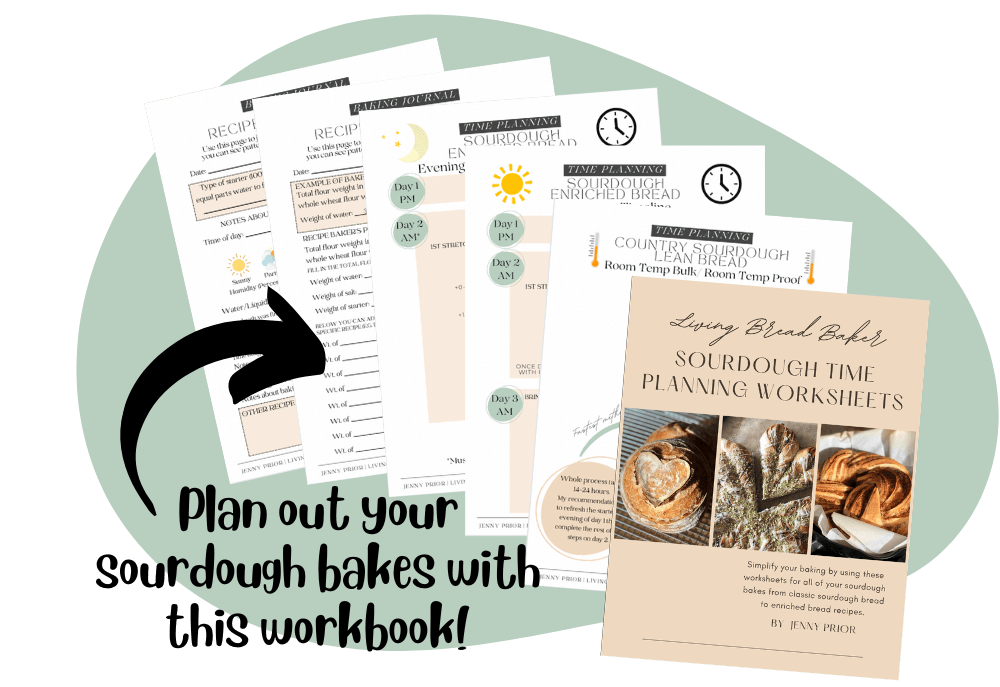
Sourdough Time Planning Workbook: Perfect for new or experienced bakers, this workbook includes 8 templates ready to fill in and a baking journal. The templates cover 4 different ways to make classic sourdough country breads, 3 time planning worksheets for enriched sourdough bread depending on serving time target, and a blank template. The baking journal goes over baker’s percentages and how to take notes on your sourdough bakes.
Get a free sample of the workbook: Use this sourdough time planning worksheet sample to simplify your baking.
Living Bread Baker posts mentioned
How to Know When your Sourdough Starter is Ready (8 signs)
When is sourdough bulk fermentation finished?
When is sourdough finished proofing?
What does overproofed sourdough bread (or dough) look like?
Cold Fermentation vs Room Temperature: Which Is Better?
Sourdough Bread: 10 Signs of a Good Bake (How-to Guide)
Shop this post
FREE Sourdough Quick Start Guide
Sourdough Time Planning Workbook
My Intro. to Sourdough online course
Sourdough Time Planning Workbook & Baking Journal
This post contains affiliate links. Read my policy here.

Sourdough Whole Wheat Bread made with honey and seeds
Ingredients
- 500 g Hard Red Wheat Flour
- 375 g water
- 100 g active starter I used a white 100% hydration starter
- 12 g sea salt
- 100 g millet coarse milled
- optional: 30g honey
- 80 g hot water
- 30 g toasted pumpkin seeds
- 8 g poppyseeds
Instructions
- Prepare starter 6-12 hours before mixing dough.
- Mix 500g hard red wheat flour and 375g water for a long autolyse. Autolyse for at least 1 hour.
- After autolyse, massage in starter. This is when the timeline for the bulk fermentation begins.
- Right after starter addition, combine millet, sea salt, hot water, and honey (if using) to create millet porridge mixture. Allow to sit for 40 mins. for millet to absorb the water. After 40 mins. has passed, fold millet mixture into dough.
- 30 minutes after millet mixture addition, fold in pumpkin seeds and poppyseeds.
- Room temperature fermentation should be 5-7 hours, or cold fermented 24-48 hours. Optimal flavor comes from 48-hour cold fermentation.
- Pre-shape dough and bench rest for 20 mins.
- Prepare proofing basket with rice flour or polenta, fold dough into final shape.
- Proof 1.5-3 hours at room temp or 8-12 hours in the refrigerator.
- Preheat a dutch oven at 500 degrees.
- Transfer dough to a large piece of parchment paper, score, and carefully place into preheated dutch oven.
- Turn down oven to 450 degrees. Bake covered, 20 mins. Then, carefully take out of dutch oven and finish baking directly on rack for 20 mins.