Beginners’ Guide to Sourdough Bread Baking Tools on a Budget
What do you actually need to get started with sourdough? Find the most essential tools in this beginners guide to sourdough bread baking tools.
Many sourdough beginners get overwhelmed by learning how to get started in sourdough, especially with all the expensive technical tools other bakers use or recommend.
In this post, learn how to get started with sourdough baking with tools that you probably already have in your kitchen!
Beginners’ Essential Guide to Sourdough Bread Baking
Many aspiring sourdough bakers turn to the internet as their guide, but are met with unfamiliar vocabulary, conflicting advice, different methods, and confusion.
To get started successfully, beginners need four basic things:
- Established sourdough starter*
- Basic knowledge of the sourdough bread making process and starter care
- Essential tools
- A Guide to teach and simplify the process so you can be successful

Starting with a Sourdough Starter
*I recommend for beginning sourdough bakers to obtain an established sourdough starter to begin their sourdough journey rather than creating their own starter.
While you can make your own sourdough starter, that process has its own learning curve and if you haven’t worked with a sourdough starter before, it’s difficult to know when a homemade sourdough starter is ready.
You can get an established sourdough starter by asking a friend for some, asking on a community page, buying one, or some local bakeries may be willing to share some sourdough starter with you.
Sourdough Starter Sources:
- Cultures for Health Sourdough Starter (amazon affiliate link)
- Breadtopia Live Sourdough Starter (amazon affiliate link)
- Living Bread Baker Sourdough Stater (etsy)
Sourdough Starter Care
Almost like a pet, a sourdough starter needs routine care and maintenance to thrive.
Similar to a pet, it will need to be fed as well as cleaned up after.
This cyclical process I refer to as “refreshing your starter”.
Learn more about the phases of sourdough starter as well as how and why to refresh here.

The Sourdough Bread Making Process
Below are the basic stages of the sourdough bread making process, for a more thorough explanation, see my step-by-step instructions here.
Sourdough Starter Preparation
- 6-12 hours: Refreshing the starter so that it will become active with healthy wild yeast to leaven the dough
Making the Bread Dough
- 15-30 minutes: Mixing the dough ingredients and the active sourdough starter (in this initial mix, usually the salt is left out to be added later, the starter is sometimes added with the salt rather than the initial mix)
- 20-60 minutes: Autolyse when the dough rests and begins to strengthen
- 10-20 minutes: Final mix when any ingredients (like salt and/or active starter) are mixed into the dough
Bulk Fermentation (1st Rise)
- 3-7 hours: Bulk fermentation, also known as the first rise, is when the dough doubles in volume, becomes smooth, strong and stretchy
- First 30 minutes to 2 hours: After 30 minutes of the beginning of bulk fermentation, the dough is stretched and folded to develop more strength. It can be done once after 30 minutes or up to four sets of stretch and folds at 30 minute intervals in the first 2 hours.
Dough Shaping Process
- 5-10 minutes: Preshaping the dough (if it’s a double batch or larger, dividing the dough is done before preshaping) by creating a basic smooth round shape with a dough scraper or bench scraper/knife
- 20 minutes: Bench rest for the dough to gain elasticity and strength for final shaping
- 5-15 minutes: Final shaping of the dough and putting it into a proofing basket or loaf pan
Proofing (2nd Rise)
- 1-3 hours: Proofing, also known as the second rise, is when the dough is continuing to ferment and expand but it is in its final shape to develop volume and texture for the bake
Baking and Cooling Process
- 20-30 minutes: Preheating the oven
- 5-10 minutes: Preparing the dough for baking by taking out of the proofing basket (if using) and cutting a “score” or a long slash about 1/4-1/2-inch deep along the top of the dough
- 35-40 minutes: Baking the bread (first half with high heat and high steam, second half with high heat and no steam)
- 1 hour+: Cooling the bread so that it will preserve better and be easier to cut in slices
Other Sourdough Process Resources:
- How to make Sourdough Bread step by step
- How to tell when sourdough is done with bulk fermentation
- When is sourdough finished proofing? The signs and a test
- How to Bake Sourdough without a Dutch oven: Manual Steam Method
The Right Tools for the Job
I started my sourdough journey with the most basic tools and went without many “essential” tools from lack of knowledge and lack of budget.
After learning from a qualified sourdough guide who explained the whys of sourdough baking and baking hundreds of loaves, I’ve compiled the most essential tools for this beginners’ guide to sourdough bread baking tools, especially for people interested in sourdough bread baking tools on a budget.
By having the right tools for different stages of sourdough baking, you will feel confident and at ease.
The bread making process will also be much smoother.
Most of these tools you already have in your kitchen or are very inexpensive.
The 10 Most Essential Budget-Friendly Sourdough Tools for Beginners
- Kitchen Scale
- Mixing Bowl
- Dough Scraper
- Proofing Bowl or DIY hack version!
- Parchment Paper
- Bread Knife
- Oven Mitts
- Steaming tool
- 2-3 Jars
- Sourdough Starter
Mixing and Measuring Sourdough Tools
The first tools in this beginners guide to sourdough bread baking tools are for measuring ingredients and mixing your dough.
You will need a kitchen scale, mixing bowl, and a dough scraper.

Kitchen Scale for Accuracy and Ease
Most sourdough recipes have options for using American volume measurements (i.e., cups, tablespoons, etc.), but a kitchen scale will make your process more accurate and easier!
A cup of flour is a subjective measurement, even online you’ll find different sites say that 1 cup flour equals differing weights.
If online baking sites and measurement conversion calculators can’t agree, then you can see why using weight in grams is more accurate than volume.
The weight of ingredients determines certain important ratios like hydration and how the dough will ferment.
If there is an issue with the dough and volume measurements were used, it is usually a measurement error.
I also love kitchen scales because it creates less dishes since I simply put a mixing bowl on the scale and tare it to take out the weight of the bowl and start adding ingredients one by one, taring after each addition.

Mixing Bowl Types and Sizes
The best mixing bowl materials are stainless steel, glass, or ceramic.
Plastic can be used, but it can degrade over time as well as develop scratches where bacteria may grow so a non-porous mixing bowl is preferred.
I usually use stainless steel since it is lightweight and won’t break.
You’ll want to use a size that is at least 3-quart capacity for a single batch. Larger batches of bread will need larger bowls.
You can use a stand mixer if you have one with a dough hook attachment, however using a stand mixer can be problematic.
Stand mixers can overmix your bread dough, fail to incorporate ingredients with extra flour sitting in the bottom, and, for beginners, they aren’t able to get a feel for the dough.
Feeling the dough can tell us if it feels too wet or too dry so it can aid in evaluating the dough based on the recipe’s description.
For a budget-friendly set up, a mixing bowl can also be used as the container for the bulk ferment as long as the sides are well scraped from excess dough and it is covered with plastic wrap.

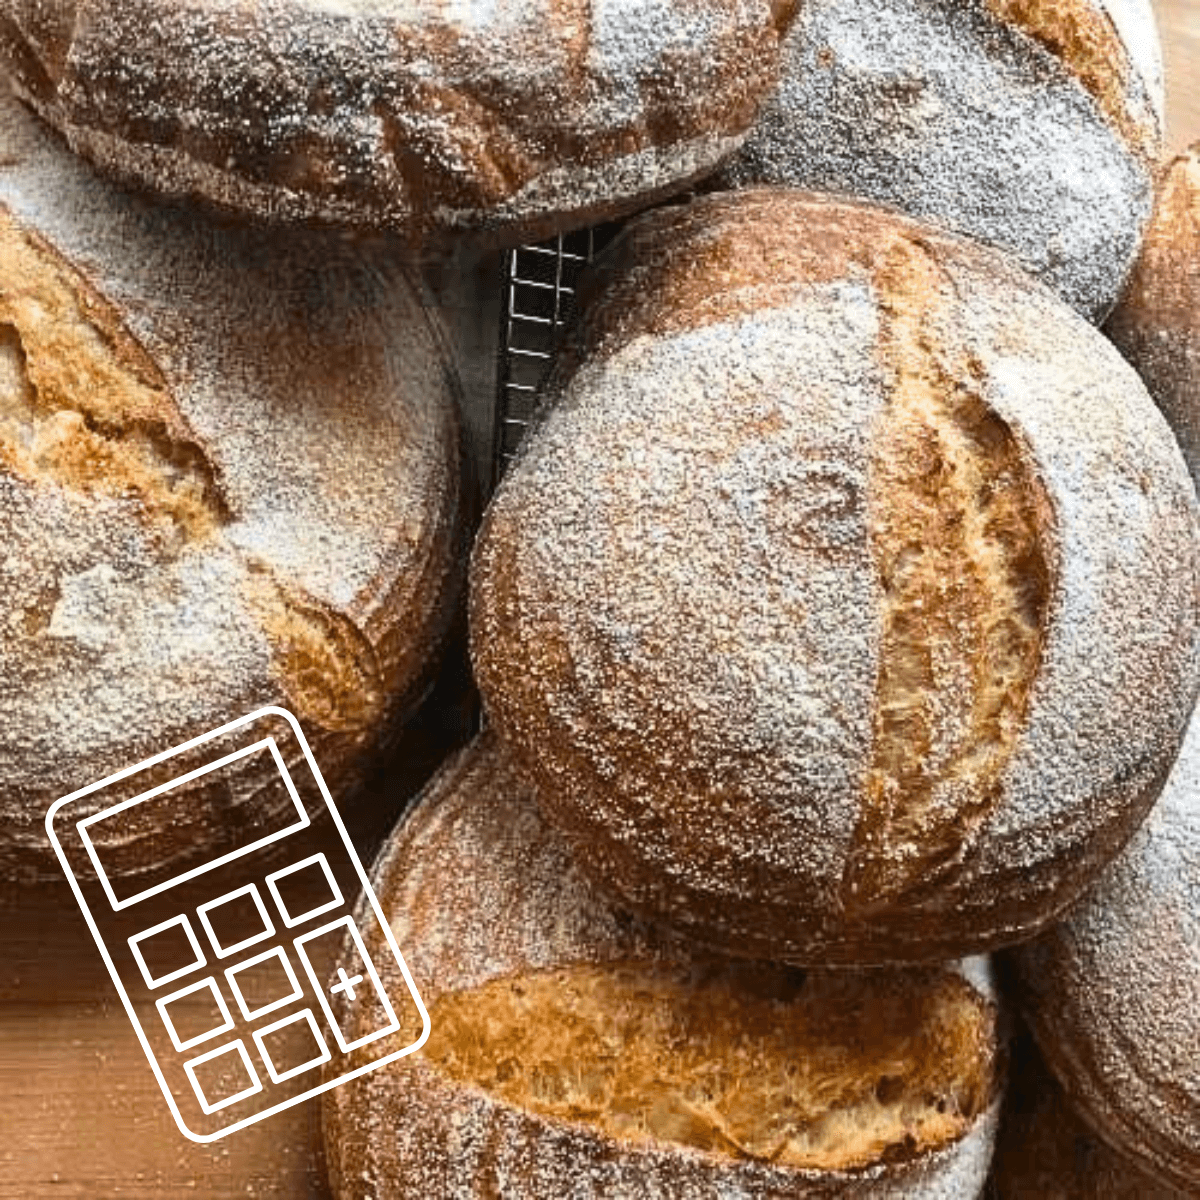
*For tips on baking multiple sourdough loaves, see this post: How to Make a Big Batch of Sourdough Bread (Calculator)
Dough Scraper Sourdough Beginner’s Favorite Tool
A dough scraper is an excellent all-in-one tool that helps bakers mix dough, shape, and even clean surfaces.
The stiff plastic ones work best with curved corners on one side and straight corners on the other side.
The curved side is perfect for mixing dough and scraping the sides of the bowl so they remain clean and free of dried dough.
The curved side is usually sharper and works well for cutting the dough for dividing it into rolls or for multiple loaves.
Use the straight edge side to pick up dough to move or flip during shaping as well as to scrape off any excess dough from your work surface after shaping.
This handy tool should cost around $5. Look for one that is about 5 to 6 inches long.

Fermentation and Proofing Sourdough Tools
In the previous section I already mentioned my favorite multi-use tool for mixing and shaping, the dough scraper.
After dough has gone through final shaping, it needs to continue fermenting in a stage called proofing or second rise.
A certain amount of air circulation around the is key for the proofing stage.
Sourdough Fermentation Tips for Beginners
Room temperature has a big impact on the rate of the fermentation process.
To help your starter or dough rise well and in less time, make sure you put the jar or starter or covered bowl of dough in a warm spot on your kitchen counter or a cabinet.
In certain seasons, your room temperature will be impacted by the weather. As a general rule of thumb, plan for the first half or two hours of the fermentation window in summer and last half or final two hours of the fermentation window in winter.
There are two rising stages for bread, bulk fermentation and proofing. You can learn the signs of readiness at each stage in these posts:
- How to tell when sourdough is done with bulk fermentation
- When is sourdough finished proofing? The signs and a test
You may come across cold fermentation or cold proofing. Learn about the differences between cold fermentation (in the fridge) and room temperature in this post: Cold Fermentation vs Room Temperature: Which Is Better?
To simplify timing for beginners, I created sourdough time planning worksheets.
You can get my free sourdough time planning sample sheet here.
Proofing Bowl or DIY Version
For a round boule or oval-shaped batard of sourdough to proof, it needs to be put in a porous container known as a proofing basket, proofing bowl, or banneton basket.
These baskets are usually made out of porous rattan that is coiled into a bowl shape and often includes a linen liner. They usually cost $20-25.
To get started without making this purchase, you can make a DIY version of a proofing bowl with a collander and a kitchen towel or tea towel.
Take a collander, preferably one that is not too wide–about 8 inches wide, and line it with a light weight, fuzz-free kitchen towel.
Dust the proofing bowl liner with rice flour, white flour, or cornmeal. Then, flip the shaped round of dough upside down (smooth side side down) into the proofing bowl.
For sandwich loaves, the process is different. Sandwich loaves proof in loaf pans, see more on that here.
Once in the proofing bowl, the dough proofs for 1 to 3 hours, depending on the recipe and room temperature.

Beginners’ Guide to Sourdough Bread Baking Tools
Parchment paper, a good quality bread knife, oven mitts, and a steam tool are necessary for the baking process.
Parchment Paper
I use parchment paper to transfer a round boule of dough into a Dutch oven for baking or placing dough onto a baking sheet.
Also, I use parchment paper to create a loaf pan liner for sourdough sandwich loaves. See that method here.

It is possible to use rice flour underneath a round loaf to keep it from sticking in the Dutch oven, but that is messy and overcooked rice flour isn’t a pleasant smell.
Also, a long sheet of parchment allows me to lift my loaf out of the Dutch oven with less risk of burning myself.

Bread Knife
A good quality bread knife is important for function and for safety.
If you don’t have one, these can be expensive but it is important to have. A Wusthof bread knife is a good quality one with a moderate price of about $80.
The crisp crust of a large loaf of sourdough bread requires a well-made bread knife with round serrated blade.
This type of blade is also useful for cutting a vent known as a “score” into the top of the bread dough.
Right before the bread dough goes into the oven, you must cut the score into the dough so that the bread can expand correctly and the steam can escape as it bakes.
There are many styles of scoring, but the simplest and most effective are a long, slightly curved line across the top of the dough about 1/4-1/2-inch deep or an X made with two lines across the top of a round loaf.
The bread knife works well, but the specialized tool for this step is called a bread lame which is a razor blade fitted into a handle attachment.

Oven Mitts
This is something that every kitchen must have and is probably self-explanatory.
Bread, especially lean sourdough breads like round loaves (boules or country loaves), bake at very high temperatures.
Always have two oven mitts, one for each hand for moving bread or preheated tools during the baking process.
I prefer oven mitts that have silicone on the outside for better durability and their water resistance.
Any water that gets on fabric oven mitts will put you at risk for burns when handling high temperatures.

Steam Tool Options for Baking Sourdough
The high heat sourdough bread baking process has two parts.
The first half is high heat AND high steam. Your home oven is made to get rid of steam to create a dry environment so we have to use tools to create a steamy environment.
Steam allows the outside of the dough to remain soft and flexible so that the bread can expand during the baking to develop maximum volume, this is called “oven spring”.
Without steam, the outside of the dough will harden too quickly creating a dense loaf of bread and a very thick, dry crust.
There are two options for adding steam to your oven. The first is commonly mentioned in books and online. The second is a cost effective hack if you are missing the first tool.

Dutch oven for Sourdough Bread Baking
If you have a large cast iron Dutch oven that is at least 3.5 quarts large or 10 inches wide and 6 inches deep, it is a great tool for locking in the steam as it escapes the baking bread dough.
The cast iron Dutch oven is preheated in the oven so it is extra hot and will immediately begin creating a hot baking environment once the dough is added.
The sourdough round-shaped loaf is transferred into the hot pot on a long sheet of parchment.
Once the dough is in the Dutch oven, you put on the lid so it is fitting snugly on top to trap in the steam. Then the Dutch oven is put into the hot oven.
Halfway through baking (20 minutes if you are using my recipe), you will carefully take off the lid and take the half baked bread out and place it directly on the oven rack or a baking sheet, if preferred.
During the second half of baking with high heat and no steam, the bread continues baking and develops the beautiful golden brown crust and texture.
How to Bake Sourdough Bread Without a Dutch Oven
If I am baking without a Dutch oven or baking a sourdough bread like a sandwich bread that doesn’t fit in a Dutch oven, I create manual steam.
I fill a heat safe metal pan (like a brownie or cake pan) with 1-2 inches of water and place it in the oven during preheating.
As the oven preheats, the water becomes hot and will create steam. Take care to not leave the oven too long because the water will all evaporate in time.
This steam tray or pan really helps fill the oven with a good amount of steam for the hot, steamy part of the bake.
Optional, but for an extra burst of steam, you can use a spray bottle filled with water to quickly spray the oven walls with water before closing the door.
After the first half of the bake, if all of the steam has not evaporated from the pan, you can carefully remove the pan using oven mitts or open the door a crack for the rest of the bake so the remaining steam can escape while the loaf develops its crust and color.

See a full post on using manual steam here: How to Bake Sourdough without a Dutch oven: Manual Steam Method
Sourdough Starter Tools
Obviously, getting a sourdough starter is a key part of entering the world of sourdough.
To care for your starter, you will need access to a few jars, water (filtered water preferred), white flour, something to stir with, and preferably a digital scale for accurate measuring.
2-3 Jars
Pint-size mason jars create a clean, inexpensive environment for caring for your sourdough starter.
I recommend at least two or three glass jars.
My preferred method of maintaining a sourdough starter is sometimes called the “two-jar method”. It creates less waste and is very beginner-friendly.
One jar contains a batch of older starter and the second jar is used to create a new batch by taking one tablespoon from the older, mature starter and feeding it with equal weights of water and flour.
I go over this process in this video post, but the amounts I use for preparing a starter to make one loaf of bread are 60 grams of water (1/4 cup) and 60 grams of white or all-purpose flour (7 T.).
You can also use a rubber band with your glass jar to measure the growth of your starter after you feed it in the refreshing process.
A third jar is helpful to collect sourdough discard that can accumulate. I keep my sourdough discard collection jar in my refrigerator.

Posts on Sourdough Starter and Sourdough Discard:
- What is a sourdough starter?
- What is Sourdough Discard?
- How to Store Sourdough Discard for Starter Discard Recipes
- Why use Sourdough Discard?
- How to Make a Sourdough Starter
Is Stainless Steel Bad for Sourdough?
The topic of stainless steel can be a superstitious one among some sourdough bakers.
Some sourdough bakers think that it is bad for sourdough because it resists bacterial growth.
While silver is not a good option for use, I have used stainless steel bowls, spoons, and other tools for all my years of sourdough baking and have had great results.
You can stir your sourdough starter’s water and flour mixture with a stainless steel spoon but you can also used tools like the handle of a wooden spoon, a Scottish spurtle, or Danish dough whisk.
Other Helpful Tools to Consider
Some other tools you can consider that are probably around your house are:
- Plastic wrap
- Clean, unused shower cap for covering proofing basket
- Wire cooling rack or substitute with an unused oven rack or two large spoons/spatulas to suspend your baked bread so it can cool without developing a soggy bottom.
Just getting started with sourdough?
A competent guide transforms sourdough baking from overwhelming to uncomplicated and fun!
Get My Free Quick Start Sourdough Guide: Learn the key terms and concepts in sourdough baking, including the differences between active sourdough starter and sourdough discard, and how to care for your starter. 
Start Baking Sourdough Confidently—Take the Intro to Sourdough Course for Just $27!
Time Planning Help for Sourdough Baking
The #1 need for sourdough bakers is help with time planning. If you want to try cold fermentation for both rises, just the bulk, or just the proof, I have you covered in my done-for-you time planning worksheets!
Sourdough Time Planning Workbook: Perfect for new or experienced bakers, this workbook includes 8 templates ready to fill in and a baking journal. The templates cover 4 different ways to make classic sourdough country breads, 3 time planning worksheets for enriched sourdough bread depending on serving time target, and a blank template. The baking journal goes over baker’s percentages and how to take notes on your sourdough bakes.
Get a free sample of the workbook: Use this sourdough time planning worksheet sample to simplify your baking.
Living Bread Baker posts mentioned
How to make Sourdough Bread step by step
How to tell when sourdough is done with bulk fermentation
When is sourdough finished proofing? The signs and a test
How to Bake Sourdough without a Dutch oven: Manual Steam Method
Cold Fermentation vs Room Temperature: Which Is Better?
Sourdough Bread: 10 Signs of a Good Bake (How-to Guide)
How to Store Sourdough Discard for Starter Discard Recipes
How to Make a Sourdough Starter
How to Make a Big Batch of Sourdough Bread (Calculator)
Shop this post
FREE Sourdough Quick Start Guide
Sourdough Time Planning Workbook & Baking Journal
My Intro. to Sourdough online course
This post contains affiliate links. Read my policy here.