How to Make Cute Pumpkin Shaped Sourdough Bread Boules
These medium-sized Pumpkin Shaped Sourdough Boules are not only adorable, but they’re also easier to make than you might think—especially if you’ve already mastered the basics of making a regular sourdough boule!
These adorable loaves make amazing gifts or become the perfect addition to the thanksgiving table.

Tools You’ll Need
To make the process smoother, here are a few tools you’ll want to have on hand:
- Baking twine
- High-quality parchment paper
- A lined proofing bowl (unlined can work, but a lined bowl will require less rice flour)
- A sharp bread lame
- Kitchen scissors
- shower caps for proofing bowl covers
- Dutch oven (having two is helpful, but if not I have tips below) or see my post on baking with manual steam
- Dough Scraper
- Bench knife
- Wire rack for cooling
- Flour duster shaker: very optional but easy to use for shaping to get just right coverage and not too much flour
- Silicone Oven Mitts
- Bread Knife for safe and efficient slicing. My favorites are Wusthof bread knife and the Shun bread knife
See the full list of my recommended essentials here: Amazon idea list of Sourdough Essentials (see affiliate disclosure)
Have a limited budget? This post outlines the absolute essentials so you don’t have to break the bank to get started plus some hacks to get along without all the “right tools”: Beginners’ Guide to Sourdough Bread Baking Tools on a Budget
Timing Overview
- 6-12 hours for preparing your sourdough starter
- 15-30 minutes mixing the dough
- 4-7 hours for bulk ferment
- 30-40 minutes for dividing, preshaping, bench rest, and shaping
- 1 ½ -2 hours for proofing
- 33-35 minutes for baking
- Total time before cooling: 12 hours 45 minutes up to 22 hours 45 minutes
Ingredients for Pumpkin-Shaped Boules
To make three medium-sized sweet pumpkin boules, use the following formula:
- 816 grams (3 and 1/4 cups and 3 tablespoons and 3/4 teaspoon) water, divided
- 240 grams (1 and 1/3 cups) active sourdough starter
- 240 grams (1 and ½ cups plus 1 tablespoon and 2 teaspoons) whole wheat flour
- 960 grams (6 and 1/4 cups 2 and ½ tablespoons) bread flour
- 24 grams (4 teaspoons) sea salt
- Optional but recommended: Almonds, cinnamon stick, or actual stick to insert as the “stem”
Active Sourdough Starter Notes
If you are still getting familiar with sourdough baking, recognizing when your starter is active is a key in getting the best results.
An active sourdough starter should be at least doubled in volume (from the last time it was refreshed), full of large bubbles, shiny appearance, with a ripe fruit smell. Check out this post for 8 signs to look for in an active starter: How to Know When your Sourdough Starter is Ready (8 signs)
If you are new to sourdough baking, be sure to check out this process post for How to make Sourdough Bread step by step

Flour Notes
The blend of whole wheat flour and bread flour will create a great texture in the dough and strength.
You can increase the whole wheat flour up to half of the weight of the combined flour (240 grams whole wheat + 960 grams bread flour = 1200 grams total flour), which would be 600 grams of whole wheat flour.
If more whole wheat flour is used, it may impact the pumpkin-shaped loaf effect.
If you do not have access to bread flour and only have all-purpose flour, you will need to decrease the water to 775-795 grams (start with the smaller amount and then assess your dough after mixing to see if you need to add more water to absorb all the flour).
Scaling the Recipe
This bread is perfect for gifting to a neighbor, host, teacher, or a friend!
To make more than 3 medium-sized loaves, you can input the ingredient amounts into my calculator on my post Sourdough Bread Formula Multiplication Calculator. Double it to make 6 sourdough pumpkin shape loaves.
Or if you’d like to make only one or two, take the amounts above and divide each one ingredient amount by 3 for one loaf. For two loaves, multiply that answer by 2.
If you are using American volume measurements (imperial/cups), there is more room for error but you can multiply or divide the cups as needed.
Preparing the Starter
Take about 3 tablespoons or 40 grams of sourdough starter and put it into a small bowl or quart-size mason jar.
Add 120 grams (½ cup) water followed by 120 grams (3/4 cup and 2 teaspoons) all-purpose flour (or bread flour).
Mix until there is no dry flour left.
Cover with a lid or clean disposable shower cap (can be reused) and leave at room temperature for 6 to 12 hours until it is doubled in volume, full of large shiny bubbles, and has a ripe fruit smell.
These amounts will create enough starter for the recipe as well as a small remainder that can be re-fed for a future batch of bread.
Mixing the Dough: Autolyse
Use a large mixing bowl to make your dough.
Start by adding the first part of the water: 800 grams or 3 and 1/4 cups and 2 tablespoons and 3/4 teaspoon water.
Then, add the 240 grams or 1 and 1/3 cups active sourdough starter and all of the flour (240 grams or 1 and ½ cups plus 1 tablespoon and 2 teaspoons whole wheat flour and 960 grams or 6 and 1/4 cups 2 and ½ tablespoons bread flour.
Mix these together until there is no dry flour left, make sure to scrape down the sides of the bowl and underneath the dough, especially if you are using a dough hook in a stand mixer.
Cover the dough and let it rest for 20 minutes for autolyse.
Stand Mixer Notes
When using a stand mixer with a sourdough bread recipe, always use the dough hook.
Keep the speed at the lower two levels and don’t walk away!
Sourdough recipes can quickly become overmixed by a stand mixer.
I mix until the dough is pulling away from the sides of the bowl and moving as a big ball but there’s still some flour left in a few spots.
For best results, I mix in the remaining flour by hand and check to make sure there isn’t some dry flour left in the bottom of the mixing bowl (it never fails that this is the case!).
These are notes for lean sourdough bread recipes like this one, for enriched sourdough bread (buttery or sweet recipes) check out the mixing notes in this post: Sourdough Pan Dulce Conchas (Sweet Shell Bread)
Finishing the Mix and Beginning Bulk Fermentation
After the autolyse rest, add your 24 grams or 4 teaspoons of sea salt with the remaining 16 grams or 1 tablespoon of water over the salt to dissolve it.
Massage it the salt by hand. Keep turning and folding your dough until the salt is well incorporated and you no longer feel any concentrated areas of salt.
Cover your mixing bowl with plastic wrap or transfer your dough to a 6-quart size cambro container for the bulk fermentation.
Keep the dough at room temperature for 4 to 7 hours until doubled in volume, shiny in appearance, and feels tacky but not sticking to your hand. See this comprehensive post for more help:
Alternatively, you can place the dough into the fridge for cold bulk fermentation for 24 to 72 hours.
Learn more: Cold Fermentation vs Room Temperature: Which Is Better?
Stretch and Fold
Give your dough some love and help it develop and build strength with a stretch and fold.
30 minutes after you’ve added the salt, take an edge of the dough and gently pull and stretch the dough up and then fold it over itself.
Give the bowl a quarter turn and stretch and fold the dough again. Repeat with all four quarters of the dough.
If your dough is in a cambro or square container, you will do a coil fold by taking one side of the bin and pulling it up so it stretches up and then fold it over the rest of the dough.
Do this process at least once. You can repeat this process up to four times in 30 minute intervals in the beginning of the bulk ferment.

Instructions: Step-by-Step Pumpkin Boules
Now that your dough is fermented, follow the steps below to create your adorable pumpkin shaped loaves with just some pieces of string:
Divide and Preshape the Dough
After the bulk fermentation, divide the dough into three equal pieces. Take the dough out of the bowl or container onto an unfloured work surface.
You can divide the dough into thirds by gauging it visually, or use a scale and weigh out three pieces that are about 760 grams each.
Preshape each into a round shape by quickly jutting the dough scraper or bench knife under the edge of one of the portions of dough and then pulling that edge up and over the top of the portion of dough. Then rotate the dough with the bench knife on the work surface to tighten the dough into a ball by using the unfloured surface to create tension.
Repeat with the other portions of dough.
Prepare for Final Proofing
Let the balls of dough rest for 10–20 minutes while you prepare three round proofing bowls, for a DIY alternative see this postLINK.
If you have banneton basket liners, place those in your proofing bowl. Dust the proofing bowls with some rice flour or all-purpose flour.
If you aren’t using a liner, make sure to cover all the grooves and surface of the proofing bowl to avoid the dough sticking.
Shape the Boules
Shape the dough rounds into boules (round loaf shapes).
To do this, lightly flour the top of one of the rounds of dough then use the bench knife or dough scraper to pick the dough up by quickly pushing it under the dough round and then flipping it over so that the floured top is down and the sticky side is up.
Gently stretch the dough out to create more surface area. Then take the left and right sides of the dough and fold them into the middle of the dough so that they are slightly overlapping (it should look like a burritio). Pinch this seam together.
Take the end of the rolled dough nearest to you and then roll up the dough so that the seam is inside the dough. Roll until the floured side is right side up again.
Create tension with the sticky bottom of the dough (now on the work surface again) and the unfloured work surface by rotating the dough with the bench knife or by pulling the dough toward you with the bench knife and your other hand gently holding the top of the dough to keep it from flipping over.
Once the dough is tight and smooth, pick it up with the bench knife and flip it into the prepared proofing bowls so that the smooth, floured top is upside down.
Repeat with the other rounds of dough.
See the video demonstration for this process here:
Proof the Dough
Cover the bowls of proofing dough with plastic wrap, a disposable shower cap, or kitchen towels.
Proof the dough at room temperature for 1 ½ to 2 hours, until the volume is 1 ½ to 2 an indentation remains when you press a finger into the dough.
Place your covered bowls of dough into the fridge while you preheat the oven.
For more clarity on proofing, read this post: What does overproofed sourdough bread (or dough) look like?
Preheat the Oven and Dutch Ovens
Preheat the oven to 500°F (260°C). Place your Dutch oven(s) into the oven.
Assembling and Tying the Pumpkin Boules
Cut and Prepare the Twine
Cut 12 pieces of cooking twine(4 for each loaf), each 24 inches long. Use a high quality cotton cooking string.
Coat them well with flour or rub them generously with coconut oil (flour worked better for me).
Arrange the Twine
Lightly flour the dough in the proofing bowl before arranging the twine. For each boule, use four pieces of twine:
- Lay the first piece over the top of the dough.
- Lay the second piece over the first in a cross pattern.
- Lay the third and fourth pieces diagonally over the first two to create a star-shaped pattern.
- Make sure you have equal sections of dough between the pieces of kitchen twine.

Flip the Dough and Tie
Place a large piece of parchment paper over the arranged twine and proofing bowl.
Hold the edges tightly, then flip the bowl over so the dough rests on top of the twine. Remove the bowl.
Tie the ends of each piece of twine at the top of the dough, ensuring the twine is snug but not too tight (it should press lightly into the dough to make a slight indentation but should not squeeze the dough).
On the last piece, wrap it around the others to secure the knot.
Scoring and Baking the Boules
Score the Dough
Using a bread lame, score each section of your “pumpkin.” A simple vertical line down the middle of each section works well.

Transfer to Dutch Ovens
Carefully transfer each boule into the hot Dutch oven(s) by lifting the unbaked sourdough “pumpkin” with the parchment paper.
Tuck the twine ends into the Dutch oven to reduce the risk of burning.
Place the top onto the Dutch oven.
Bake the Boules
Place the covered Dutch oven(s) into the oven and immediately reduce the oven temperature to 475°F (246°C). Bake for 18 minutes.
Carefully open the Dutch oven(s), take out the partially baked loaf, and place the bread directly on the oven rack. Reduce the oven temperature to 450°F (232°C) and bake for an additional 15 minutes.
Finishing Touches
Cool and Remove the Twine
Allow the loaves to cool for 5–15 minutes. Once they are cool enough to handle, cut each string and carefully remove the twine from the bread.
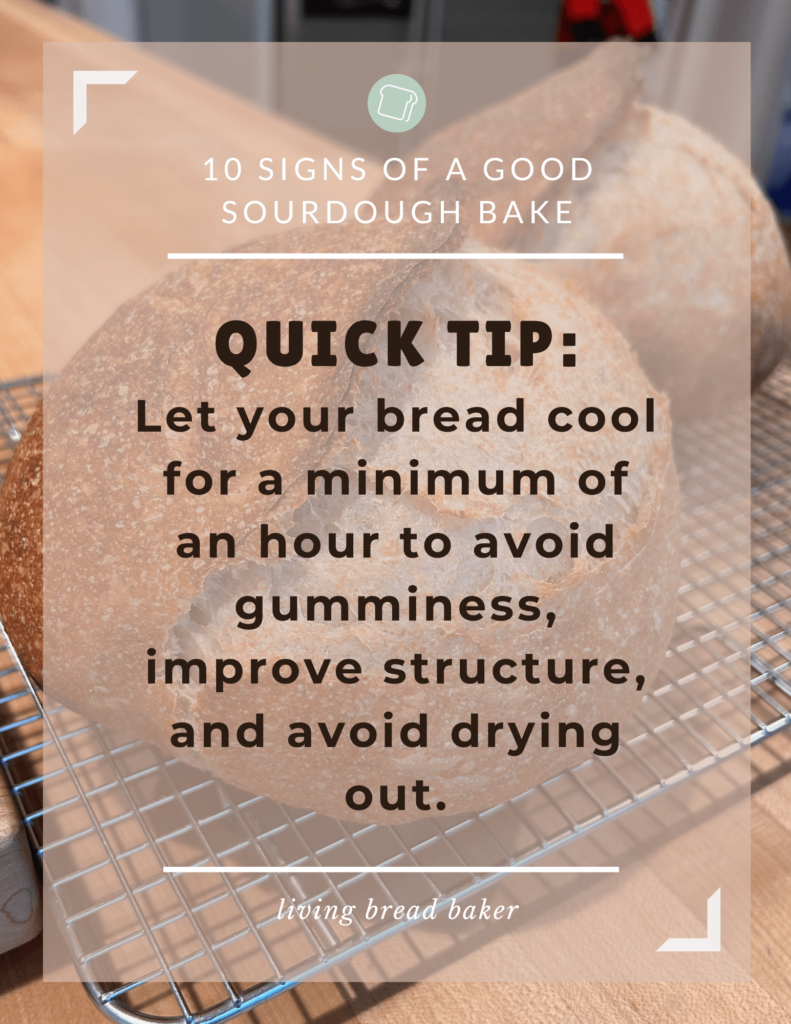
Let the loaves cool on a cooling rack for at least 30 minutes before cutting for best results.
Review this post on how to evaluate your results: Sourdough Bread: 10 Signs of a Good Bake (How-to Guide)
Add the Pumpkin Stem
For a fun finishing touch, add a stem to your pumpkin boule. You can use a cinnamon stick, toasted almond, or anything else you have available that resembles a stem.
Bonus: Watch the Final Shaping Process
To see the final shaping process in action, check out this video:
Variations
To make these even more festive, you can try a few variations:
- Add 1-2 tablespoons pumpkin spice and 1-3 tablespoons brown sugar to the dough during the stretch and folds.
- Add some extra pumpkin flavor with the pumpkin spice and brown sugar by using 576 grams water and 432 grams pumpkin puree instead of the 816 grams water in the original recipe.
- Use my Sourdough Apple Cinnamon Spice mix-ins for a fun seasonal treat.
- Try varying the size of your boules by making small mini pumpkins.
More Fall Sourdough Bread Recipes & Discard Recipes
- Sourdough Apple Cinnamon Spice Country Bread (Boule) Recipe
- 4 Secrets for the Best Sourdough Pumpkin Spice Waffles (Overnight)
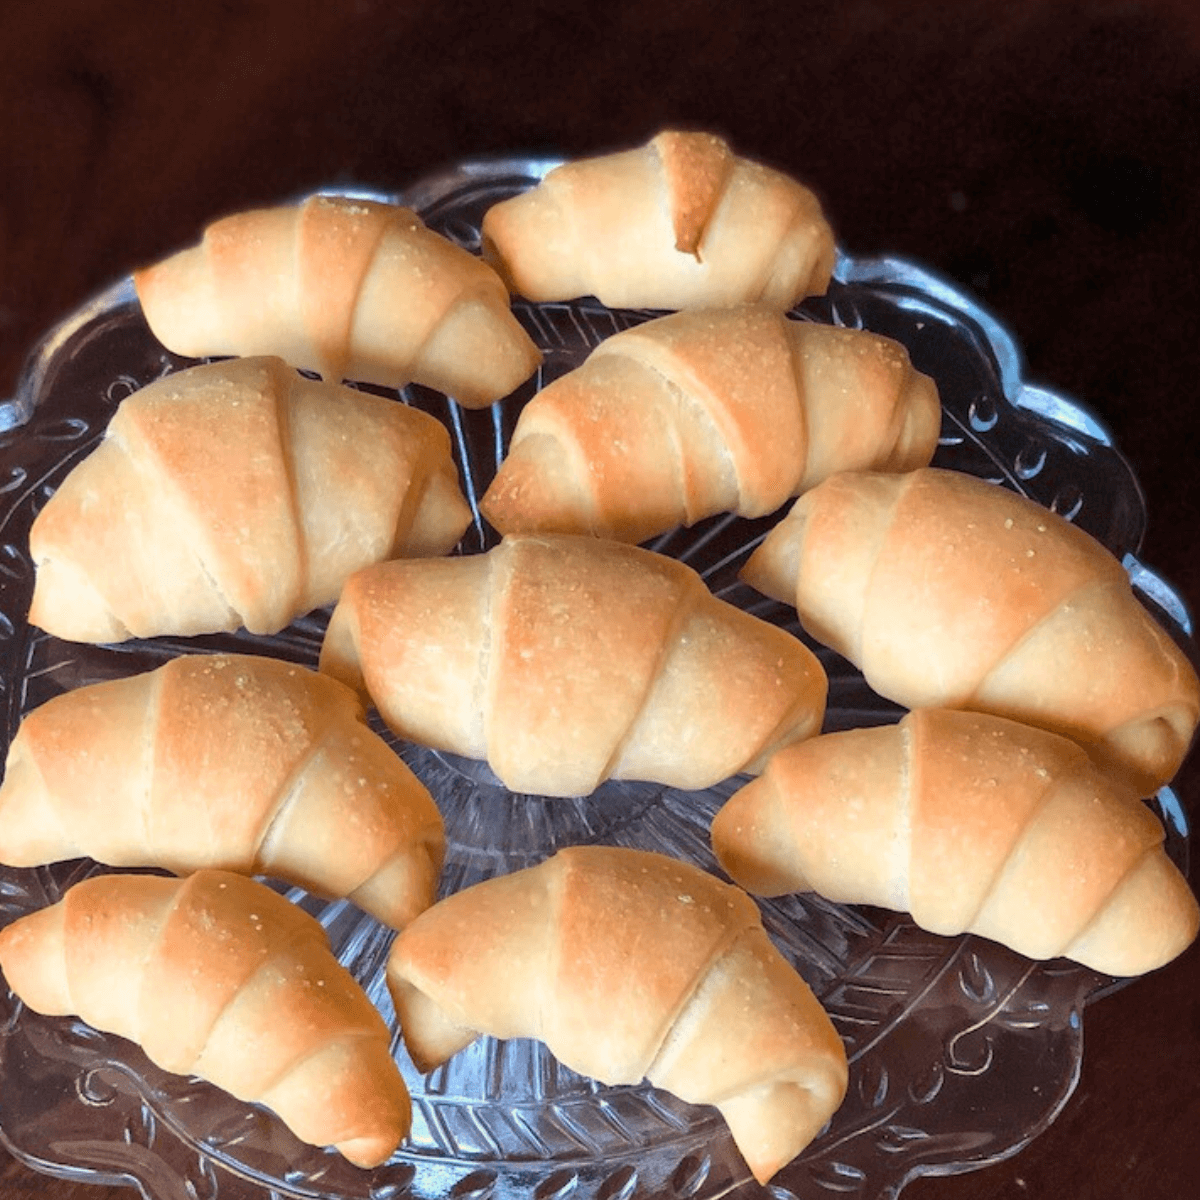
- Sourdough Cone-Shaped Rolls Recipe – Perfect for Appetizers!
- Sourdough Honey Oat Whole Wheat Sandwich Bread Recipe
- Soft Sourdough Pumpkin Spice Dinner Rolls (Pumpkin-shaped)
- Pumpkin Spice Scones made with Sourdough Discard
- Sourdough Apple Fritter Bread Fall Sourdough Recipe
Serving Suggestions
This looks beautiful on the table but also can be sliced to enjoy with butter or olive oil as a delicious side dish.
You can also get creative by making this pumpkin into a bread bowl by slicing off the top of the loaf and then scooping out the bread inside. Fill with artichoke dip or soup.

Savor and Share
I can’t wait to see your photos!
Please share this recipe with a friend who wants to make the cutest sourdough bread.
After you try it, send me a note, leave a review comment, or tag me on facebook or instagram @livingbreadbaker
Just getting started with sourdough?
A competent guide transforms sourdough baking from overwhelming to uncomplicated and fun!
Get My Free Quick Start Sourdough Guide: Learn the key terms and concepts in sourdough baking, including the differences between active sourdough starter and sourdough discard, and how to care for your starter.
Start Baking Sourdough Confidently—Take the Intro to Sourdough Course for Just $27!
Time Planning Help for Sourdough Baking
The #1 need for sourdough bakers is help with time planning, so I created a resource for you.
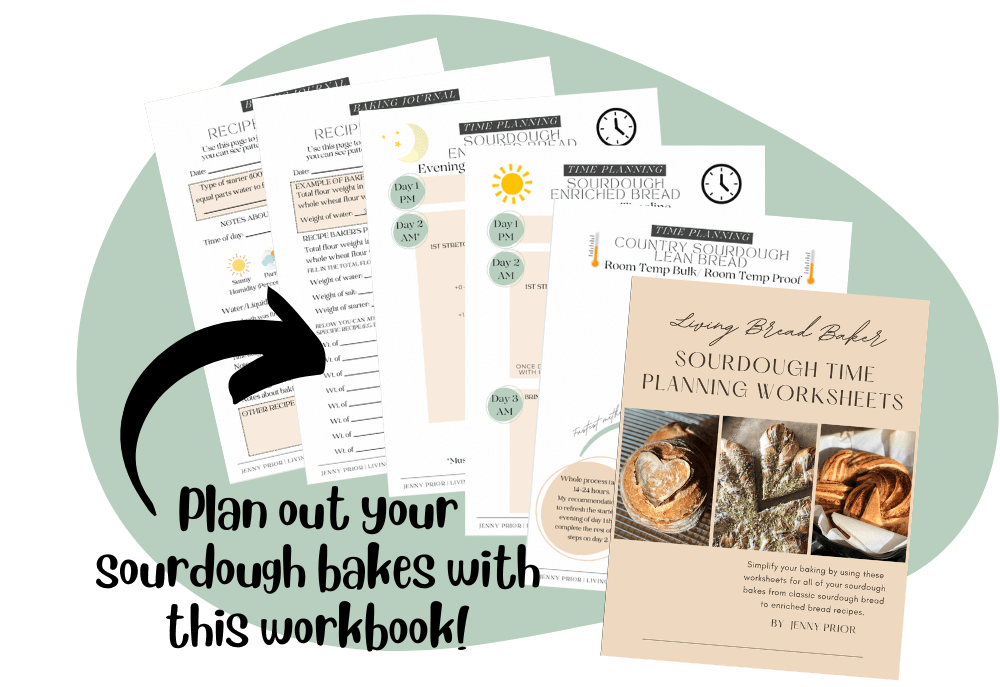
Sourdough Time Planning Workbook: Perfect for new or experienced bakers, this workbook includes 8 templates ready to fill in and a baking journal. The templates cover 4 different ways to make classic sourdough country breads, 3 time planning worksheets for enriched sourdough bread depending on serving time target, and a blank template. The baking journal goes over baker’s percentages and how to take notes on your sourdough bakes.
Get a free sample of the workbook: Use this sourdough time planning worksheet sample to simplify your baking.
Living Bread Baker posts mentioned
When is sourdough bulk fermentation finished?
When is sourdough finished proofing?
Cold Fermentation vs Room Temperature: Which Is Better?
Easy & Soft Savory Sourdough Cheese Twist Rolls
Sourdough Cone-Shaped Rolls Recipe – Perfect for Appetizers!
Sourdough Apple Cinnamon Spice Country Bread (Boule) Recipe
4 Secrets for the Best Sourdough Pumpkin Spice Waffles (Overnight)
Sourdough Honey Oat Whole Wheat Sandwich Bread Recipe
Soft Sourdough Pumpkin Spice Dinner Rolls (Pumpkin-shaped)
Pumpkin Spice Scones made with Sourdough Discard
Sourdough Apple Fritter Bread Fall Sourdough Recipe
Shop this post
FREE Sourdough Quick Start Guide
Sourdough Time Planning Workbook & Baking Journal
My Intro. to Sourdough online course
This post contains affiliate links. Read my policy here.

Sourdough Pumpkin-Shaped Boules
Ingredients
- 816 grams water, divided 3 and 1/4 cups and 3 tablespoons and 3/4 teaspoon
- 240 grams active sourdough starter 1 and 1/3 cups
- 240 grams whole wheat flour 1 and ½ cups plus 1 tablespoon and 2 teaspoons
- 960 grams bread flour 6 and 1/4 cups 2 and ½ tablespoons
- 24 grams sea salt 4 teaspoons
- Optional but recommended: Almonds cinnamon stick, or actual stick to insert as the "stem"
Instructions
- Prepare the starter: Take about 3 tablespoons or 40 grams of sourdough starter and put it into a small bowl or quart-size mason jar. Add 120 grams (½ cup) water followed by 120 grams (3/4 cup and 2 teaspoons) all-purpose flour (or bread flour). Mix until there is no dry flour left. Cover with a lid or clean disposable shower cap (can be reused) and leave at room temperature for 6 to 12 hours until it is doubled in volume, full of large shiny bubbles, and has a ripe fruit smell.'
- Mixing Autolyse: Use a large mixing bowl to make your dough. Start by adding the first part of the water: 800 grams or 3 and 1/4 cups and 2 tablespoons and 3/4 teaspoon water. Then, add the 240 grams or 1 and 1/3 cups active sourdough starter and all of the flour (240 grams or 1 and ½ cups plus 1 tablespoon and 2 teaspoons whole wheat flour and 960 grams or 6 and 1/4 cups 2 and ½ tablespoons bread flour. Mix these together until there is no dry flour left, make sure to scrape down the sides of the bowl and underneath the dough, especially if you are using a dough hook in a stand mixer. Cover the dough and let it rest for 20 minutes for autolyse.
- Finishing the Mix and Beginning Bulk Fermentation
- After the autolyse rest, add your 24 grams or 4 teaspoons of sea salt with the remaining 16 grams or 1 tablespoon of water over the salt to dissolve it. Massage it the salt by hand. Keep turning and folding your dough until the salt is well incorporated and you no longer feel any concentrated areas of salt. Cover your mixing bowl with plastic wrap or transfer your dough to a 6-quart size cambro container for the bulk fermentation. Keep the dough at room temperature for 4 to 7 hours until doubled in volume, shiny in appearance, and feels tacky but not sticking to your hand. See this comprehensive post for more help. Alternatively, you can place the dough into the fridge for cold bulk fermentation for 24 to 72 hours.
- Stretch and Fold: 30 minutes after you've added the salt, take an edge of the dough and gently pull and stretch the dough up and then fold it over itself. Give the bowl a quarter turn and stretch and fold the dough again. Repeat with all four quarters of the dough. If your dough is in a cambro or square container, you will do a coil fold by taking one side of the bin and pulling it up so it stretches up and then fold it over the rest of the dough. Do this process at least once. You can repeat this process up to four times in 30 minute intervals in the beginning of the bulk ferment.
Instructions: Step-by-Step Pumpkin Boules
- Divide and Preshape the Dough: After the bulk fermentation, divide the dough into three equal pieces. Take the dough out of the bowl or container onto an unfloured work surface. You can divide the dough into thirds by gauging it visually, or use a scale and weigh out three pieces that are about 760 grams each.
- Preshape each into a round shape by quickly jutting the dough scraper or bench knife under the edge of one of the portions of dough and then pulling that edge up and over the top of the portion of dough. Then rotate the dough with the bench knife on the work surface to tighten the dough into a ball by using the unfloured surface to create tension. Repeat with the other portions of dough.
- Prepare for Final Proofing: Let the balls of dough rest for 10–20 minutes while you prepare three round proofing bowls. If you have banneton basket liners, place those in your proofing bowl. Dust the proofing bowls with some rice flour or all-purpose flour. If you aren't using a liner, make sure to cover all the grooves and surface of the proofing bowl to avoid the dough sticking.
- Shape the Boules: Shape the dough rounds into boules (round loaf shapes). To do this, lightly flour the top of one of the rounds of dough then use the bench knife or dough scraper to pick the dough up by quickly pushing it under the dough round and then flipping it over so that the floured top is down and the sticky side is up. Gently stretch the dough out to create more surface area. Then take the left and right sides of the dough and fold them into the middle of the dough so that they are slightly overlapping (it should look like a burritio). Pinch this seam together. Take the end of the rolled dough nearest to you and then roll up the dough so that the seam is inside the dough. Roll until the floured side is right side up again. Create tension with the sticky bottom of the dough (now on the work surface again) and the unfloured work surface by rotating the dough with the bench knife or by pulling the dough toward you with the bench knife and your other hand gently holding the top of the dough to keep it from flipping over. Once the dough is tight and smooth, pick it up with the bench knife and flip it into the prepared proofing bowls so that the smooth, floured top is upside down.
- Repeat with the other rounds of dough.
- Proof the Dough: Cover the bowls of proofing dough with plastic wrap, a disposable shower cap, or kitchen towels. Proof the dough at room temperature for 1 ½ to 2 hours, until the volume is 1 ½ to 2 an indentation remains when you press a finger into the dough.
- Place your covered bowls of dough into the fridge while you preheat the oven.
- Preheat the Oven and Dutch Ovens: Preheat the oven to 500°F (260°C). Place your Dutch oven(s) into the oven.
Assembling and Tying the Pumpkin Boules:
- Cut and Prepare the Twine: Cut 12 pieces of cooking twine(4 for each loaf), each 24 inches long. Use a high quality cotton cooking string. Coat them well with flour or rub them generously with coconut oil (flour worked better for me).
- Arrange the Twine: Lightly flour the dough in the proofing bowl before arranging the twine. For each boule, use four pieces of twine: Lay the first piece over the top of the dough. Lay the second piece over the first in a cross pattern. Lay the third and fourth pieces diagonally over the first two to create a star-shaped pattern. Make sure you have equal sections of dough between the pieces of kitchen twine.
- Flip the Dough and Tie: Place a large piece of parchment paper over the arranged twine and proofing bowl. Hold the edges tightly, then flip the bowl over so the dough rests on top of the twine. Remove the bowl. Tie the ends of each piece of twine at the top of the dough, ensuring the twine is snug but not too tight (it should press lightly into the dough to make a slight indentation but should not squeeze the dough). On the last piece, wrap it around the others to secure the knot.
Scoring and Baking the Boules
- Score the Dough: Using a bread lame, score each section of your "pumpkin." A simple vertical line down the middle of each section works well.
- Transfer to Dutch Ovens: Carefully transfer each boule into the hot Dutch oven(s) by lifting the unbaked sourdough "pumpkin" with the parchment paper. Tuck the twine ends into the Dutch oven to reduce the risk of burning. Place the top onto the Dutch oven.
- Bake the Boules: Place the covered Dutch oven(s) into the oven and immediately reduce the oven temperature to 475°F (246°C). Bake for 18 minutes.
- After the first part of the bake, carefully open the Dutch oven(s), take out the partially baked loaf, and place the bread directly on the oven rack. Reduce the oven temperature to 450°F (232°C) and bake for an additional 15 minutes.
Finishing Touches
- Cool and Remove the Twine: Allow the loaves to cool for 5–15 minutes. Once they are cool enough to handle, cut each string and carefully remove the twine from the bread.
- Let the loaves cool on a cooling rack for at least 30 minutes before cutting for best results.
- Add the Pumpkin Stem: For a fun finishing touch, add a stem to your pumpkin boule. You can use a cinnamon stick, toasted almond, or anything else you have available that resembles a stem.