Beginner’s Guide to the Sourdough Bread Baking Process
Learn the basic steps of the sourdough bread baking process to begin your sourdough journey!
This step-by-step guide breaks down the sourdough process in a way that’s easy to follow so you can understand the full process before you dive in to making your first loaf of sourdough bread.
From active starter to that final golden crust, here’s how to bake your first loaf of sourdough bread using a simple sourdough bread recipe with the best results.
Bread Baking Basic Steps
In this article, I’ll explain these steps in more detail, but every yeast bread or sourdough bread is made by the same process:
- Activate the Yeast (or Sourdough Starter)
- Mix the Dough
- Bulk Fermentation/First Rise
- Pre-Shape & Bench Rest
- Bench Rest
- Final Shape
- Proof/Second Rise/Final Rise
- Bake
Differences Between Conventional Bread and Sourdough Bread Making
There are two important differences between making bread with commercial yeast and making bread with the wild yeasts of sourdough.
First, sourdough bread uses a sourdough starter that must be regularly cared for and maintained similar to a pet. The sourdough starter must also be activated several hours ahead of time* unlike active dry yeast which can be activated minutes before mixing in the dough or instant yeast that can be activated as it is mixed into the dough.
Second, the wild yeasts take longer to ferment than commercial yeast so the overall timeline for sourdough baking is approximately three to five times longer than conventional yeast bread baking.
*Yes, there are recipes that use sourdough starter discard, but they have specific formulas and timelines. Active sourdough starter and discard are not interchangeable.
Temperature and Timing in Bread Making
If you’ve baked yeast bread before, you may be familiar with how temperature can impact your baking timeline.
Due to the longer fermentation of sourdough baking, the fluctuation of temperature will be several hours rather than 30-90 minutes of difference in conventional yeast bread baking.
The temperature variables that can impact your fermentation timeline are:
- Outside weather: The weather, humidity, and altitude can all impact bread baking. (See altitude adjustment tips in this post)
- Kitchen/room temperature: The ambient temperature of your home, if the heater or air conditioning is on, if you are cooking will all impact this factor.
- Ingredient temperature: The temperature of your ingredients will either decrease or increase the fermentation time. Pay attention to the temperature of your water or other liquids in particular. Never use hot temperatures over 85 degrees F (30 degrees C) directly with sourdough starter.
- Dough temperature after mixing: A dough that needs a long kneading time will become warmer from friction in the machine mixer or when mixing by hand which will slightly speed up fermentation.
Key Ingredients to Get Started
Key Tools to Get Started
Some recommended equipment to make the process easier:
- Large Bowl or stand mixer
- Rounded plastic dough scraper
- Bench Knife also known as a Bench Scraper
- 4-qt Cambro container for bulk fermentation
- Banneton or Proofing Bowl/Basket
- Flour duster shaker: very optional but easy to use for shaping to get just right coverage and not too much flour
- Bread Lame or bread knife for scoring the dough before baking
- Dutch Oven or see my post on baking with manual steam
- Parchment Paper
- Silicone Oven Mitts
- Cooling Rack
- Bread Knife for safe and efficient slicing. My favorites are Wusthof bread knife and the Shun bread knife
See the full list of my recommended essentials here: Amazon idea list of Sourdough Essentials (see affiliate disclosure)
Have a limited budget? This post outlines the absolute essentials so you don’t have to break the bank to get started plus some hacks to get along without all the “right tools”: Beginners’ Guide to Sourdough Bread Baking Tools on a Budget
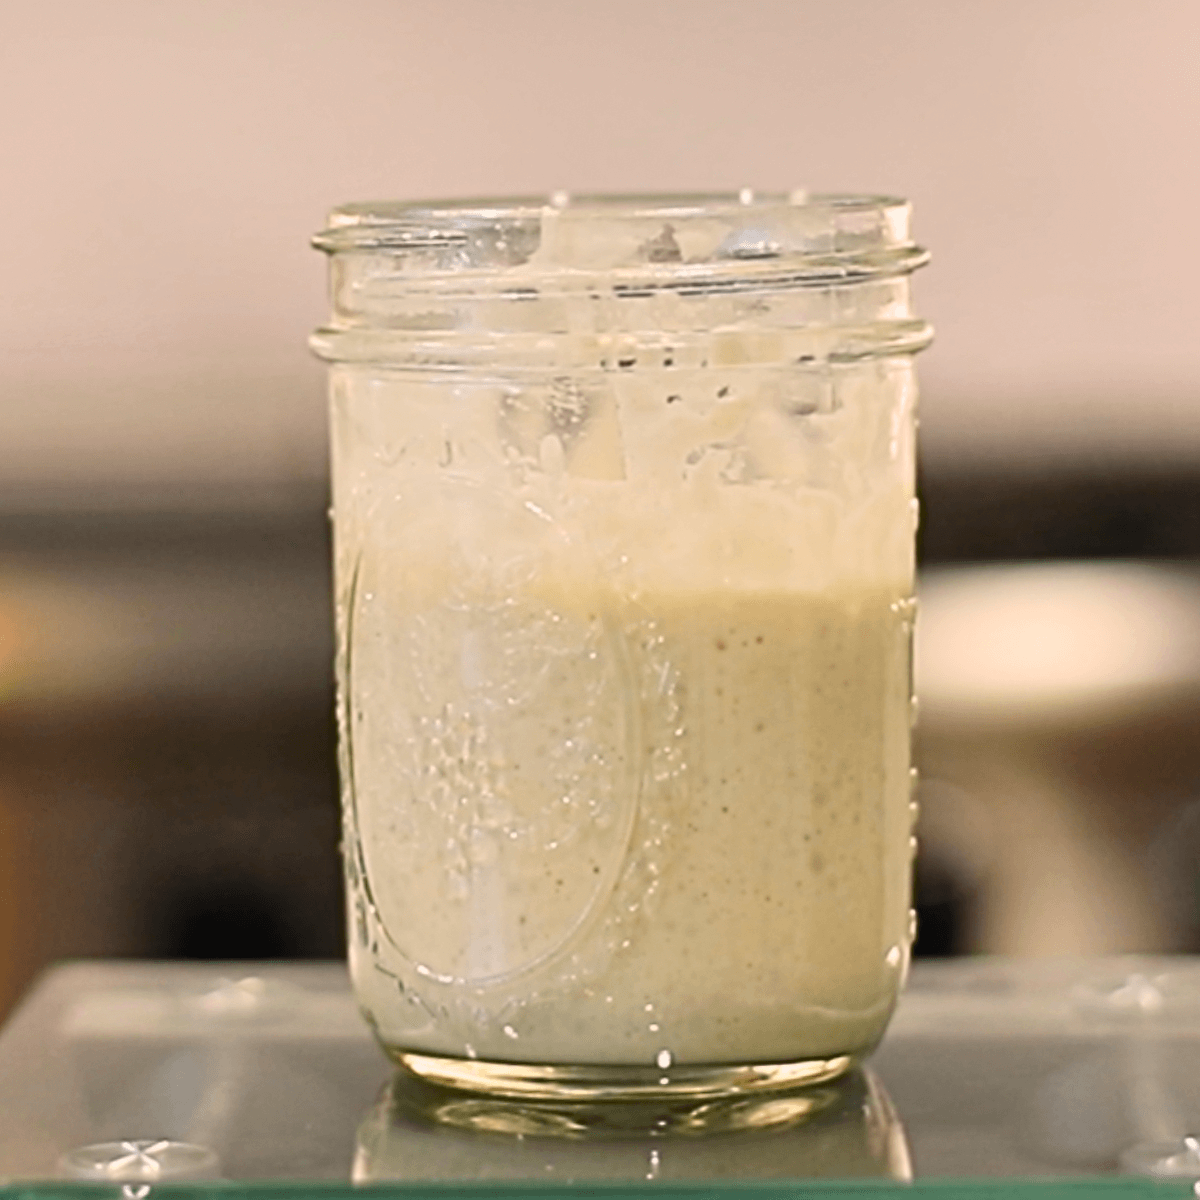
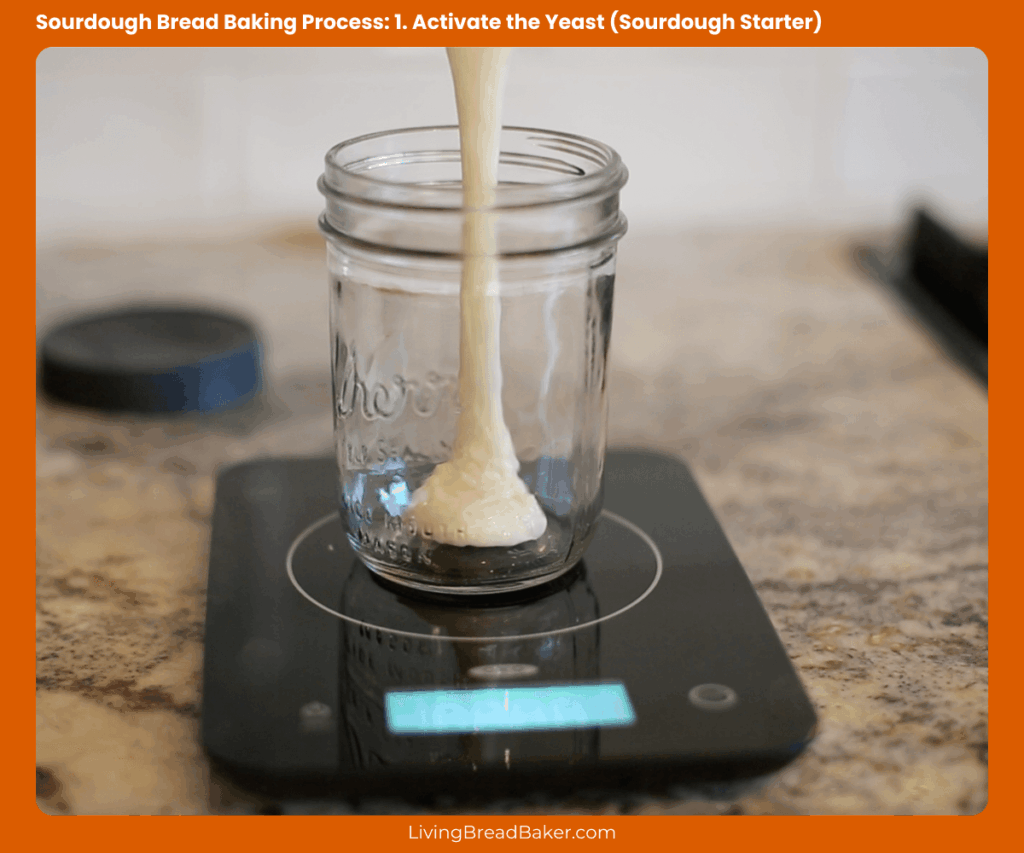
1. Activate Your Starter
The first step is making sure you have an active sourdough starter. Feed your own sourdough starter with equal parts g flour and g water, and let it sit at room temperature. It should double in size, pass the float test, and smell pleasantly tangy. This mixture of flour and water is what captures wild yeasts and beneficial bacteria that naturally make your bread rise—no commercial yeast needed.
Starter 101: Caring for an Active Starter
Before you mix any dough, you need an active sourdough starter—your natural leavening agent. It’s a living mixture of wild yeasts and beneficial bacteria that feed on a mixture of flour and water.
When cared for properly, your starter can last for years and become the foundation of every loaf of bread you bake.
Learn more about sourdough starters and their care in this post: What is a sourdough starter?
What Is a Sourdough Starter?
A sourdough starter is made from equal parts by weight of flour and water (for example, 50g flour and 50g water). Over time, it becomes bubbly and fragrant as it ferments. The yeasts and bacteria break down the starches in the flour and produce carbon dioxide, which is what helps your bread rise.
You can make your own sourdough starter from scratch or receive some from a friend.
If it’s your first time, start with a simple routine: feed your starter once per day with fresh flour and water and keep it at room temperature on your counter. You can also do a lower maintenance schedule of refreshing once each week and then using the fridge. There’s a sample schedule you can follow in my Sourdough Quick Start Guide, you can get it for free here.
How to Feed Your Starter
Use a clean large jar or container (glass or plastic is fine) and discard most of your starter when you refresh, keeping about 15–50g (about a tablespoon). Then feed it:
- 60g all-purpose flour or bread flour
- 60g warm water (filtered if possible)
Mix with a spoon, spurtle, or spatula until there is no more dry flour, then cover loosely with the lid of your jar, tea towel, or plastic wrap. Let it sit in a warm spot in your kitchen* (70–75°F is ideal) until bubbly and doubled in size—this is an active starter, ready for baking.
💡 Tip: If your kitchen is cold, fermentation will take more time. You can place your jar in a proofing box to maintain a steady temperature or place it near where your daily cooking is happening (like near the stovetop) to warm up in cold seasons.
The Float Test
Wondering if your starter is ready to bake with? Try the float test:
- Fill a small bowl or glass with cold water
- Drop a small spoonful of starter in
- If it floats, it’s full of gas and ready to go
- If it sinks, it may need more time or another feeding
The float test is not the ultimate guide and there can be false results so make sure to review all 8 of the signs of an active starter in this post.
What About Sourdough Discard?
Each time you refresh your starter, you’ll remove some of the old starter—this is called discard. You can compost this or save it!
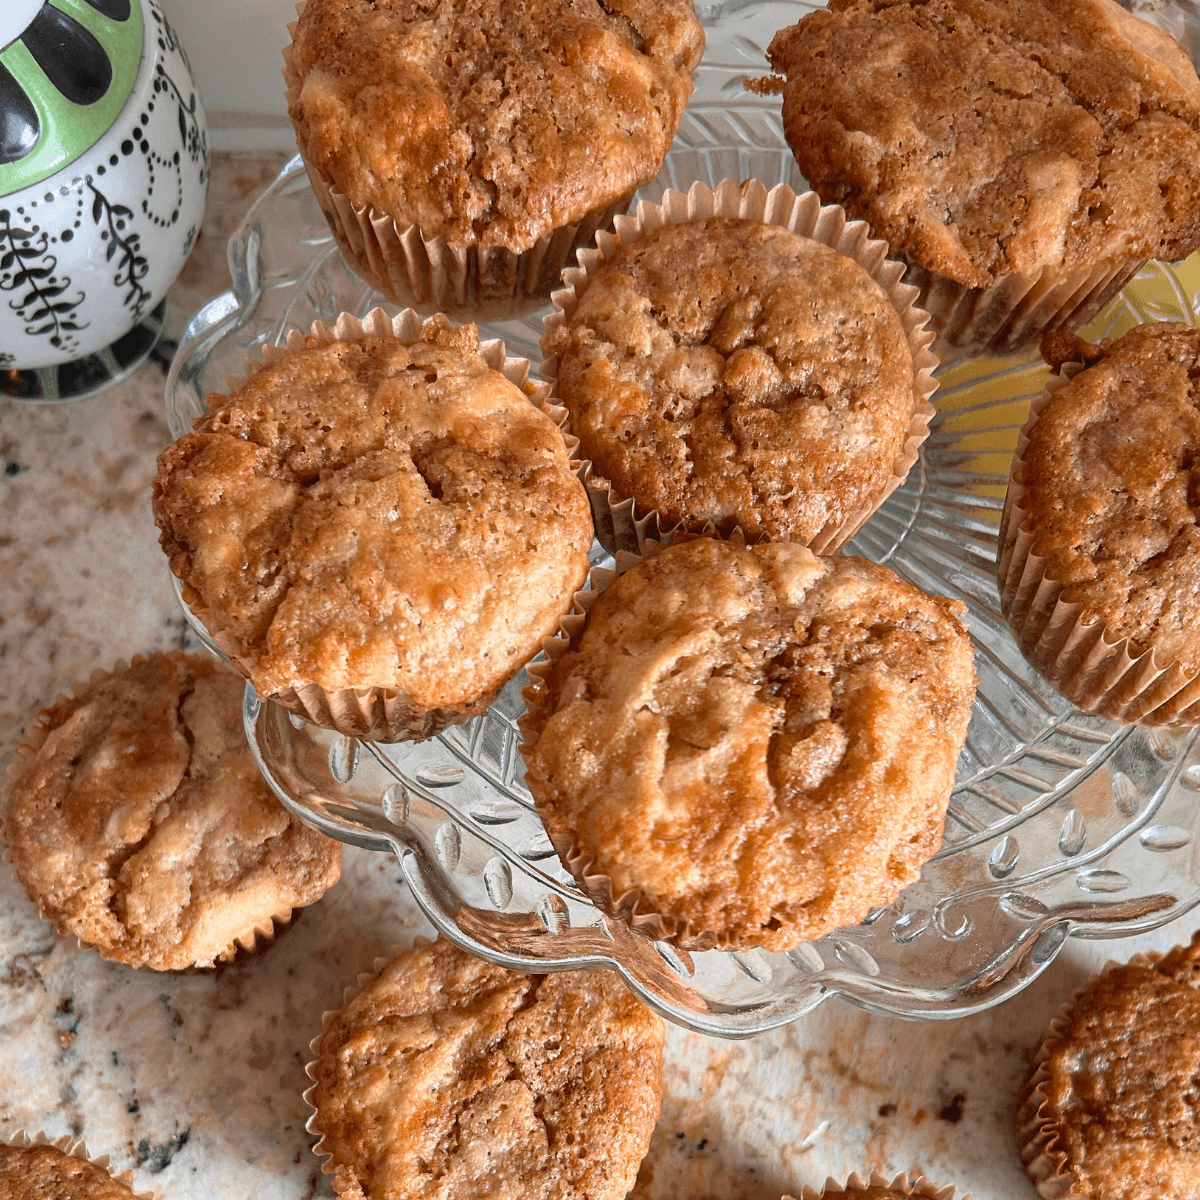
You can store it in jars in the fridge and use it for pancakes, crackers, muffins, and more. It won’t be strong enough to raise bread, but it adds delicious flavor to many recipes.
Learn more about sourdough discard in these posts:
- What is sourdough discard? A deep dive
- Why use sourdough discard?
- How to store discard
- How to use discard
Daily Maintenance vs. Refrigeration
If you’re baking often, keep your starter at room temperature and refresh it daily. If you’re only baking once a week (or less), store it in the fridge after feeding it, and bring it back to room temp and refresh it again before baking.
🧂 For best results, refresh your starter at least twice after taking it out of the fridge before baking bread.
2. Mix the Dough
In a large bowl, combine your portion of sourdough starter, flour, water, and salt. Stir with a spoon or with a rounded dough scraper until there is no more dry flour in the dough.
Some bakers prefer to start with an autolyse. The autolyse is done by either mixing only the flour and water first or mixing the flour, water, and starter only to kickstart enzymatic activity and gluten development. Let this sit for 20 minutes to 1 hour before adding the salt (and the starter if only flour and water were mixed together).
In my process for beginners, I recommend doing the latter by holding back 10 grams of water and the salt from the first mix of the rest of the water, flour, and starter. Let it sit for at least 20 minutes, then add the salt and the rest of the water. This is my recommendation because it is easier for new sourdough bakers.

3. Bulk Fermentation/First Rise
Once mixed, your dough begins its bulk fermentation or first rise. This stage lets the dough rise and develop flavor. Cover the bowl with plastic wrap or a damp kitchen towel or use a cambro container (4-qt size for a single batch or 6-qt for double to triple), and let it sit at room temperature, adjusting for the temperature of your kitchen. A warmer environment speeds up the fermentation process, while cold temperatures slow it down.
Perform at least one set up to four sets of stretch and folds (or quarter turns) every 30–45 minutes during the first few hours. Use slightly damp hands or a plastic rounded bowl scraper to gently stretch the dough without tearing it and then fold it over itself—this builds gluten strength.
Learn more about bulk fermentation in these posts:

4. Pre-Shape
This step takes place after bulk fermentation to get the dough into its approximate shape for easier final shaping. If you are making rolls or multiple loaves, you will need to divide the dough before pre-shaping. Use a bench knife or sharp knife to divide if needed.
Most sourdough bread dough is preshaped on an unfloured work surface. Use a bench knife or dough scraper to fold the dough over itself and create a smooth round ball-like shape.
Cover with a clean kitchen towel, use a slightly damp kitchen towel if you are in a dry climate.
See a demonstration in this video post: How to make Sourdough Bread step by step

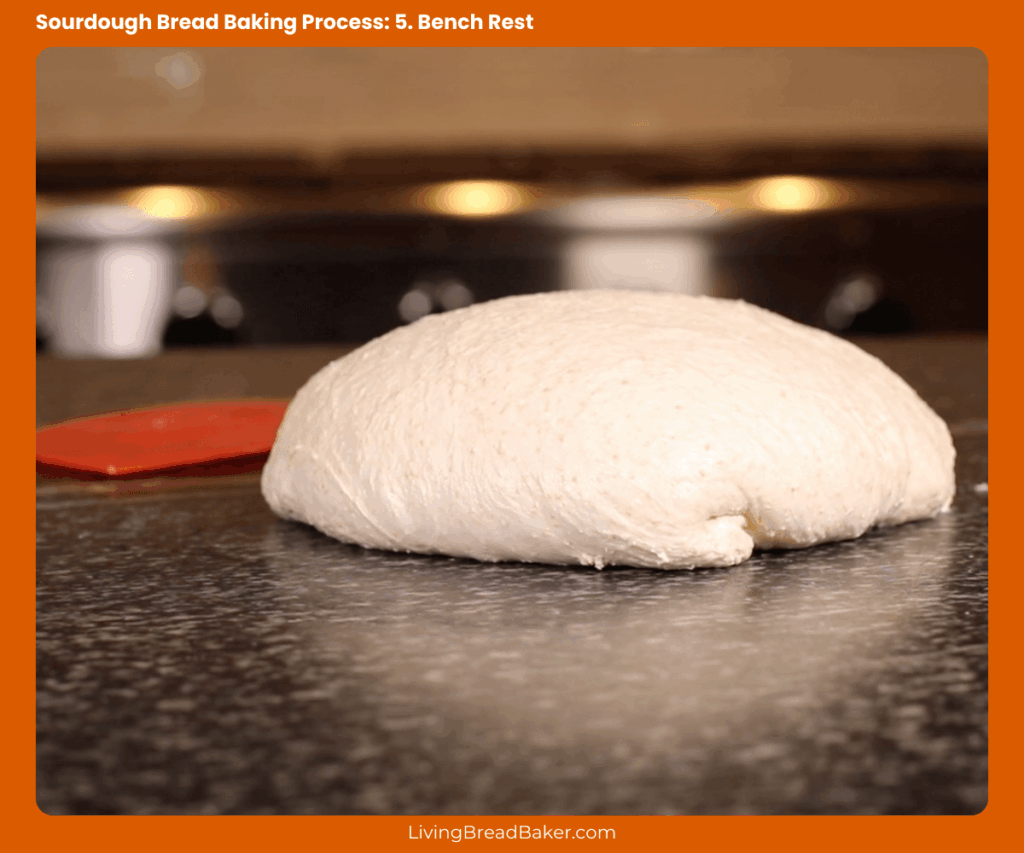
5. Bench Rest
Let the dough rest for 20–30 minutes. This is known as a bench rest and it helps the gluten network repair and strengthen for easier and better final shaping.
6. Final Shape
This is the step in the sourdough bread baking process when the dough is shaped into its final form before the final rise or proofing. Prepare your bread proofing basket or bowl with a dusting of rice flour or all purpose flour (fine rice flour will stick less than all purpose) or line a loaf pan or baking sheet with parchment paper.
For most sourdough recipes, you will lightly flour the rounded dough and rub it in with your hand until the top is no longer tacky but remove any excess flour from the work surface.
Use a bench knife or dough scraper to flip the floured side down so the sticky side of the dough is now facing up. Gently stretch the dough and then do your final shaping folds. See an example of a boule shaping in this video post or sandwich shaping in this video post.
Once you have your shape, the original floured side of the dough should be facing up again. Tighten the shape using gentle tucks and turns using your bench knife or dough scraper to create surface tension.
Good surface tension improves oven spring and structure.
Now place your dough in the bread proofing bowl floured side down and sticky side up or in a loaf pan or baking sheet with smooth, floured side up.
Resources for shaping in these video posts:
- How to shape a sourdough boule or round country loaf
- How to shape a sourdough sandwich loaf
- How to make a parchment liner for a loaf pan
- DIY proofing basket/ bowl hack

7. Proofing/Final Rise
Let the dough undergo its final proof. You can proof at room temperature for 1–2 hours or refrigerate overnight. The next day, your dough will be easier to score and bake cold. Cover with plastic wrap or a tea towel to prevent drying.
Learn more about proofing in these posts:

8. Bake
Preheat a hot Dutch oven, baking stone, or baking sheet to at least 450°F (232°C). Place your dough on a piece of parchment paper, then gently score the top of the dough using a razor blade or sharp knife. This directs the bread rise and creates that signature sourdough look.
Transfer the dough into the preheated Dutch oven and cover. Bake for 20 minutes covered, then remove the lid to let the top of the loaf brown. The internal temperature should reach around 208–210°F (98–99°C) for a perfect loaf.
Part of the baking process is cooling. Once baked, place your sourdough loaf on a cooling rack and let it sit for at least an hour. Slicing too soon can ruin the texture. This is a crucial part of the sourdough process, allowing moisture to redistribute and the crust to set.
Learn more about getting the best bake in these posts:

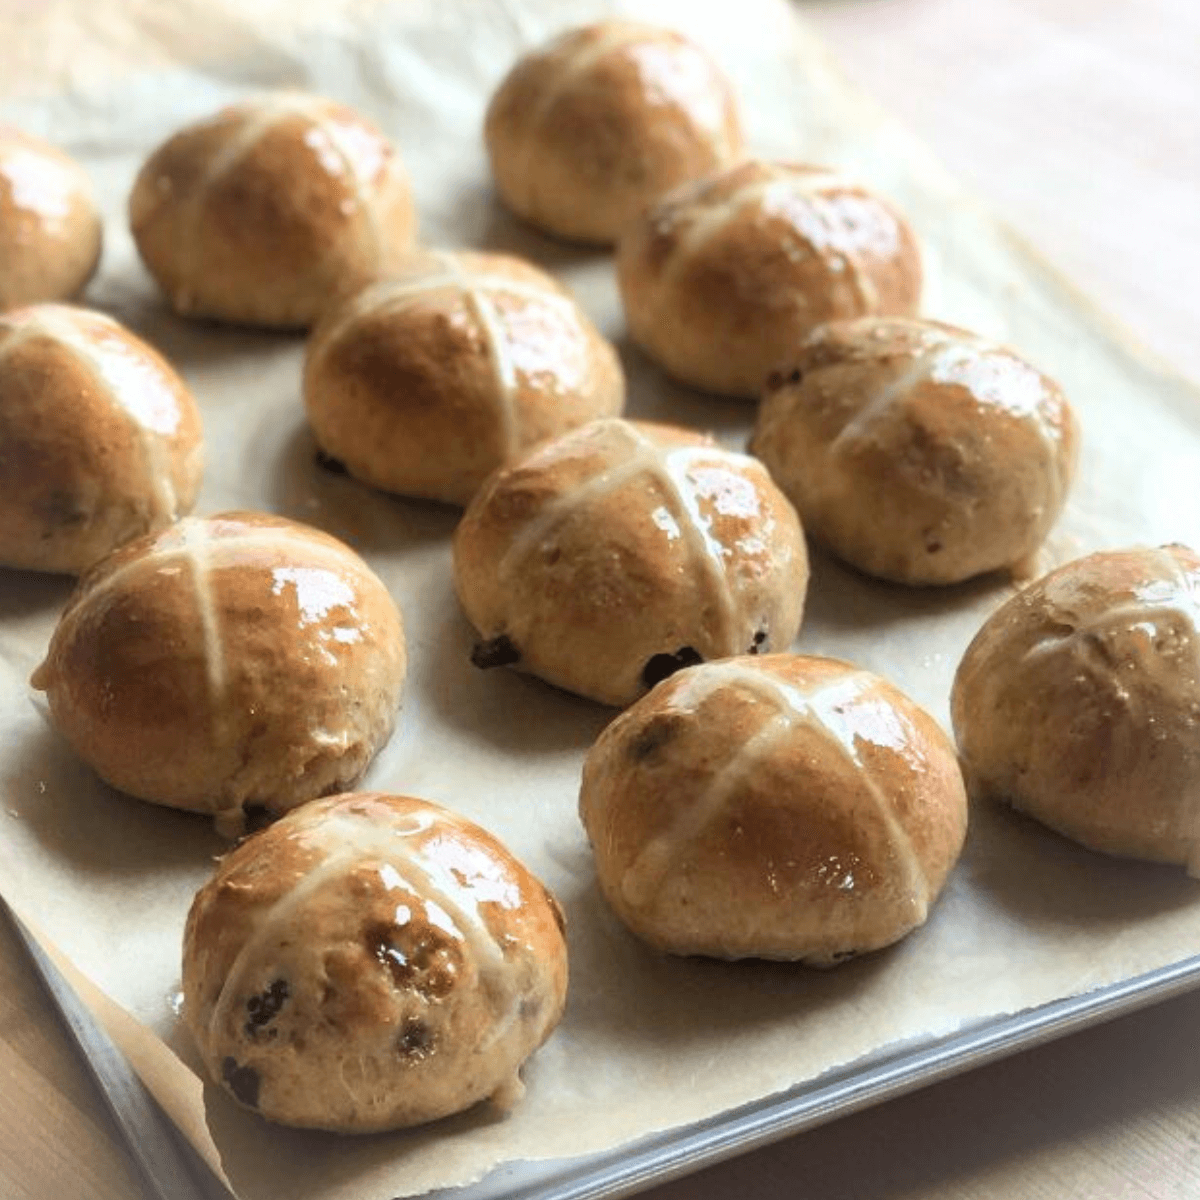
Easy Sourdough Bread Recipes for Beginners
Here are some easy recipes to get you started:
- How to make Sourdough Country Bread step by step
- Sourdough Apple Cinnamon Spice Country Bread (Boule) Recipe
- Jalapeño Cheddar Sourdough Bread Recipe (Cheesy Crust)
- Sourdough Sandwich Loaf
- Easy Sweet & Soft Sourdough Bread Master Recipe
- The Easy Weekly Sourdough Method: One Dough, Many Bakes
Just getting started with sourdough?
A competent guide transforms the sourdough bread baking process from overwhelming to uncomplicated and fun!
Get My Free Quick Start Sourdough Guide: Learn the key terms and concepts in sourdough baking, including the differences between active sourdough starter and sourdough discard, and how to care for your starter.

Start Baking Sourdough Confidently—Take the Intro to Sourdough Course for Just $27!
Beginning your sourdough journey
I began baking sourdough back in 2014 and I haven’t looked back! I’ve gone through different seasons of life, added more kids around the dinner table, but I’ve always had a sourdough baking rhythm.
The sourdough bread baking process has become a touchstone in my life, grounding me, helping me define my schedule even when things feel chaotic. And it has become a core memory and tradition in my family, even for the most basic sourdough fare.
If you are just getting started, I’m so excited for you! I don’t want you to get overwhelmed and give up. So take the time to peruse my site and free resources to have a successful start to sourdough baking.
Even though there are so many resources on the internet, use caution in how much you “research”. Find a method and go for it! Too much information is the cause for most beginners to get overwhelmed and quit.
I’m cheering you on and can’t wait to hear about your sourdough success!
Living Bread Baker posts mentioned
Store Sourdough Discard for Starter Discard Recipes
Shaping a sourdough boule or round country loaf
How to shape a sourdough sandwich loaf
How to make a parchment liner for a loaf pan
DIY proofing basket/ bowl hack
How to tell when sourdough bulk fermentation is done
How to tell when sourdough proofing is done
Cold ferment vs. room temp ferment
How to bake sourdough bread using manual steam
10 signs of a good sourdough bake
How to make Sourdough Country Bread step by step
Sourdough Apple Cinnamon Spice Country Bread (Boule) Recipe
Jalapeño Cheddar Sourdough Bread Recipe (Cheesy Crust)
Easy Sweet & Soft Sourdough Bread Master Recipe
The Easy Weekly Sourdough Method: One Dough, Many Bakes
Shop this post
Bench Knife also known as a Bench Scraper
Banneton or Proofing Bowl/Basket
free sourdough quick start guide
online Intro. to Sourdough course
This post contains affiliate links. Read my policy here.