Cooling Sourdough Bread: Why and How Long You Should Cool
Fresh baked sourdough is irresistible when it comes out of the oven, but did you know that it is actually still baking during the cooling process?
Slicing into a hot steamy loaf of sourdough is tempting, especially after all that hard work!
But in this article I’ll explain the cooling process—why it matters, how long to cool sourdough bread, and what to expect for the best results. Plus, when you could slice into a sourdough loaf early and when you want to avoid it!
Why Cooling Sourdough Bread Matters
Cutting into hot bread too early is one of the most common mistakes new bread bakers make. It’s hard to resist and wait—especially when you’re proud of your first loaf—but slicing too soon interferes with the final chemical reactions that create a beautiful loaf with the optimum texture and flavor.
Here’s what’s really going on inside that hot loaf:
- The structure of the bread is still setting.
- Steam escapes slowly as it cools.
- Starch molecules are undergoing starch retrogradation, a natural realignment that turns soft, sticky bread into chewy, sliceable perfection.
Cooling isn’t just an afterthought—it’s the final step in the baking process. It even helps your sourdough bread slice more evenly and store better without going stale too quickly.

5 Benefits of Cooling Sourdough Bread
- Completes the sourdough baking process
- Allows the structure to set for getting perfect thin sandwich bread slices
- Safer to slice into the bread
- Better texture with a chewy crumb
- Bread won’t stale as quickly and stores better
How Long to Let Sourdough Cool
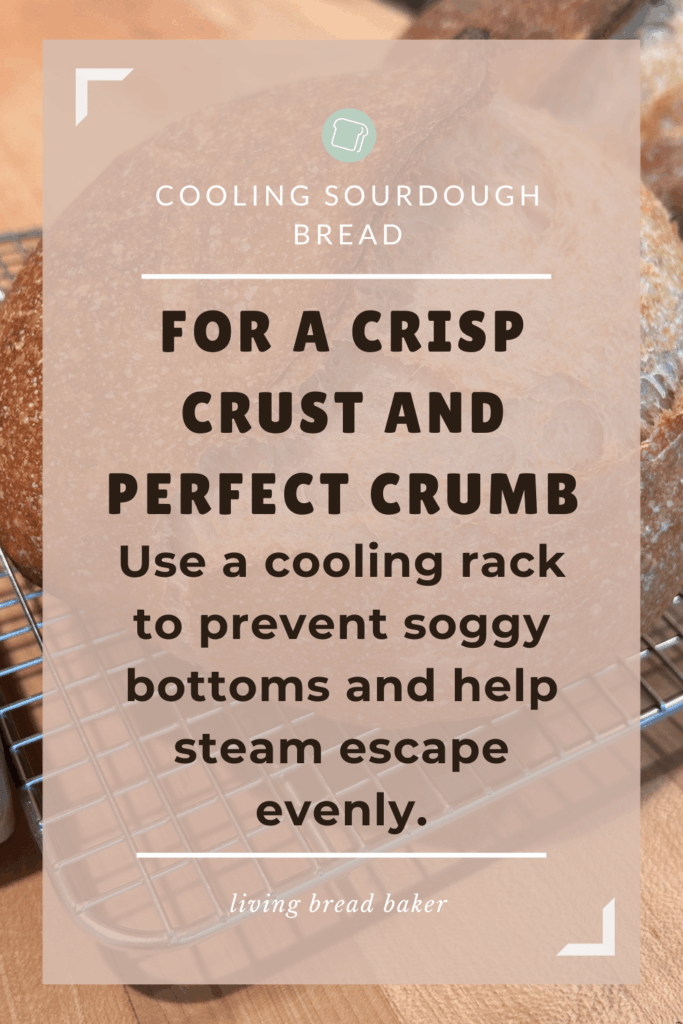
After the sourdough bread has baked, place it on a wire cooling rack so that air can circulate evenly around the loaf of bread.
Let it cool for at least an hour before slicing. However, if you are planning to use this bread throughout the week, let the bread cool overnight (about 6 hours). This allows:
- Excess moisture to escape
- The crumb to firm up
- Easier cutting (especially for that perfect slice with a serrated knife)
The size of your loaf and the type of sourdough bread you made affect the cooling time. Smaller rolls don’t need as long of a cooling time, while a large boule with whole grains or rye flour may need more like 2 hours.
✅ Tip: Use a cooling rack to help air circulate around the entire loaf, especially the bottom.
Feature Bread vs. Weekly Bread
The purpose of the bread can also impact cooling time.
If your bread is for a special meal like a breakfast, brunch or dinner with friends, that’s when I do minimal cooling. Feature bread that’s made for a special meal is generally meant to be enjoyed for that meal and keeping leftovers isn’t the goal.
But if you’re making weekly bread, its best to cool the bread for the 6 hour or overnight timeline.

How to Tell If It’s Cool Enough
For the most precise method, use an instant-read thermometer. When the internal temperature drops below 100°F (38°C), your loaf is safe to slice.
If you’re not using a thermometer, touch the bottom of the loaf—it should feel cool or just slightly warm to the touch.
Avoid Soggy Bottoms with a Cooling Rack
Hot fresh bread needs to rest on a cooling rack in order to keep the bottom of the bread off of the work surface or counter.
The cooling rack allows air to circulate around the loaf of bread by lifting the bottom of the bread off of the counter or work surface.
Without the lift, the steam escaping from the bread will make the bottom of the bread damp and soggy.
Best Way to Cool Bread from a Loaf Pan
When it comes to sandwich loaves or bread made in a loaf pan, do you cool in the pan or take it out?
My favorite way to cool sandwich loaves to avoid a steamy soggy crust from sitting in the loaf pan too long, is to carefully take the loaves out of the loaf pans right after they come out of the oven or within 10 minutes.
If you use a parchment liner (like the one I demonstrate in this video post), it’s very easy to pick up the loaf pulling on two tabs of the liner.
Place the parchment lined loaves on the cooling rack to cool. Carefully unwrap the sandwich loaves after another 10 minutes or so when they aren’t burning hot so they can fully cool without becoming soggy.
Should You Speed Up the Cooling Process?
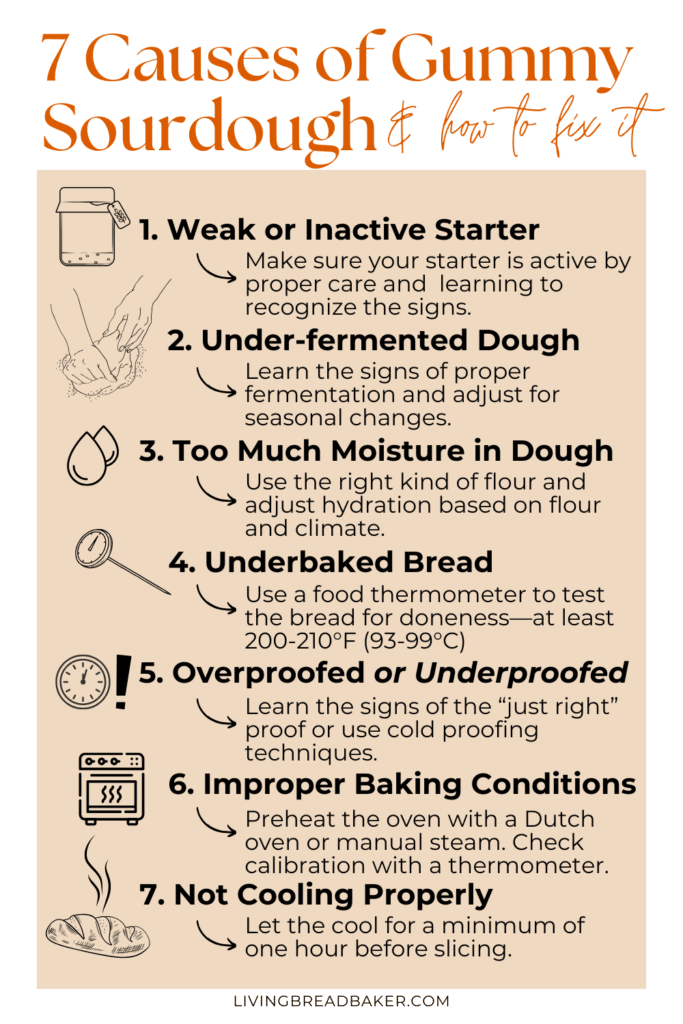
It’s tempting, but rushing the cooling period can lead to a gummy loaf.
Letting your sourdough cool too fast (in the fridge or freezer) may trap moisture inside or result in a hard crust.
Stick to ambient temperature and be patient.
Tip: If you want to let your bread cool, but still want a warm taste, slice off one small end of the bread to enjoy and let the rest of the loaf sit to fully cool and come back to slice the rest of the loaf later.

Frequently Asked Questions: Cooling Sourdough Bread
- How long should sourdough cool before slicing?
- For best results, wait at least 2 hours—and up to 4 hours for larger loaves—at room temperature before slicing. The inside of the bread continues to set and dry during this time.
- Can I cool sourdough in the fridge?
- You can, but it’s not recommended. Cooling too quickly (like in the fridge) can trap moisture, create a gummy crumb, and harden the crust. Let it cool on a wire rack at room temperature for the best texture.
- Why is my sourdough gummy after baking?
- Most likely, you cut into it too soon. The starch molecules need time to set and firm during the cooling process. Let the loaf cool completely next time before slicing.
- How do I know when my sourdough is cool enough to store?
- Use an instant-read thermometer. Once the internal temperature drops below 100°F (38°C), it’s safe to wrap or store. Or, simply feel the bottom of the loaf—it should be cool or only slightly warm.
- What’s the best way to store sourdough after it cools?
- For short-term (1–2 days), use a cloth bag or paper bag. For longer storage, wrap tightly or slice and freeze in a plastic bag with parchment between slices.
How to Store Cooled Sourdough Bread
Once your homemade bread is fully cooled:
Short-term (1–2 days):
- Store cut-side down on a cutting board, or wrap in a clean tea towel
- Use cloth bags or a brown paper bag to preserve the crust
Medium-term (2–4 days):
- Store in a bread box or transfer to a plastic bag or ziplock bag once fully cooled (this softens the crust but prevents drying)
- If you want to keep your bread even fresher, leave the loaf whole and only slice off the slices needed for the current meal
Longer-term:
- Slice the whole loaf and freeze individual slices between parchment paper
- Store in a freezer-safe bag for up to 2 months
- You can also freeze the whole loaf, but freezing slices is much easier. You can learn more about freezing (and properly defrosting) sourdough bread in this post.
Avoid storing in a plastic bag too early—it will trap moisture and make your crust go soft or even soggy.
Cooling is the Solution to Several Common Issues
Letting your sourdough cool properly is one of the easiest ways to level up your sourdough recipe—and a simple fix for many issues like:
- Gummy crumb that’s too moist or sticky (read more: Why Is My Sourdough Bread Gummy? 7 Causes and How to Fix Them)
- Bread that tears instead of slicing
- Loaves that feel “underbaked” even with the right bake time
Aside from the incredible draw of a fresh loaf of bread, sometimes time planning can be an issue.
You can get my free sourdough time planning worksheet to help create your baking plan.
Sourdough Bread Recipes to Try
- Classic Sourdough Country Bread
- Sourdough Apple Cinnamon Spice Country Bread (Boule) Recipe
- Sourdough Honey Oat Whole Wheat Sandwich Bread Recipe
- Sourdough Sandwich Loaf
- Whole Wheat Sourdough Japanese Milk Bread, (Hokkaido)
- Jalapeño Cheddar Sourdough Bread Recipe (Cheesy Crust)
An Annoying, but Necessary Part of the Baking Process
Cooling seems like the most annoying step of the sourdough baking process, but I hope I’ve convinced you why its such an important and worthwhile step.
And I hope you also got some insight into when and how you can bend the rules a little bit!
Let me know if you cool your bread or if you like breaking the sourdough rules down in the comments!
Just getting started with sourdough?
Learning to bake sourdough doesn’t have to be overwhelming. Whether you’re just getting started or looking for a little more clarity in the process, I’ve got something that will help!
If you need help understanding starters, you can get my Free Quick Start Sourdough Guide: Learn the key terms and concepts in sourdough baking, including the differences between active sourdough starter and sourdough discard, and how to care for your starter.
Or join my free sourdough email course and learn step-by-step how to go from starter to fresh, homemade sourdough bread—with confidence.
Each lesson is short, beginner-friendly, and designed to help you succeed one step at a time.
🎉 Sign up now and start your sourdough journey today!
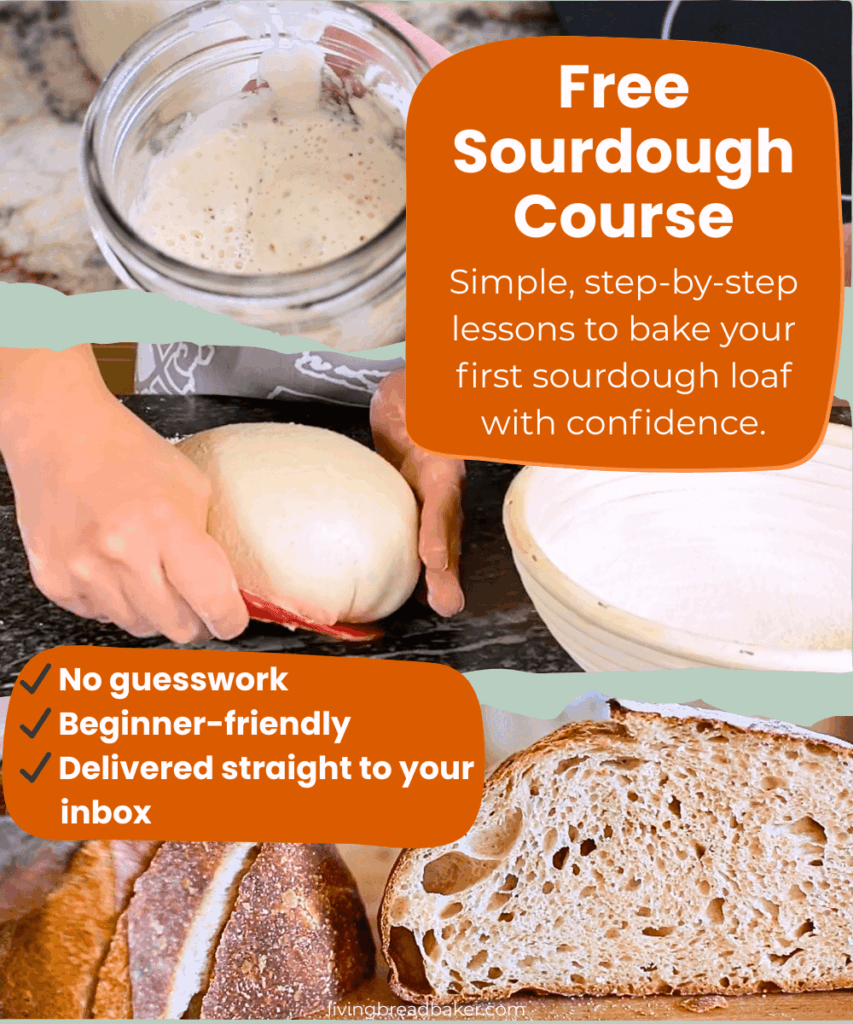
Join the Free Sourdough Email Course → {click here to begin}
Living Bread Baker posts mentioned
DIY proofing basket/ bowl hack
How to tell when sourdough bulk fermentation is done
How to tell when sourdough proofing is done
Cold ferment vs. room temp ferment
How to bake sourdough bread using manual steam
10 signs of a good sourdough bake
How to make Sourdough Country Bread step by step
Shop this post
free sourdough quick start guide
online Intro. to Sourdough course
This post contains affiliate links. Read my policy here.