Crispy Sourdough Baked “Tortilla Chips” Using Discard
Transform your sourdough discard into a delicious and crispy snack with these Sourdough Baked “Tortilla Chips”!
Perfect for dipping into your favorite salsa, guacamole, or enjoying on their own, these sourdough tortilla chips are easy to make and even easier to eat!
Our family has been enjoying these for year, so it’s time to share the recipe with you!

Why Use Sourdough Discard in these “Tortilla Chips”?
Using sourdough discard in your recipes is a fantastic way to minimize waste and infuse your snacks with the unique tangy flavor of sourdough. These Sourdough Baked “Tortilla Chips” are an excellent example of how you can creatively use discard to make something both tasty and versatile.
They are great if you don’t eat corn or simply want a healthier homemade alternative to store bought chips.
Especially with the extra cost of healthy options of corn tortilla chips made with cleaner oils, this is my favorite way to make healthier “chips”.
The use of sourdough discard in these sourdough tortilla chips also makes them more digestible.
Ingredients for Sourdough Tortilla Chips
100g discard (1/2 cup)
60g all purpose flour, whole wheat flour or a blend of white and wheat are great (1/3 cup)
10-20g melted butter or oil, avocado oil has a great mild flavor, coconut oil or other vegetable oil will work (2-4 teaspoons)
1/4 t. Salt
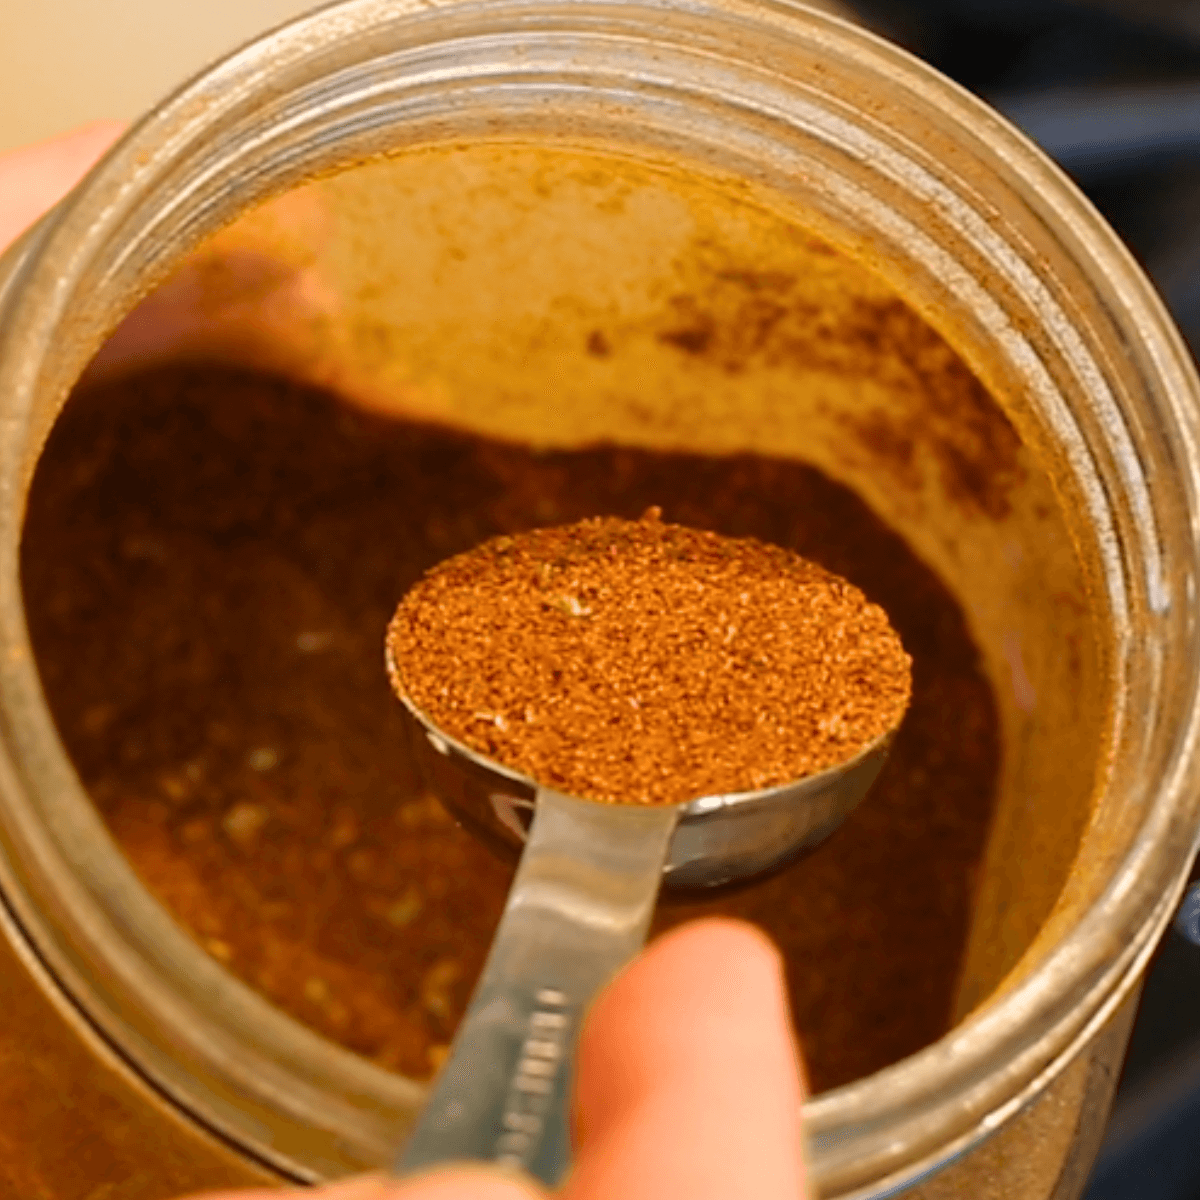
1/4 t. Mexican Seasoning (one that is only spices with no salt or low in salt)
Extra oil or melted butter to brush on top
Salt to sprinkle on top
How to Improve Digestibility
In the process of making this recipe, you have the option to let the dough sit at room temperature for the sourdough discard to break down the flour used in the recipe.
This makes the flour and final product of the sourdough chips more digestible.
You can also put the dough in the fridge overnight, but make sure to let the dough fully temper back to room temperature for easier shaping.
Increasing the Batch
Whenever I make sourdough crackers or a pantry staple like these sourdough tortilla chips, I always try to make a large batch to store.
So I either used a lots of discard starter, which I weigh first to see how much I can make (i.e. double batch, triple, etc.).
Or if I don’t have much sourdough starter on hand, I make a large batch of sourdough starter and let it sit for 14 to 18 hours at room temperature until its at its liquid sourdough starter discard stage.

Instructions for Sourdough Tortilla Chips
These sourdough chips are easy to make by following the step by step process below!
The steps have been divided by stage for easier navigation.
Making the Dough
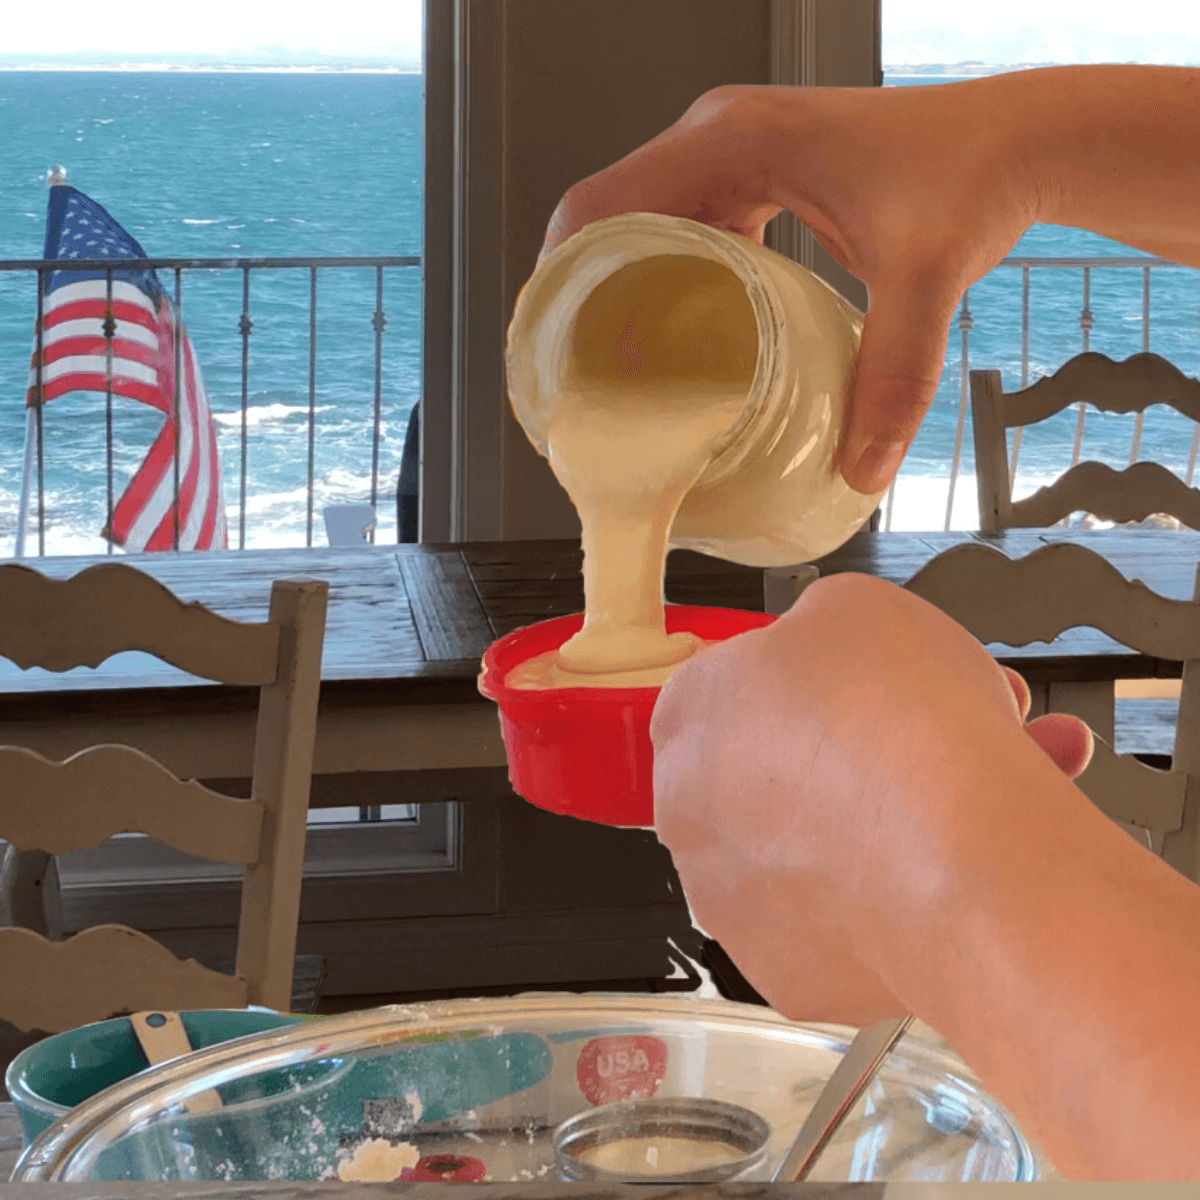
- Place a medium bowl on a food scale (see volume measurements in ingredient list).
- Mix the ingredients together. (If making a larger batch, measure the amount of discarded sourdough starter first)
- Optional: If you choose to ferment your dough for the best digestibility, cover the bowl with plastic wrap and leave at room temperature for 2-3 hours.
Preheating and Shaping the Dough
- Preheat your oven to 375 degrees F.
- Place two sheets of parchment paper on a flat work surface.
- Place half the dough on each paper.
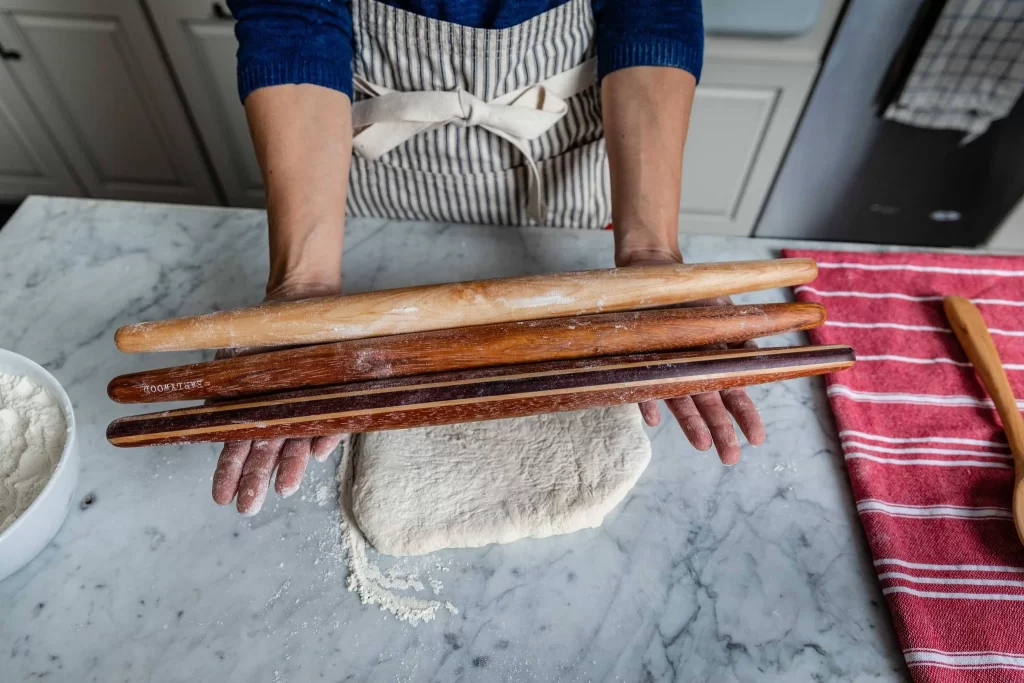
- Use a rolling pin (I highly recommend a French tapered rolling pin) to roll out your dough until it is as very thin. If it thick enough to leave an indentation when you press a section with your finger, keep rolling.
- Use a pizza cutter or knife to cut the rolled dough into 2-inch rows across and 2-inch columns, place jagged scraps in with the unrolled dough. Cut diagonal lines through the squares to form triangle shapes.
- Repeat with the other half of the dough (you can choose to leave the jagged edges if you don’t mind some unevenly shaped chips and want to reduce food waste).
- Carefully slide your parchment paper onto the flat sheet pan.
Here are some examples of my FAVORITE, gorgeous, crafted French tapered rolling pin by Earlywood Designs. Here’s an Amazon version from Kitchenaid that’s comparable
Baking the Sourdough “Tortilla Chips”
- Optional: Brush the top of the dough with olive oil or melted butter and sprinkle with salt. This helps the “chips” turn out more crisp and flavorful.
- Finally, bake 12-14 minutes until golden brown and crisp, watch them since they can burn easily. Place a bowl out to collect the chips when they have cooled. *Note: if any of the chips on the edge are browning too quickly, take out the pan and carefully sweep the done chips into the bowl and continue baking the rest.
- Let chips cool on the baking sheet for 5 to 15 minutes. Then transfer them to the serving bowl.
- Once cool, enjoy with some guacamole, salsa, or other favorite dips!
Tips for Perfect Chips
- Roll Thin: The thinner you roll the dough, the crispier your chips will be.
- Season to Taste: Feel free to experiment with different seasonings like garlic powder, paprika, or even a sprinkle of grated cheese. If you need a good low salt Mexican seasoning/taco seasoning, use this recipe: Best Taco Seasoning Recipe (Homemade Mexican Seasoning)
- Watch Closely: Keep an eye on the chips as they bake to prevent burning, especially if they are rolled very thin.
Storing Your Chips
Store your Sourdough Baked “Tortilla Chips” in an airtight container at room temperature for up to a week. To keep them extra crispy, add a small packet of silica gel or a few grains of rice wrapped in a paper towel to absorb moisture.
Finish the Meal to go with your Sourdough Tortilla Chips
Here are some great recipes to go with your homemade tortilla chips:
- The Best Soft Flour Sourdough Tortillas Use Active Starter
- Homemade Beef Enchiladas with Enchilada Sauce Recipe
- Best Taco Seasoning Recipe (Homemade Mexican Seasoning)
Sourdough Tortillas Recipe
Some sourdough tortillas come out too thick or chewy. The best tortillas should be flavorful, soft, flexible, and strong enough to hold your ingredients in.
So, if you’re looking for an easy to follow, thorough sourdough tortilla recipe that will give you awesome results that are better than store bought, then check out my sourdough tortilla recipe has been helpful for many sourdough bakers!
After they completely cool, store them in a large ziplock bag with a towel on the top of the stack and one on the bottom of the stack inside the bag to absorb moisture in the fridge.
More Healthy Sourdough Discard Recipes
- Easy Savory Sourdough Discard Crackers Recipe
- The Best Sourdough Discard Graham Crackers Recipe
- The Best Sourdough Pancakes Recipe (Discard Sponge Method)
- Easy Overnight Sourdough Waffles (Discard Sponge Method)
Enjoy the Benefits of Sourdough Baking
These Sourdough Baked “Tortilla Chips” are not just a great way to use up your sourdough discard; they are also a delightful snack that your whole family will love. Enjoy the tangy flavor of sourdough in every crispy bite. Happy snacking!
Make sure to share this recipe with a friend! And if you make it, I’d love to hear about it–you can comment on this post or tag me on instagram @livingbreadbaker!

Need more sourdough help?
Don’t let sourdough overwhelm you—get the guidance you need to bake with confidence! Whether you’re a complete beginner or looking to simplify your routine, I’ve got you covered.
- Just starting out? Download my free Quick Start Sourdough Guide to master the key terms and understand the basics of maintaining your starter and using sourdough discard.
- Ready to start making sourdough bread? My Intro. to Sourdough course will walk you through every stage with step-by-step video tutorials, perfect for anyone wanting to build a solid sourdough foundation and you can take it for just $27
- Short on time? The Once-a-Week No Knead Sourdough online course is designed for busy bakers and overwhelmed sourdough beginners! Make one batch of dough to create bread, pizza, bagels, and more throughout the week, without the hassle of daily baking.
- Need help planning your bakes? Check out my Sourdough Time Planning Workbook, perfect for new or experienced bakers! It includes 8 ready-to-use templates for classic sourdough breads and enriched doughs, plus a baking journal to help you track your bakes and work with baker’s percentages.
Thousands of bakers have already transformed their sourdough skills with my tutorials and resources. I’d love to help you make amazing sourdough (without the stress)!
LIVING BREAD BAKER POSTS MENTIONED
How to Store Sourdough Discard for Starter Discard Recipes
Easy Savory Sourdough Discard Crackers Recipe
The Best Sourdough Discard Graham Crackers Recipe
The Best Sourdough Pancakes Recipe (Discard Sponge Method)
Easy Overnight Sourdough Waffles (Discard Sponge Method)
The Best Soft Flour Sourdough Tortillas Use Active Starter
Homemade Beef Enchiladas with Enchilada Sauce Recipe
Best Taco Seasoning Recipe (Homemade Mexican Seasoning)
SHOP THIS POST
French tapered rolling pin by Earlywood Designs
( Amazon version from Kitchenaid )
free sourdough quick start guide
online Intro. to Sourdough course
This post contains affiliate links. Read my policy here.

"Tortilla Chips" (Sourdough Discard)
Equipment
- Rolling Pin
- Rolling Pizza Cutter or Large Knife
- Flat Baking Sheet
- Parchment Paper
Ingredients
- 100 g discard 1/2 cup
- 60 g all purpose flour whole wheat flour or a blend of white and wheat are great (1/3 cup)
- 10-20 g melted butter or oil avocado oil has a great mild flavor, coconut oil or other vegetable oil will work (2-4 teaspoons)
- 1/4 t. Salt
- 1/4 t. Mexican Seasoning one that is only spices with no salt or low in salt
- Extra oil or melted butter to brush on top
- Salt to sprinkle on top
Instructions
- Place a medium bowl on a food scale (see volume measurements in ingredient list).
- Mix the ingredients together. (If making a larger batch, measure the amount of discarded sourdough starter first)
- Optional: If you choose to ferment your dough for the best digestibility, cover the bowl with plastic wrap and leave at room temperature for 2-3 hours.
- Preheat your oven to 375 degrees F.
- Place two sheets of parchment paper on a flat work surface.
- Place half the dough on each paper.
- Use a rolling pin (I highly recommend a French tapered rolling pin) to roll out your dough until it is as very thin. If it thick enough to leave an indentation when you press a section with your finger, keep rolling.
- Use a pizza cutter or knife to cut the rolled dough into 2-inch rows across and 2-inch columns, place jagged scraps in with the unrolled dough. Cut diagonal lines through the squares to form triangle shapes.
- Repeat with the other half of the dough (you can choose to leave the jagged edges if you don't mind some unevenly shaped chips and want to reduce food waste).
- Carefully slide your parchment paper onto the flat sheet pan.
- Optional: Brush the top of the dough with olive oil or melted butter and sprinkle with salt. This helps the "chips" turn out more crisp and flavorful.
- Bake 12-14 minutes until golden brown and crisp, watch them since they can burn easily. Place a bowl out to collect the chips when they have cooled. *Note: if any of the chips on the edge are browning too quickly, take out the pan and carefully sweep the done chips into the bowl and continue baking the rest.
- Let chips cool on the baking sheet for 5 to 15 minutes. Then transfer them to the serving bowl.
- Once cool, enjoy with some guacamole, salsa, or other favorite dips!