Sourdough Easter Egg Bread (Pane di Pasqua)
For Easter or a spring treat, this Sourdough Easter Egg Bread, also known as Pane di Pasqua (said in my mediocre Italian accent with a hand gesture) is gorgeous and delicious.
I love the unique way it is braided with the eggs and the sweet light lemon flavor is bright and perfect for spring.
This post will help you make this incredible bread with some tips, time planning, and of course the recipe.


What is Sourdough Easter Egg Bread (Pane di Pasqua)?
Pane di Pasqua means Easter bread in Italian which is where this bread originated from.
It is a sweet rich sweet brioche that is braided and has raw eggs inserted in between the plaits of the braid.
The eggs can be left natural or they can be dyed, but they must be raw.
Eggs are a symbol of new life in spring and are used in Easter traditions as a reminder of seasonal new life as well as spiritual new life.
Ingredients to make Sourdough Easter Egg Bread
Starter:
- 20g (1 heaping tablespoon) sourdough starter
- 100g (1/4 cup and 3 tablespoons) water
- 100g (2/3 cup) All-Purpose Flour
Dough:
- 115g (1/4 cup and 3 T.) whole milk, warmed
- 80g (1/4 cup and 2 T.) white sugar
- 200g (1 cup and 3 T.) prepared starter
- 500g (3 and 1/3 cups) bread flour
- 100g (2/3 cup) semolina flour (bread flour may be substituted)
- 2 eggs
- 5g (1 t.) salt
- 30g (2 T.) water
- Zest of one lemon
- 115g (1/2 cup or 1 stick) unsalted butter softened
- 4-5 colored or dyed eggs, UNCOOKED added during the shaping step
Lemon glaze:
- 55g (1/4 cup and 2 T.) sifted powdered sugar
- Pinch of lemon zest
- 10g (2 teaspoons) lemon juice
Helpful Tools
Some of the following are affiliate links. Read my policy here.
- Kitchen Scale
- Large Mixing Bowl
- Rounded dough scraper
- 4-qt. cambro for bulk ferment/first rise or non-plastic bowl covers
- Parchment paper
- Baking sheet
- Ramekin for placing in center of wreath during proof
- Pastry brushes
- Natural food coloring (no artificial dyes)
- Dye-free naturally colored sprinkles
Starter Preparation for Sourdough Easter Egg Bread (Pane di Pasqua)
You will need a healthy, established sourdough starter for making this recipe. If you need to buy one or make one, here are my resources to get started!
With your sourdough starter, you can use active sourdough starter or sourdough starter discard, add one tablespoon to a container that is at least 1-quart in size. Then feed it with water and all-purpose flour. You can use bread flour instead, I use all-purpose flour because it is less expensive for this step.
Let the starter sit at room temperature for 8 to 12 hours until it is doubled in volume, full of large bubbles, and smells fragrant like ripe fruit.
The time range will depend on the room temperature in your kitchen, starting temperature of ingredients, and weather.
Learn more about sourdough starters in these posts:

Benefits of using sourdough in Easter egg bread
Traditional bread recipes are made with conventional yeast, so they are more difficult to digest.
Aside from using whole, real food ingredients, sourdough makes this bread easier to digest because the sourdough process predigests the gluten protein so it is broken down.
Sourdough also enhances the flavor of breads so it requires less sugar and flavorings and retains more softness than breads made with conventional yeast.
This bread is a welcome treat for everyone. The only downside of making this with sourdough is that you will need to account for the timing for your planning.

How do you plan your bake?
Sourdough bread making, especially recipes like these requires special planning.
For your planning:
- 10-14 hours for starter preparation
- 8-10 hours bulk fermentation
- 4-6 hours proofing
If you need help picturing that planning for a real life holiday timeline:
- Saturday morning before Easter: prepare the starter and leave at room temp
- Saturday night before Easter: prepare the dough, cover, and leave at room temp overnight (make sure your uncooked eggs are colored so that’s one less step tomorrow)
- Easter morning: Divide and shape the dough, cover, and leave at room temp to proof
- Easter midday: Preheat oven, egg wash, and bake the bread for an afternoon luncheon or evening treat
Since this bread is enriched with lots of butter, eggs, and milk, the fermentation will take longer than lean sourdough recipes you may have used before.
Giving it ample time to ferment and proof will yield great results. Here is a side by side of unproofed vs. proofed:

What eggs to use in the braid? Are raw eggs safe?
It is important to use uncooked eggs for your shaped wreath. The baking process cooks them so they are safe to eat.
These are chicken eggs from my parent’s chickens. Any eggs used should be fully cleaned and dry.
I love the natural colors in these eggs, but dyed eggs can be really fun and festive too! In the recipe notes there are directions for how to use food items commonly found in the kitchen to naturally dye eggs. Or see the Shop this Post section to purchase some natural food coloring.
A note of caution: eggs that are cooked or become too warm can crack or burst during baking.
But if you have an egg that cracks or bursts, don’t panic! See the tips for two possible fixes.
6 important things to know when making this Sourdough Easter Egg Bread
- This recipe uses a 100% hydration starter. This style of starter is familiar to most sourdough bakers making it easier to attempt this recipe.
- This bread includes lemon zest for its bright, sweet spring flavor. But if you aren’t a lemon fan or just want to mix it up, this bread would be delicious with orange zest.
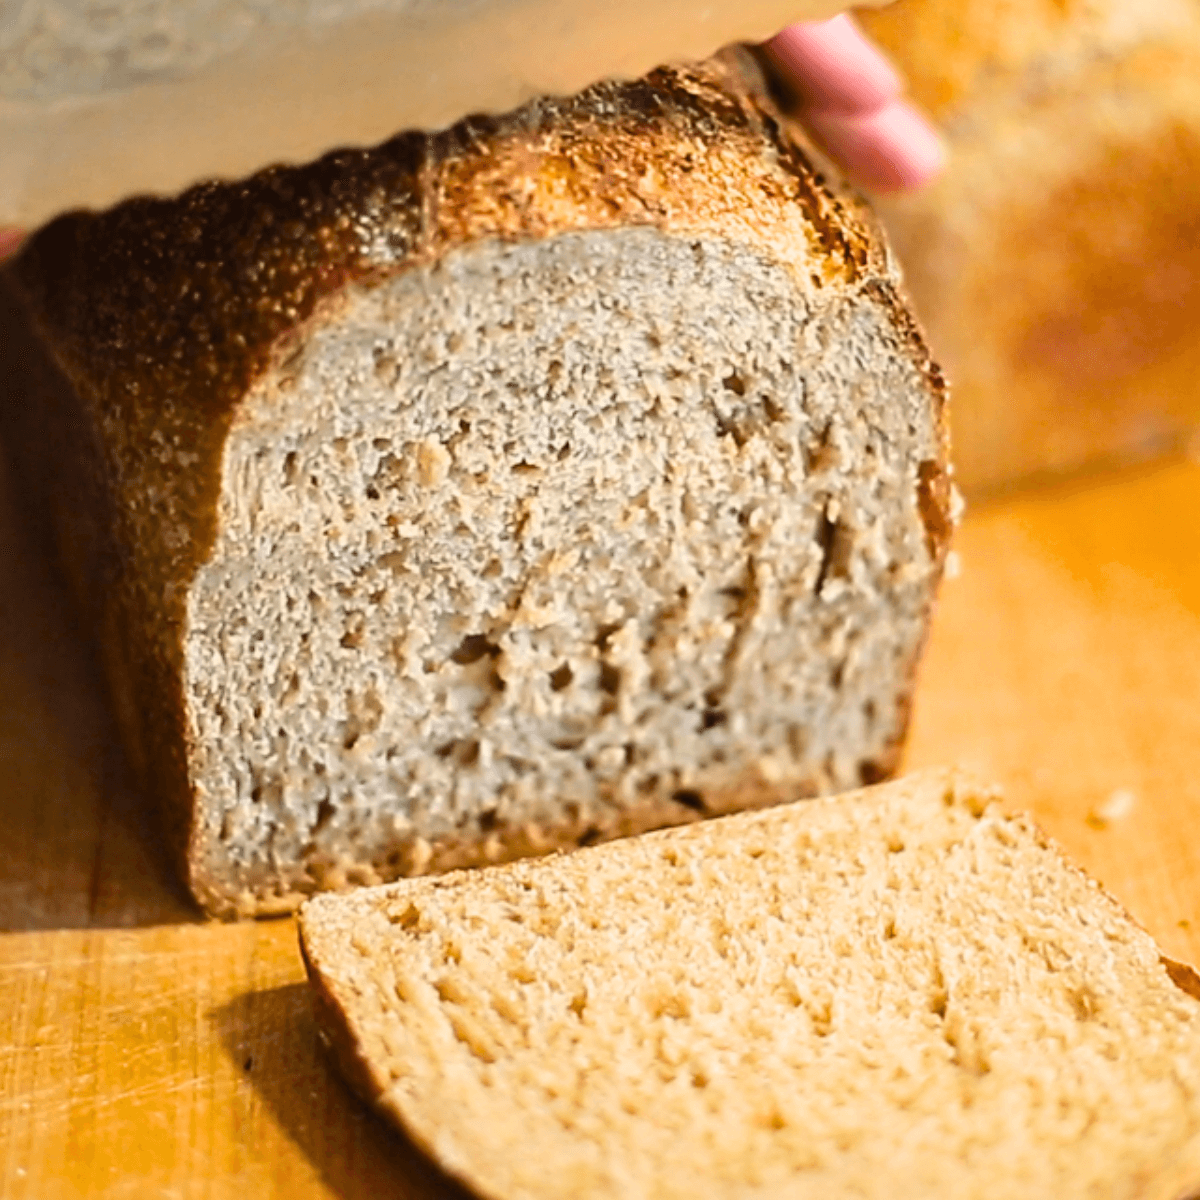
- The texture of the bread is so smooth and fluffy! And the thorough kneading and fermentation makes the dough so easy to work with and shape.
- Don’t rush the timeline. Plan your time well and make sure it is fully fermented before shaping and that you wait until it is proofed before baking. The butter in the dough slows the fermentation down considerably. See these articles on bulk fermentation and proofing for helpful tips and indications of readiness.
- The glaze is optional but adds beauty and sweetness to the bread. If you want to add sprinkles on top of the glaze, feel free! And if left unglazed, it is still stunning.
- If you’d prefer a recipe that uses a stiff levain starter and results in an even puffier, softer final result, you’ll want to try the version in my book, Celebrate with Bread Baking.

Making Easter memorable for your family
For my family, Easter is a really big deal and we love using eggs in decorating, in our traditions, and as a symbolic reminder of the new life we have because of Jesus’ death and resurrection.
Our kids absolutely love this bread and it makes them feel so special on Easter week.
Food has a way of marking seasons and holidays. And when we make special food traditions, something we make every year, it makes an indelible impression on our memories.
This is certainly a memorable bread, whether your Easter is full of spiritual meaning or not.

If you’re getting ready for Easter and want to bake alongside your sourdough besties, use the share button to make sure they have this recipe.
I love how each baker can add their own style by using natural eggs, pastel dyed eggs, rainbow eggs, glazed, unglazed.
And I especially enjoy seeing how you share this bread for the holiday with your family and friends.
Leave a comment or tag me on facebook or instagram @livingbreadbaker

Just getting started with sourdough?
A competent guide transforms sourdough baking from overwhelming to uncomplicated and fun!
Get My Free Quick Start Sourdough Guide: Learn the key terms and concepts in sourdough baking, including the differences between active sourdough starter and sourdough discard, and how to care for your starter.
Start Baking Sourdough Confidently—Take the Intro to Sourdough Course for Just $27!
Time Planning Help for Sourdough Baking
The #1 need for sourdough bakers is help with time planning, so I created a resource for you.
Sourdough Time Planning Workbook: Perfect for new or experienced bakers, this workbook includes 8 templates ready to fill in and a baking journal. The templates cover 4 different ways to make classic sourdough country breads, 3 time planning worksheets for enriched sourdough bread depending on serving time target, and a blank template. The baking journal goes over baker’s percentages and how to take notes on your sourdough bakes.
Get a free sample of the workbook: Use this sourdough time planning worksheet sample to simplify your baking.

Living Bread Baker posts mentioned
When is sourdough bulk fermentation finished?
When is sourdough finished proofing?
Shop this post
Natural food coloring (no artificial dyes)
Dye-free naturally colored sprinkles
Round wood cutting board for cutting and displaying bread
FREE Sourdough Quick Start Guide
My Intro. to Sourdough online course

Sourdough Easter Egg Bread (Pane di Pasqua)
Equipment
- Food Scale
- Mixing Bowl
- Parchment Paper
- Flat Baking Sheet
- Pastry brush
Ingredients
Starter:
- 20 g sourdough starter 1 heaping tablespoon
- 100 g water 1/4 cup and 3 tablespoons
- 100 g all-purpose flour 2/3 cup
Dough:
- 115 g whole milk, warmed 1/4 cup and 3 T.
- 80 g white sugar 1/4 cup and 2 T.
- 200 g prepared starter 1 cup and 3 T. (all of starter except about a tablespoon amount is left)
- 500 g bread flour 3 and 1/3 cups
- 100 g semolina flour 2/3 cup (bread flour may be substituted)
- 2 eggs
- 5 g salt 1 t.
- 30 g water 2 T.
- Zest of one lemon
- 115 g unsalted butter, softened 1/2 cup or 1 stick
- 4-5 colored or dyed eggs, UNCOOKED added during the shaping step
Lemon glaze:
- 55 g sifted powdered sugar 1/4 cup and 2 T.
- Pinch of lemon zest
- 10 g lemon juice 2 teaspoons
Instructions
- Make the starter: 10-14 hours before mixing your dough, combine ingredients for the starter in a clean container. Cover and let activate. It will double in volume and become very bubbly.
- Warm milk: Measure out at least 130 grams (1/2 cup) of milk into a saucepan (some will evaporate while it is heated). Heat milk over medium heat until you begin to see steam rising off it or reaches a temperature of 80 – 100º F.
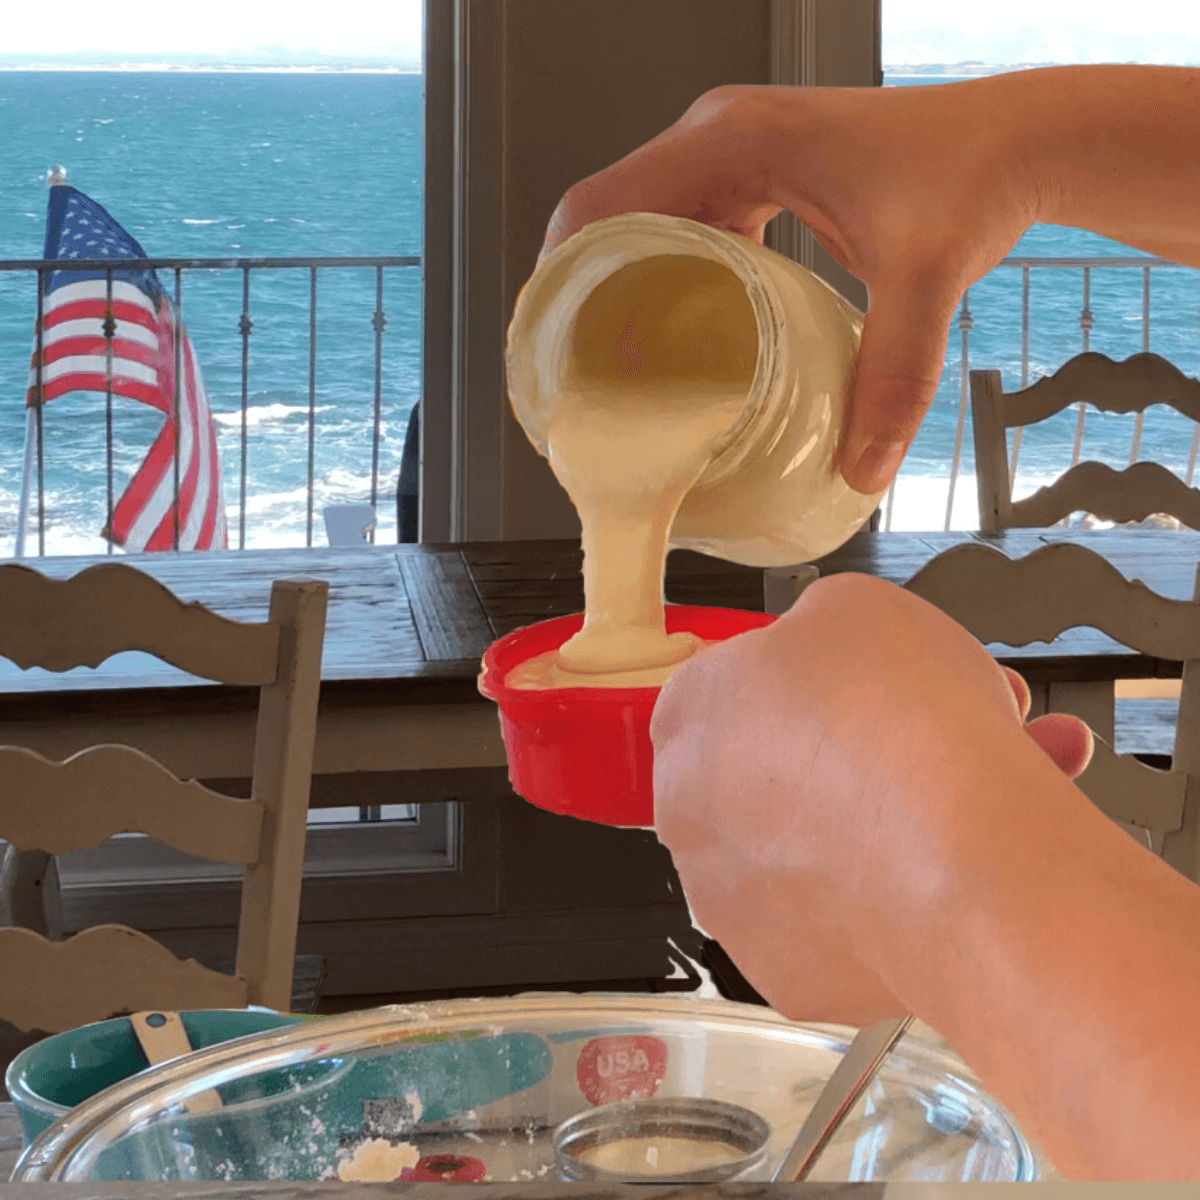
- Scale: Add 115 grams of the warm milk to the mixing bowl, sugar, 200g starter, semolina flour, and bread flour. (Remember to use the scale’s tare function to remove the weight of the bowl and previous ingredients to only weigh the current item added)
- Mix: Mix ingredients until a shaggy dough is formed, then add 2 eggs, salt, 30g water, and lemon zest. Continue mixing the dough until there is no dry flour left and the dough is beginning to have a smoother appearance. This will take some kneading since its a stiff dough. (Mixing and kneading steps can be done in a stand mixer with a dough hook if available.)
- Butter add: Cut the 115g unsalted butter into 8 thin slices. Add one slice of butter at a time to the dough. Fold in and knead until the butter is incorporated and you no longer see obvious streaks of butter in the dough. Repeat until all the butter is incorporated.
- Knead: Knead dough 7-15 additional minutes or until dough is smooth, no longer sticky, and releases easily from the bowl or work surface. This thorough kneading will create a strong dough with a beautiful texture in the bread.
- Bulk fermentation: Cover the dough and allow to ferment until doubled in volume, about 8-10 hours.
- Dye eggs: While dough is fermenting, dye eggs if desired. You may use a box kit from the store and follow the directions on the box. Or for naturally dyed eggs, bring 1 quart (946 mL) water to a boil then add salt, vinegar, and fruit, vegetable, or spice*. Reduce heat to simmer for 30 minutes. After 30 minutes, strain mixture and place in a bowl to cool. Repeat to create additional colors. Once dyed water is no longer hot, add 4 to 5 uncooked eggs to soak in color(s) until they are dyed the desired hue. Wipe clean and set aside.
- Prepare baking sheet: Cut a large piece of parchment. Place parchment on a flat baking sheet.
- Divide dough: Place dough on a lightly floured work surface. Divide dough into 3 pieces.
- Shaping: Roll each piece of dough until it is a rope about 30 inches long and equally thick along the entire length. Gather the ends together then braid by crossing two ropes then put the third rope in between the previously crossed ropes, then pick up the rope that is more spaced from the others and braid between the two more tightly crossed ropes. Continue this pattern of braiding until the whole lengths are braided. Bring the ends together and connect the end pieces to form a braided wreath. Take the uncooked decorating eggs and tuck tightly into the strands of the bread, evenly spaced around the wreath. Tuck them in deeply so that the dough doesn’t push them out during proofing or baking. Place a cup in the center of the wreath to prevent dough from expanding and closing off the wreath center. (This cup is removed before baking)
- Proof: Cover and proof 4 to 6 hours, until bread is about 1.5 to 2 times larger in volume. Dough should leave an indentation when tested with a fingertip. If eggs have been pressed out by the rising dough, gently tuck back into the wreath.
- Preheat: Preheat oven to 375º F.
- Egg wash: Prepare egg wash and brush all over bread and in crevices, avoid getting egg wash on eggs.
- Bake: Place bread into oven and bake 25 – 30 minutes. The outside should be golden brown and inside the ring should be baked.
- Cool: Allow bread to cool at least 10-20 minutes.
- Prepare glaze: Whisk together the glaze ingredients. Drizzle over your warm wreath so that the drips fall down the sides of the bread.
- Serving: Cut the bread into slices and serve.
Notes
- There are 7 to 8 eggs total needed for this recipe. Be sure to use uncooked eggs for decorating, hard boiled eggs will explode in the oven.
- The eggs do pose a risk of bursting in the oven if cooked for too long or if they were too warm before baking. To avoid this, don't use a proofing box which will warm up the eggs and make sure the eggs are well tucked into the wreath so they don't bake faster than the bread. Other things you can do if you are concerned: you can chill the shaped dough for 30 minutes before baking or swap the eggs for chilled eggs. If an egg cracks or bursts during baking, you can either rotate the egg to the uncracked side and wipe it clean of dough sticking to it or swap in a different hard-boiled egg.
- Instead of dying eggs, you can use uncolored as well. If you know someone who has chickens who lay green or olive colored eggs, a combination of natural colors will create a beautiful bread.
- *For naturally colored eggs, a few effective vegetables and spices are beets, turmeric, red cabbage, and yellow onion skins.

How gorgeous! I’m new to sourdough baking and have a question about long fermentation times with eggs in the dough. Does it pose a food poisoning risk to have an enriched dough with raw eggs not refrigerated for several hours during the bulk fermentation? I am looking forward to trying this recipe!
Hi Anna! It is such a lovely bread and so delicious. The eggs are baked long enough to eliminate any issues. Make sure your uncooked eggs are clean and dry to start. Let me know how it goes!
Do you see a huge difference when using semolina flour vs all purpose flour? Did you use semolina flour in the bread that’s pictured?
Hi Catherine!
Semolina is a strong flour so I would use bread flour instead if you don’t have a fine semolina flour. The bread in the photo has fine semolina flour in it.
Delicious! My kids, husband friends devoured them. I followed this recipe using all bread flour and it turned out wonderful! This made 7 individual breads around 1 egg each. I will be making again.
Hi Megan! I’m so happy to hear that! Those sound amazing and probably looked incredible too! Thank you for sharing! 🙂
What about the raw egg in the dough as it ferments/raises (not the eggs that are colored and whole)…leaving raw eggs in dough on the counter for 10 hours is a bit nerve wracking. I’ve already done it…but am now thinking on it.,.
Hi Ali, great question! The ph of the dough from the sourdough helps during the fermentation. I would avoid temperature manipulation techniques like oven proofers, etc. I’ve made sourdough enriched doughs many times and never have had an issue. The baking process makes bread a safe food in general.
If your dough ever smells off or mold is growing, throw it out. Also, For future bakes, you can do a long cold fermentation in the fridge to alleviate any concerns. The long cold fermentation timing would be 36-48 hours in the fridge.
It looks delicious! How would you store this bread after you bake it?
Hi Melissa!
You would want to take off the hard baked eggs and then store in a plastic container or sealable container at room temperature.
Great recipe. This is my first time making this and it turned out beautiful with no issues. Tastes great as well.
Hi Jennifer,
I’m so happy to hear that! I love the flavor as well. 🙂 Thank you for coming back to let me know!
Fabulous delicious and a hug hit! I found it difficult to make the two ends of the braid come together beautifully to form an even wreath. Any tips?
Hi Zoë!
I’m so glad you enjoyed it! When I’m joining a braid to create a seamless look, I have found it helps to braid the ropes as far as I possibly can so that when I join ends together they are easier to hide. I look at which ends would look most natural to join and twist and pin them together to seal. With more of the ropes braided, it’s easier to tuck the seam under a rope.
I love this recipe! So good!!
I’m so glad you enjoyed it! We love it too!!
I’ve made this a few times. I use orange zest, lemon zest and a bit of anise. I make two wreaths from your recipe. For Easter I’m using ceramic eggs as “placeholders” and decorating with plastic eggs filled with chocolates and, of course, some sprinkles in Spring colors!
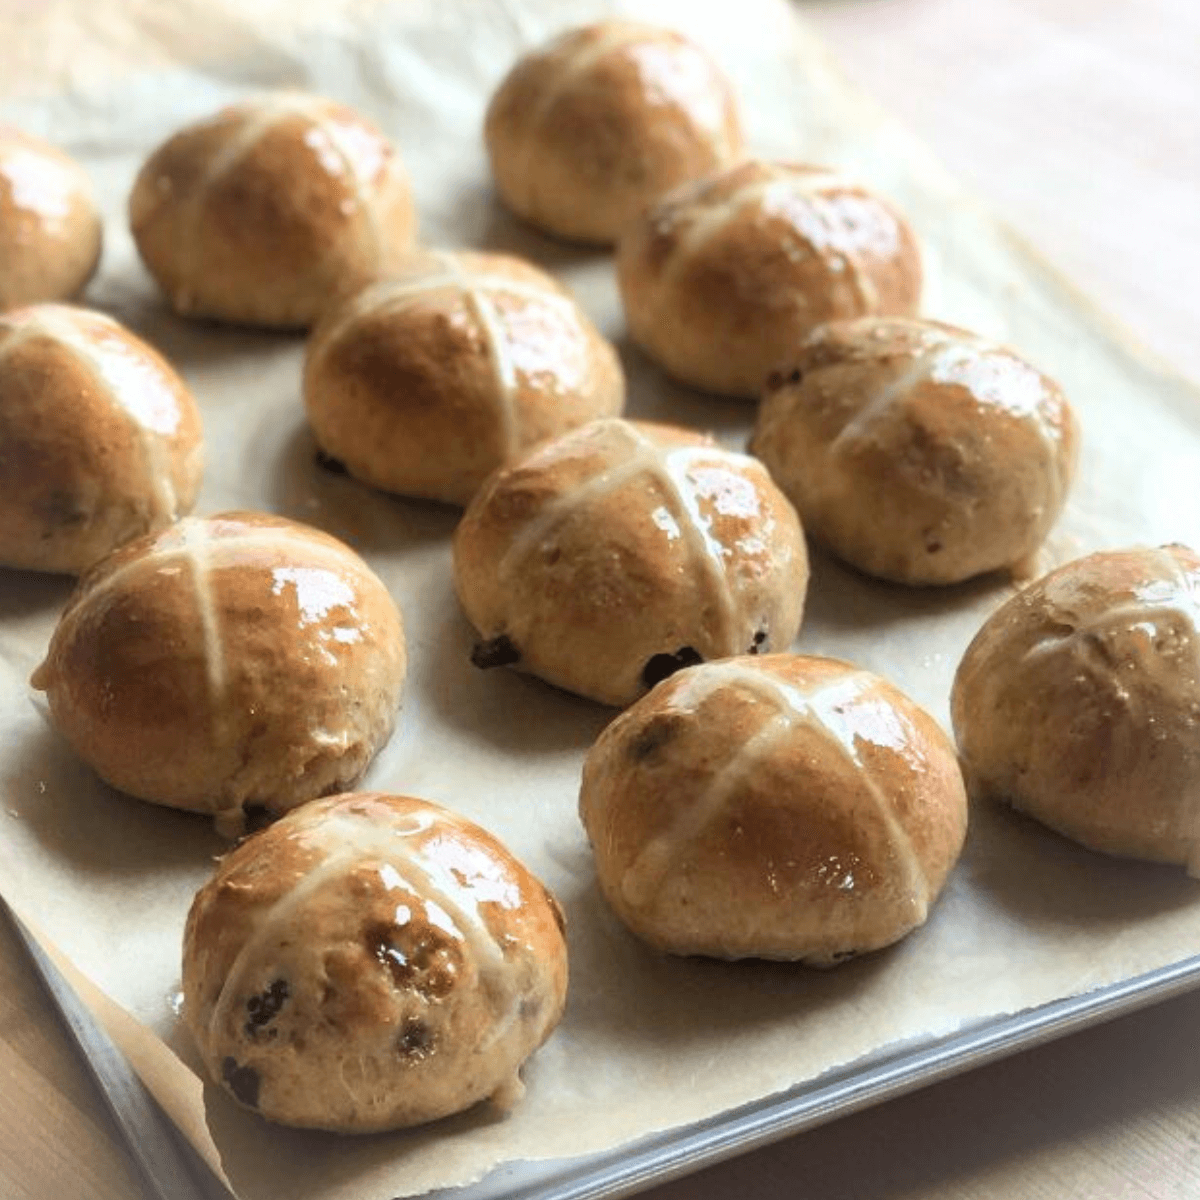
Hi Debby, Thank you for sharing those wonderful tips! Those additional spices and flavors sound amazing! A bit of the flavors from the traditional hot cross buns we all enjoy. If you every have time, I’d love to see a photo of your creation! It sounds so festive!
Hi
Can I cold proof this overnight? Thank you
Hi Judy, Yes! You will need to make sure to bring it out in the morning and let it temper at room temperature before baking as well as allowing more time to proof since overnight with such enriched dough is not enough time to do its full proof.
I’d recommend letting it proof at room temperature for at least 2-3 hours to begin the rise before cold proofing if you can. If not, add extra time (at least 2-3 hours) after you bring it out of the fridge for it to achieve optimal proofing.
Have you ever done it without the lemon? Love lemon personally but have family that are not fans. I am making it with lemon first but wondering for next time.
Hi Kim! I haven’t done it without lemon but I love lemon. My kids enjoy it in this because its so sweet. Orange zest would probably be a delicious substitute for people who don’t enjoy lemon. Let me know if you try it.
Is it necessary to use a 1:5:5 ratio for the starter? I have a 1:10:10 starter ready to go! Can I use that?
Since it’s the same type (100% hydration) it will be fine as long as you have the same amount that the recipe needs. Enjoy!